nearing completion - hardware, control panel and bezel
hardware
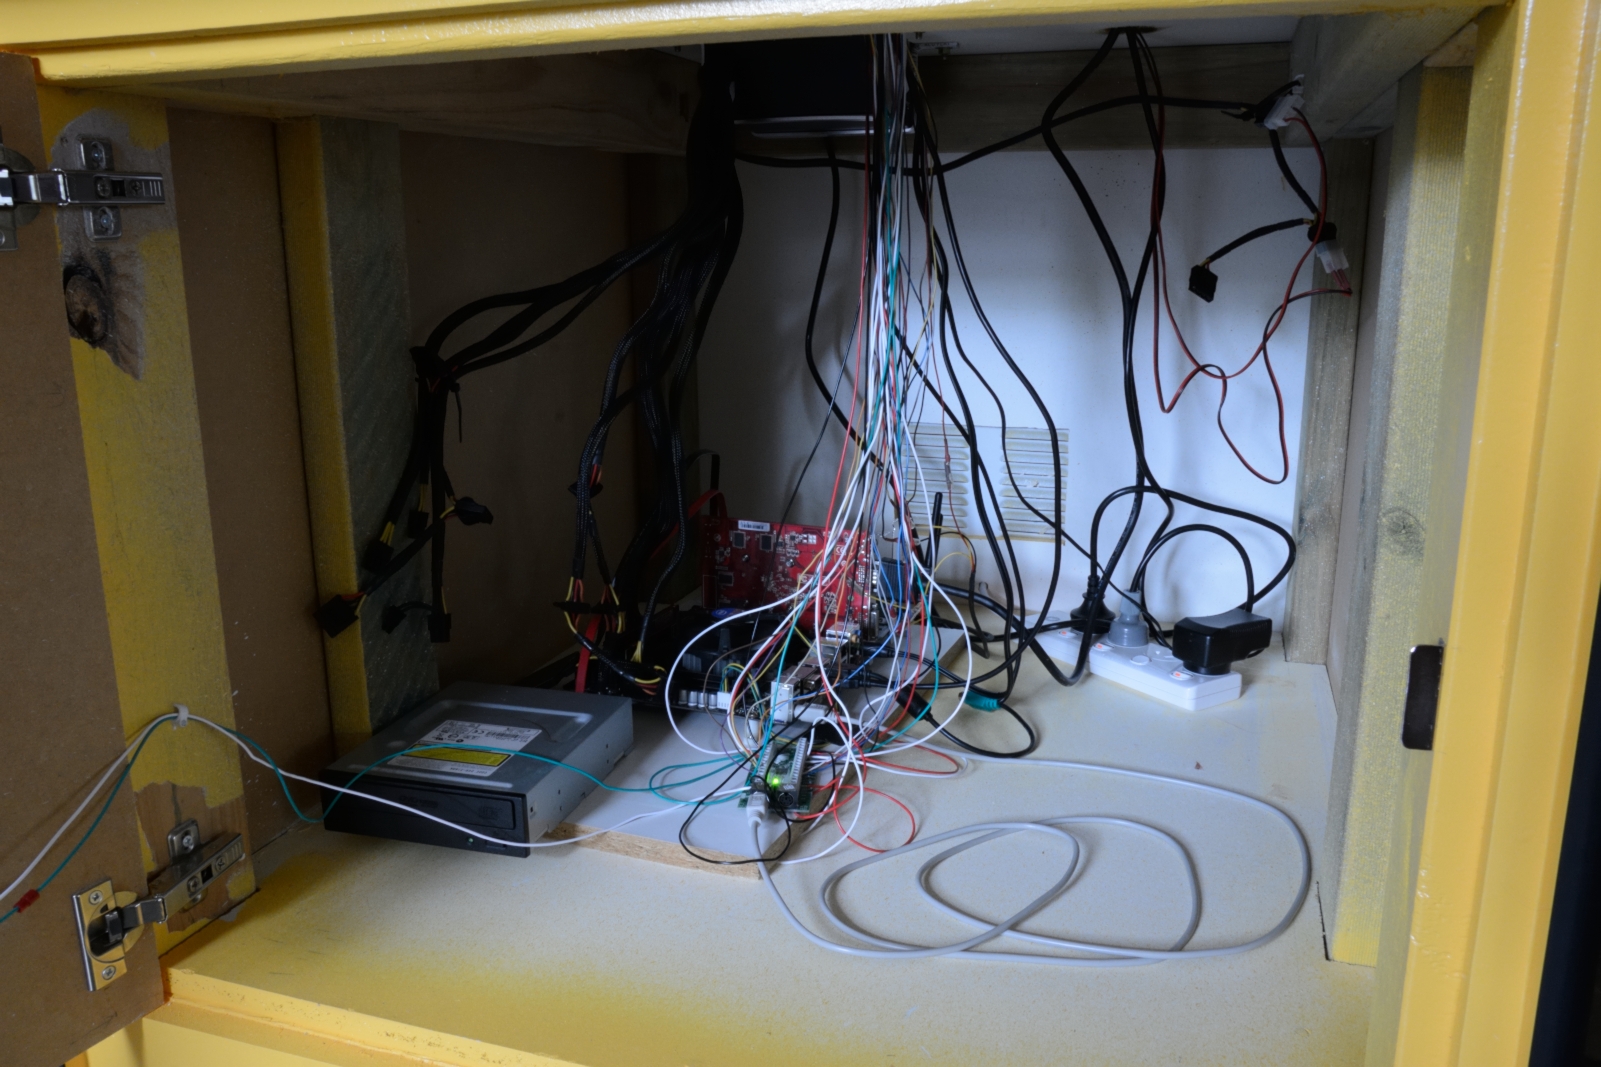
I originally envisioned building a mame brain computer running Ubuntu. However, the graphics performance proved slow and a decision to incorporate a graphics card that is specifically designed to accommodate the lower resolution of arcade monitors led me to switch to Windows 7 for the operating system. I consequently decided to build a new PC using more modern parts.
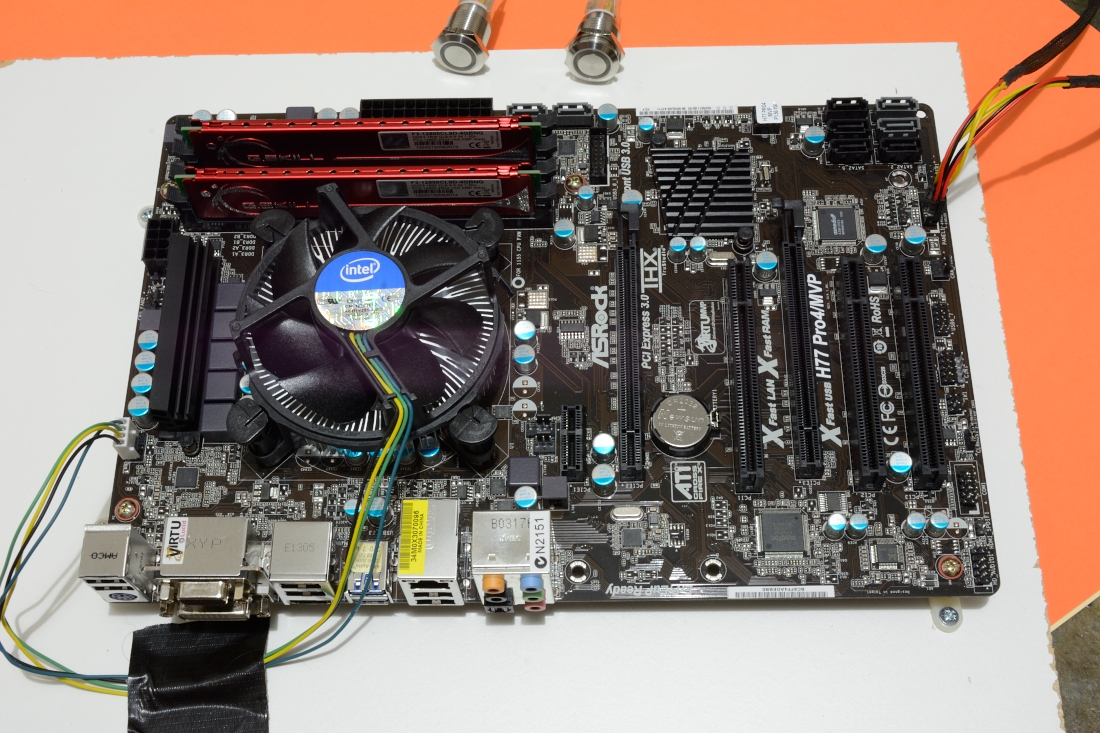
To the extent that i will play older-style arcade games a leading edge CPU is not necessary. I consequently decided to go with an Intel Core i3 3220 for the CPU. The motherboard comprised an ASRock H77-PRO4-MVP. This was my first time installing a CPU and the process was pretty straightforward, going smoothly.
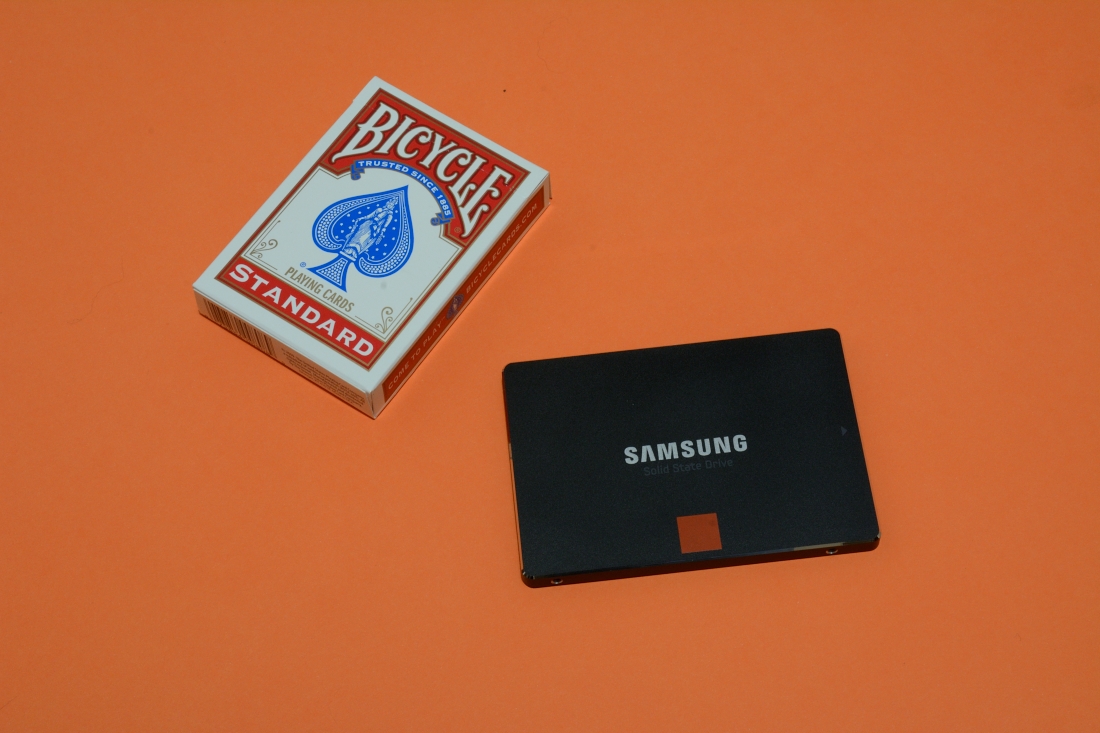
One area where i did go a little lavish is the hard drive. I decided to go with an SSD drive in order to improve the boot up time and overall responsiveness of the system. If you want to play an arcade game you want to minimise the friction between that impulse to play and eventually doing so.
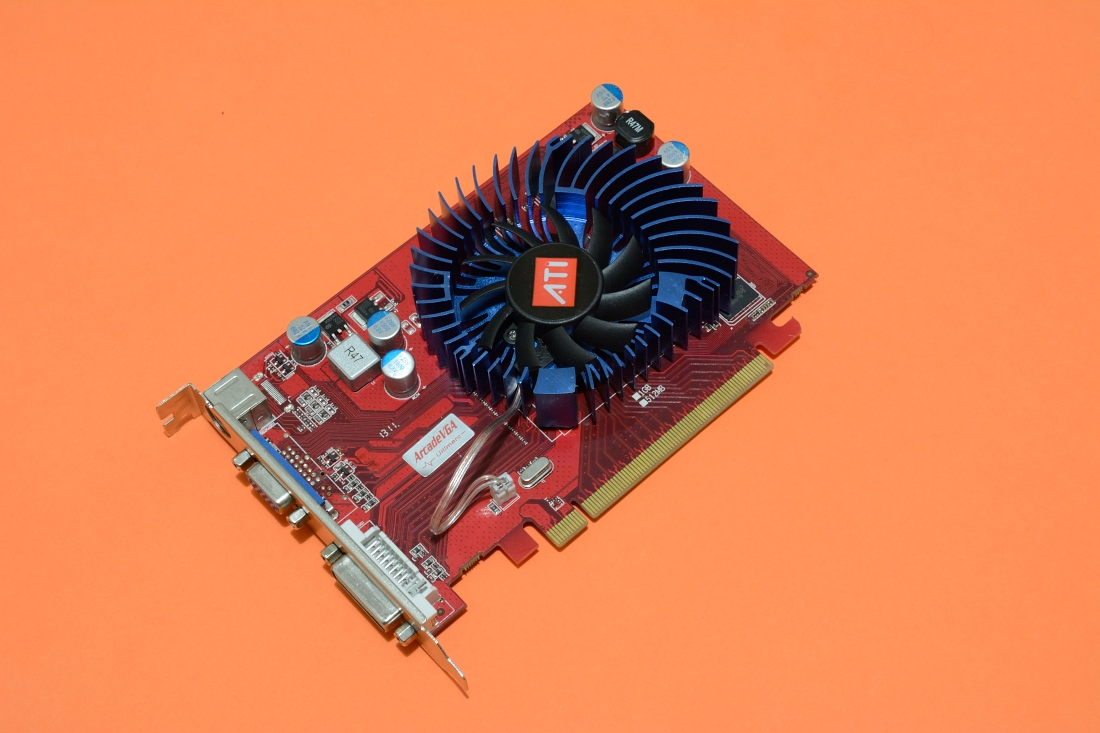
The most unusual aspect of the PC is the graphics card. I decided to go with Ultimarc's ArcadeVGA 3000 graphics card. Given the march of technical progress, traditional arcade monitors have lower resolutions and slower scan rates (i.e. frequency) compared to modern computer monitors. As a consequence, modern monitors are actually too good at displaying old arcade games - the resulting picture is very sharp, causing games to lose their softness and authenticity. I consequently decided to use a multifrequency monitor which has the capacity to display arcade games at their native frequency and resolution.
Connecting an arcade monitor to a PC is normally not straightforward given the different video systems but the ArcadeVGA makes this relatively easy. With the appropriate software configurations it has the capacity to run games at their native resolution.
control panel
You may recall from an earlier post that i started to construct a control panel from a couple of pieces of Australian Jarrah. After putting a lot of work into plaining and sanding the Jarrah to size i unfortunately made the mistake of drilling the push button holes slightly too small. Given the hardness of Jarrah it was difficult to sand the holes wider. I consequently decided to give up and instead use some Tasmanian Oak.
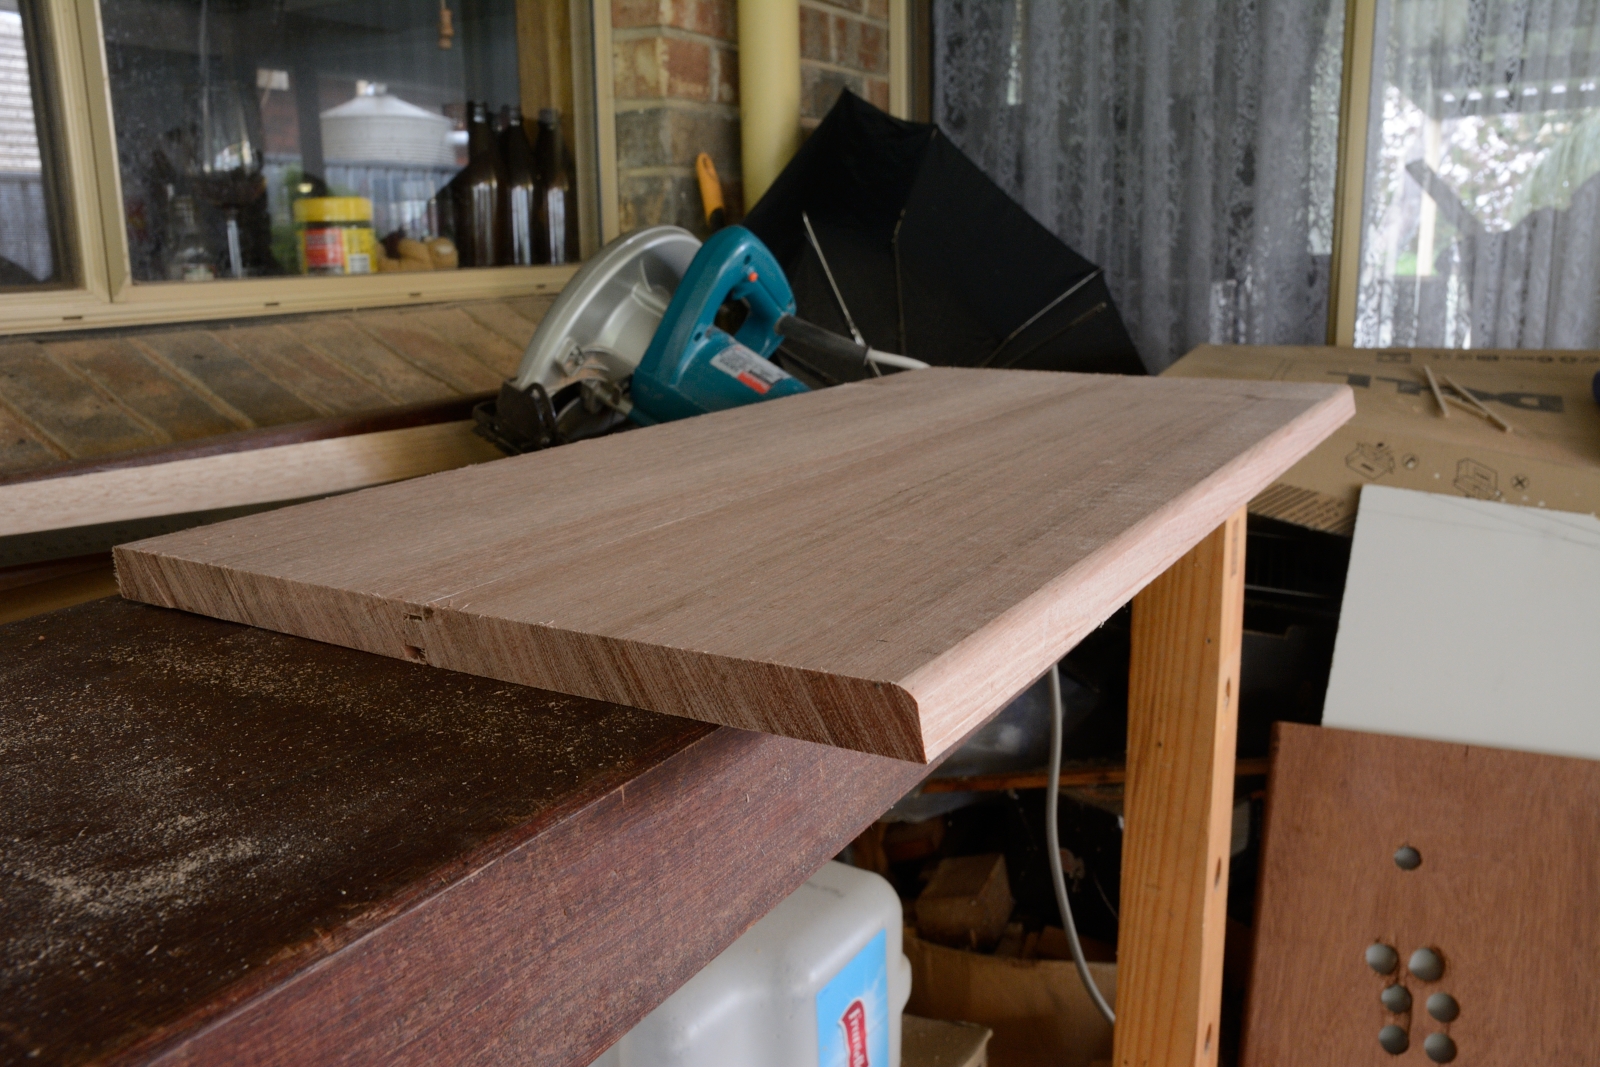
I commenced by gluing together two pieces of Tasmanian Oak in order to create a panel with sufficient height. After cutting the panel to width and sanding down i created a smooth rounded front edge using a router.
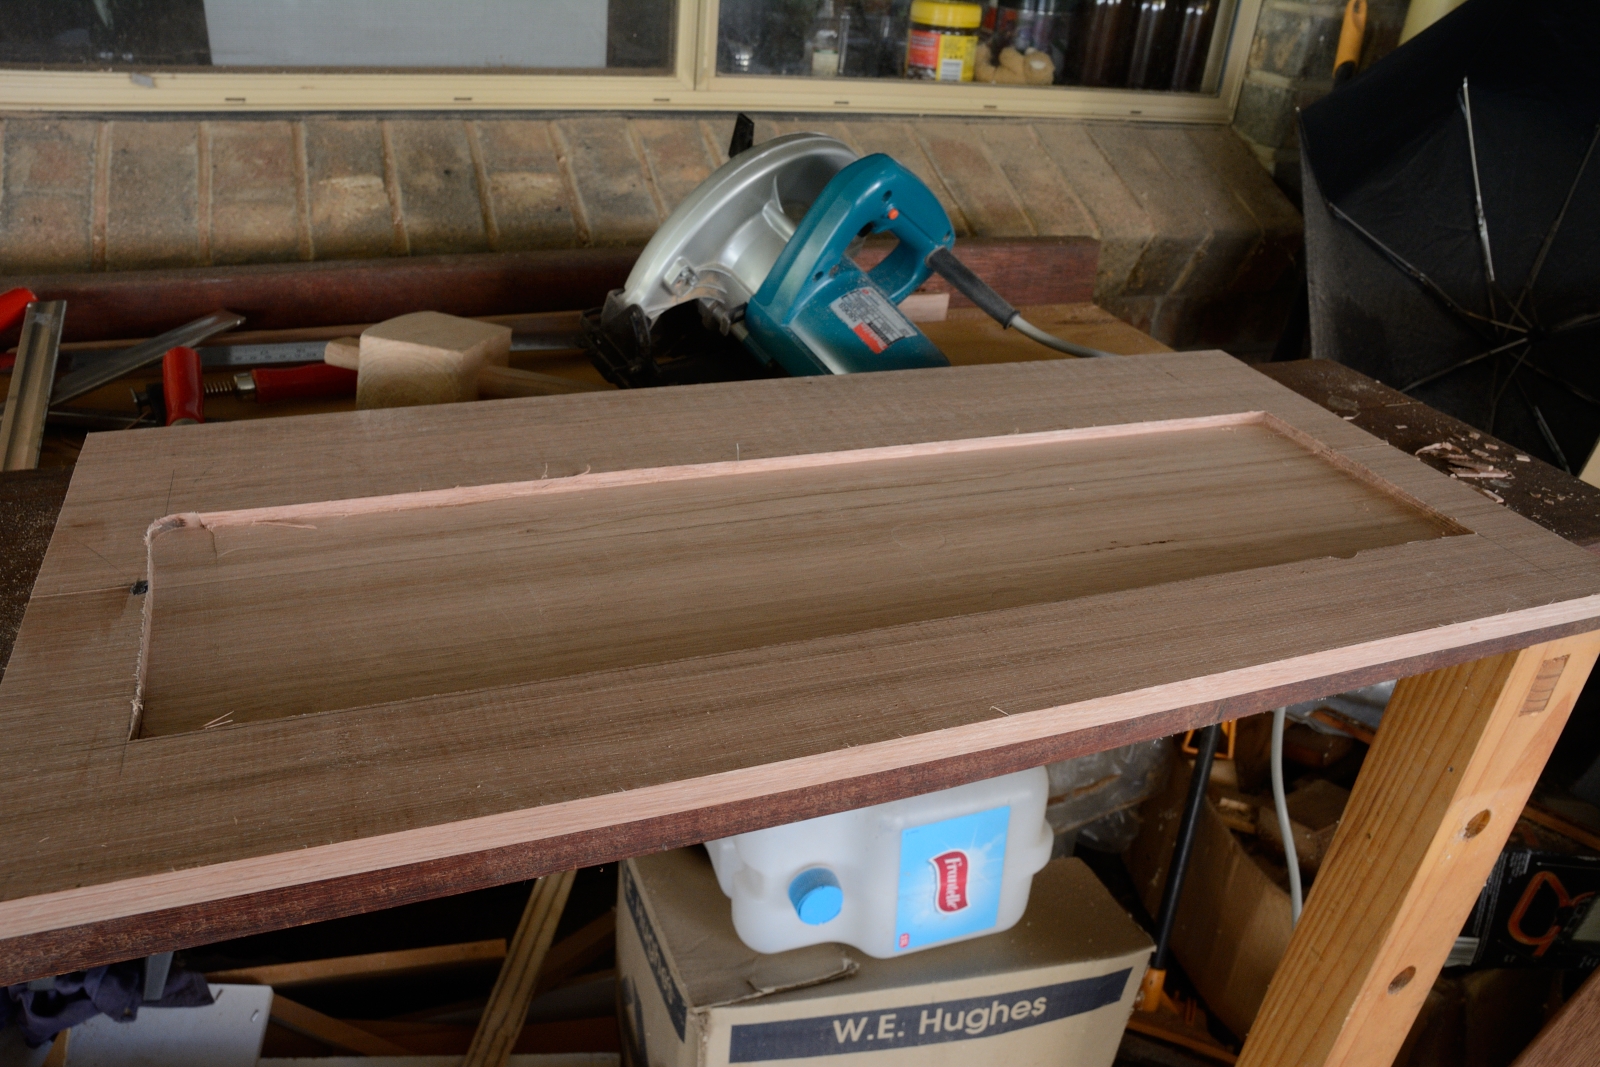
The control panel needs to be at a certain thickness in order that the joysticks - which are fixed to the control panel from the bottom - sit at a comfortable height. I soon realised my timber was a little too thick and consequently used a router to cut out a recess in the bottom of the control panel.
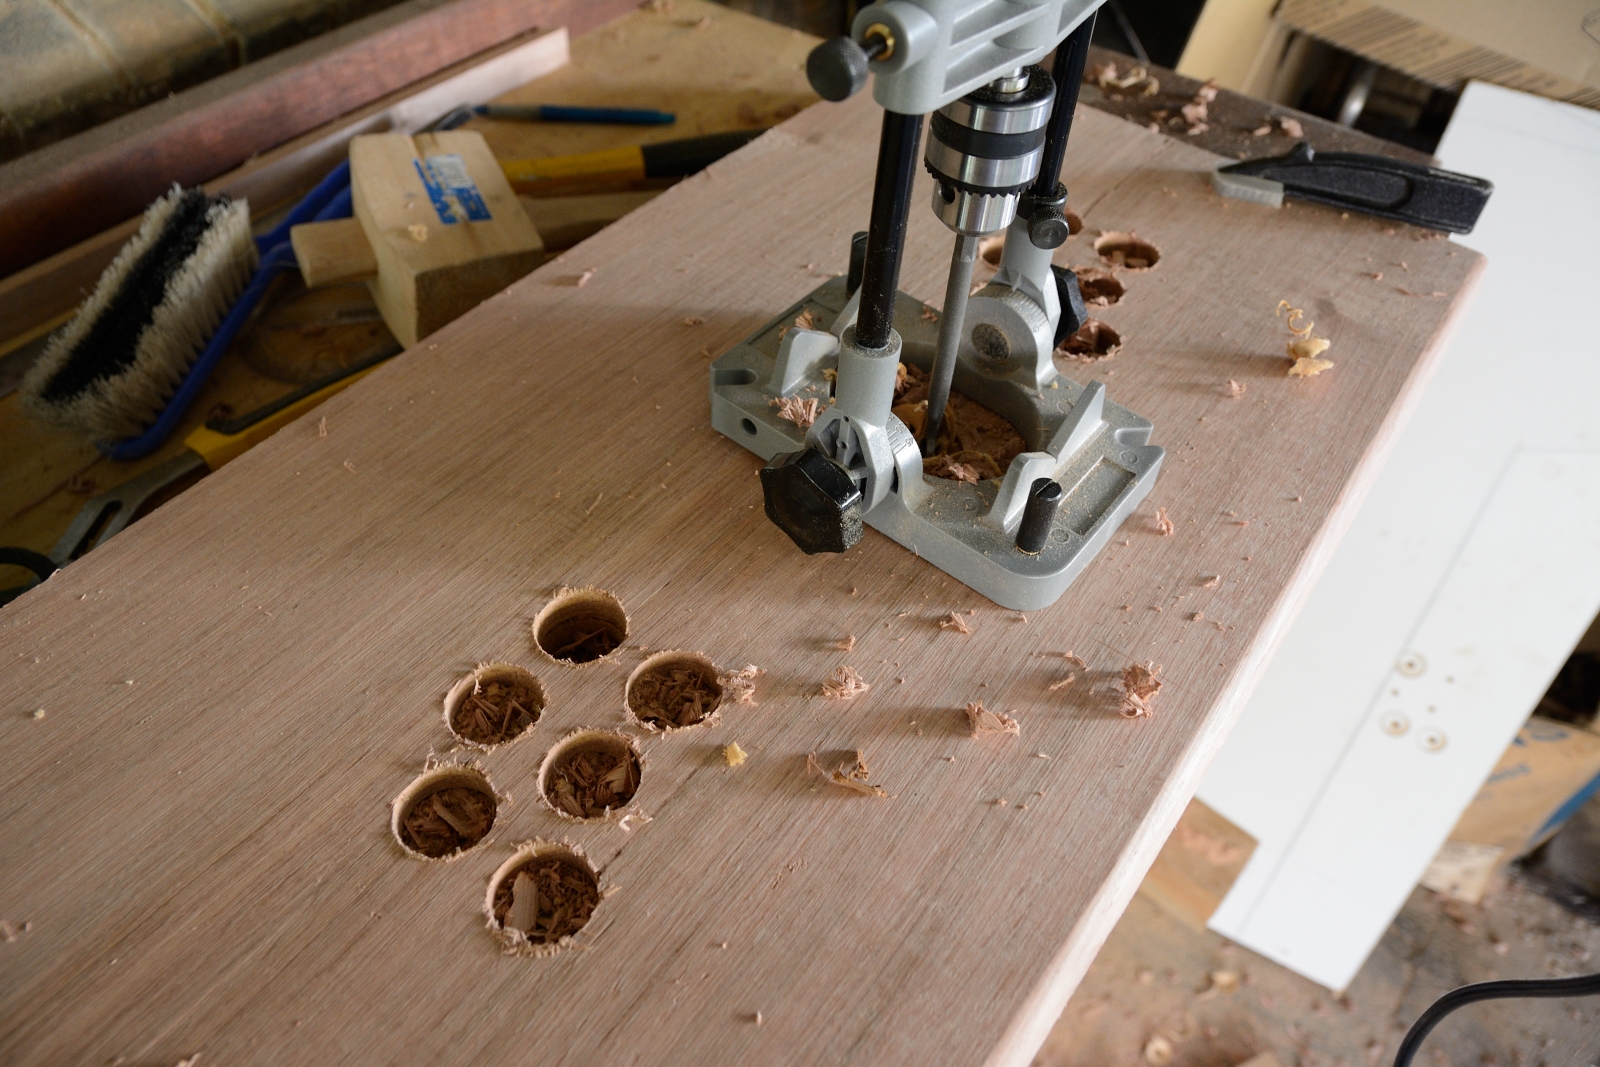
This time using the correct size drill piece i drilled out holes for the push buttons using a special guide to keep the holes as perfectly vertical as possible.
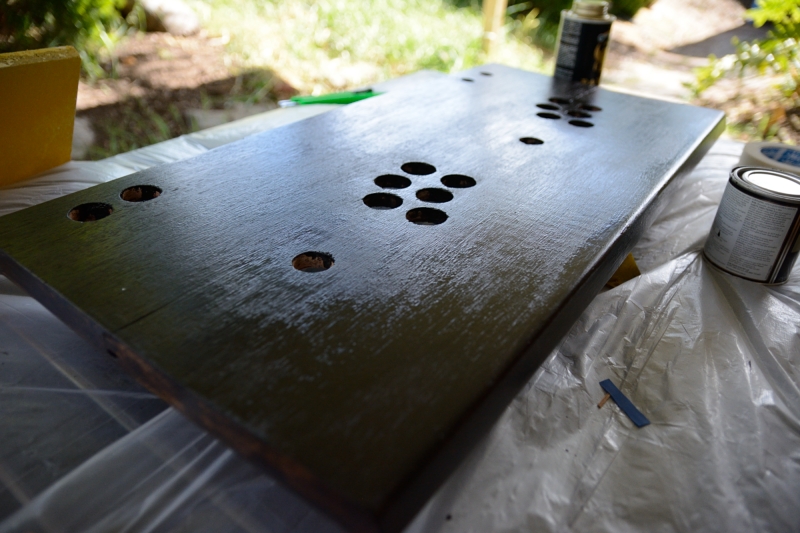
With the holes cut out i then sanded the control panel down and proceeded to stain it with a 'black japan satin' stain and varnish. Given my yellow and black colour scheme i figured a dark, almost black-brown colour would best suit the cabinet so consequently proceeded to apply several coats of the stain and varnish to the control panel. I was very happy with the end result.
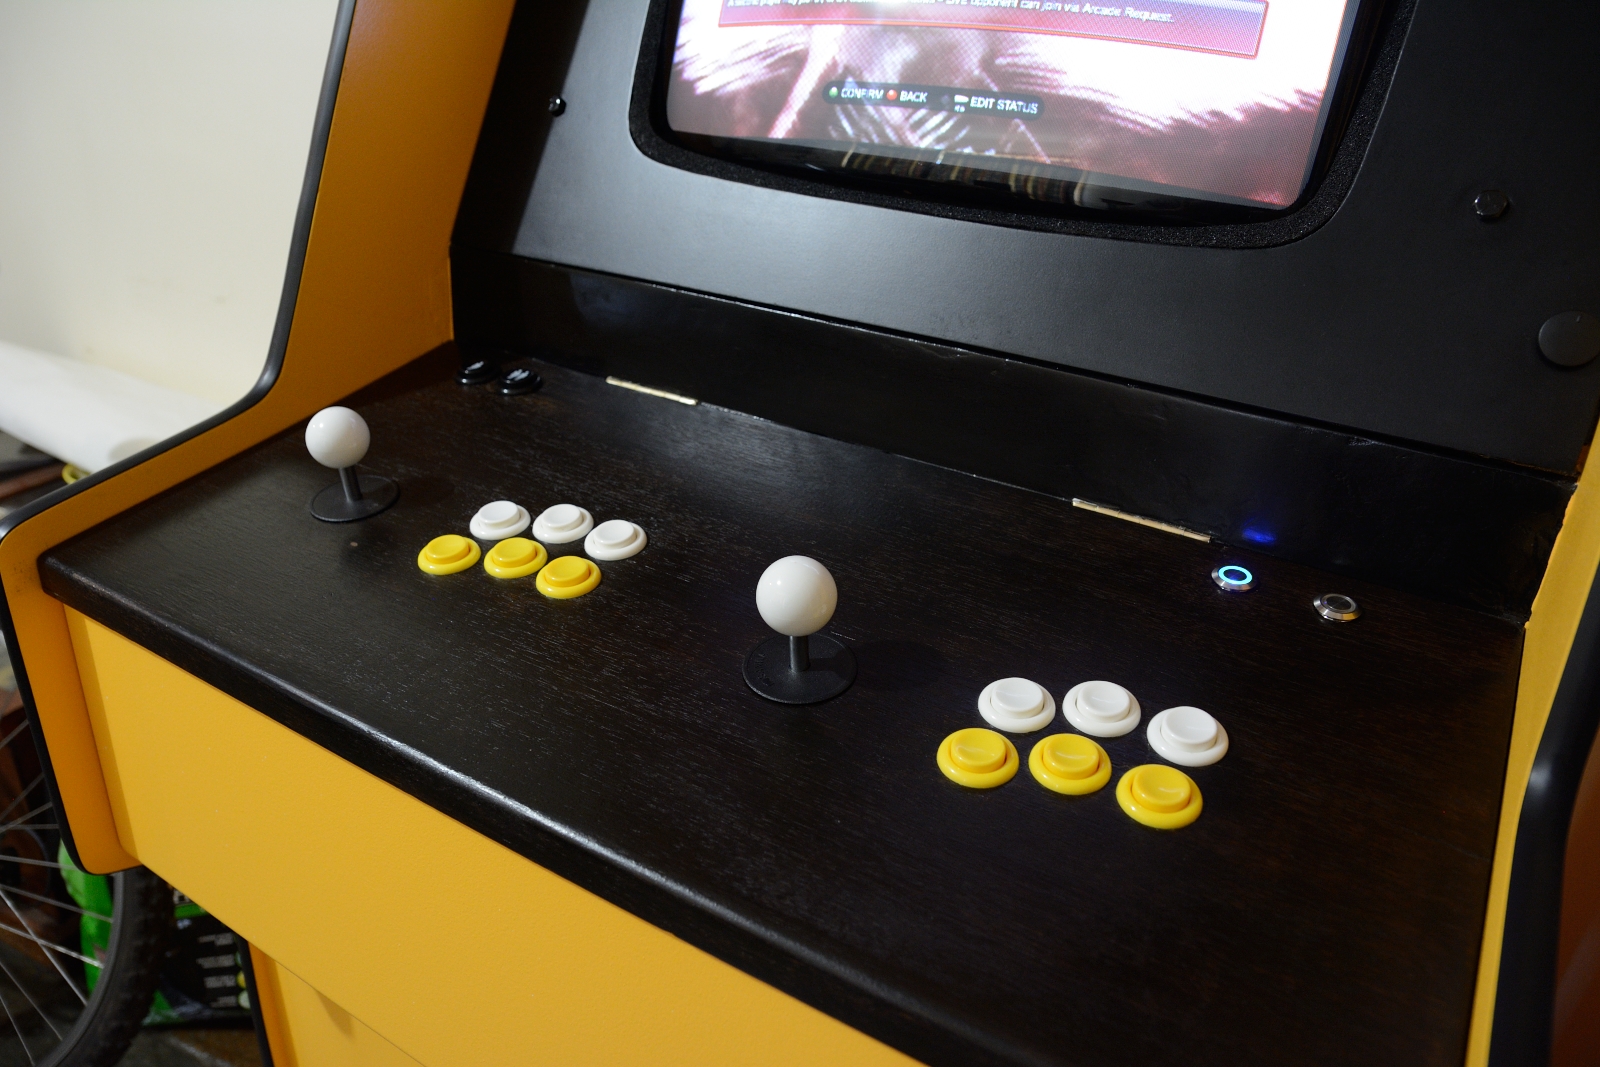
joystick and buttons
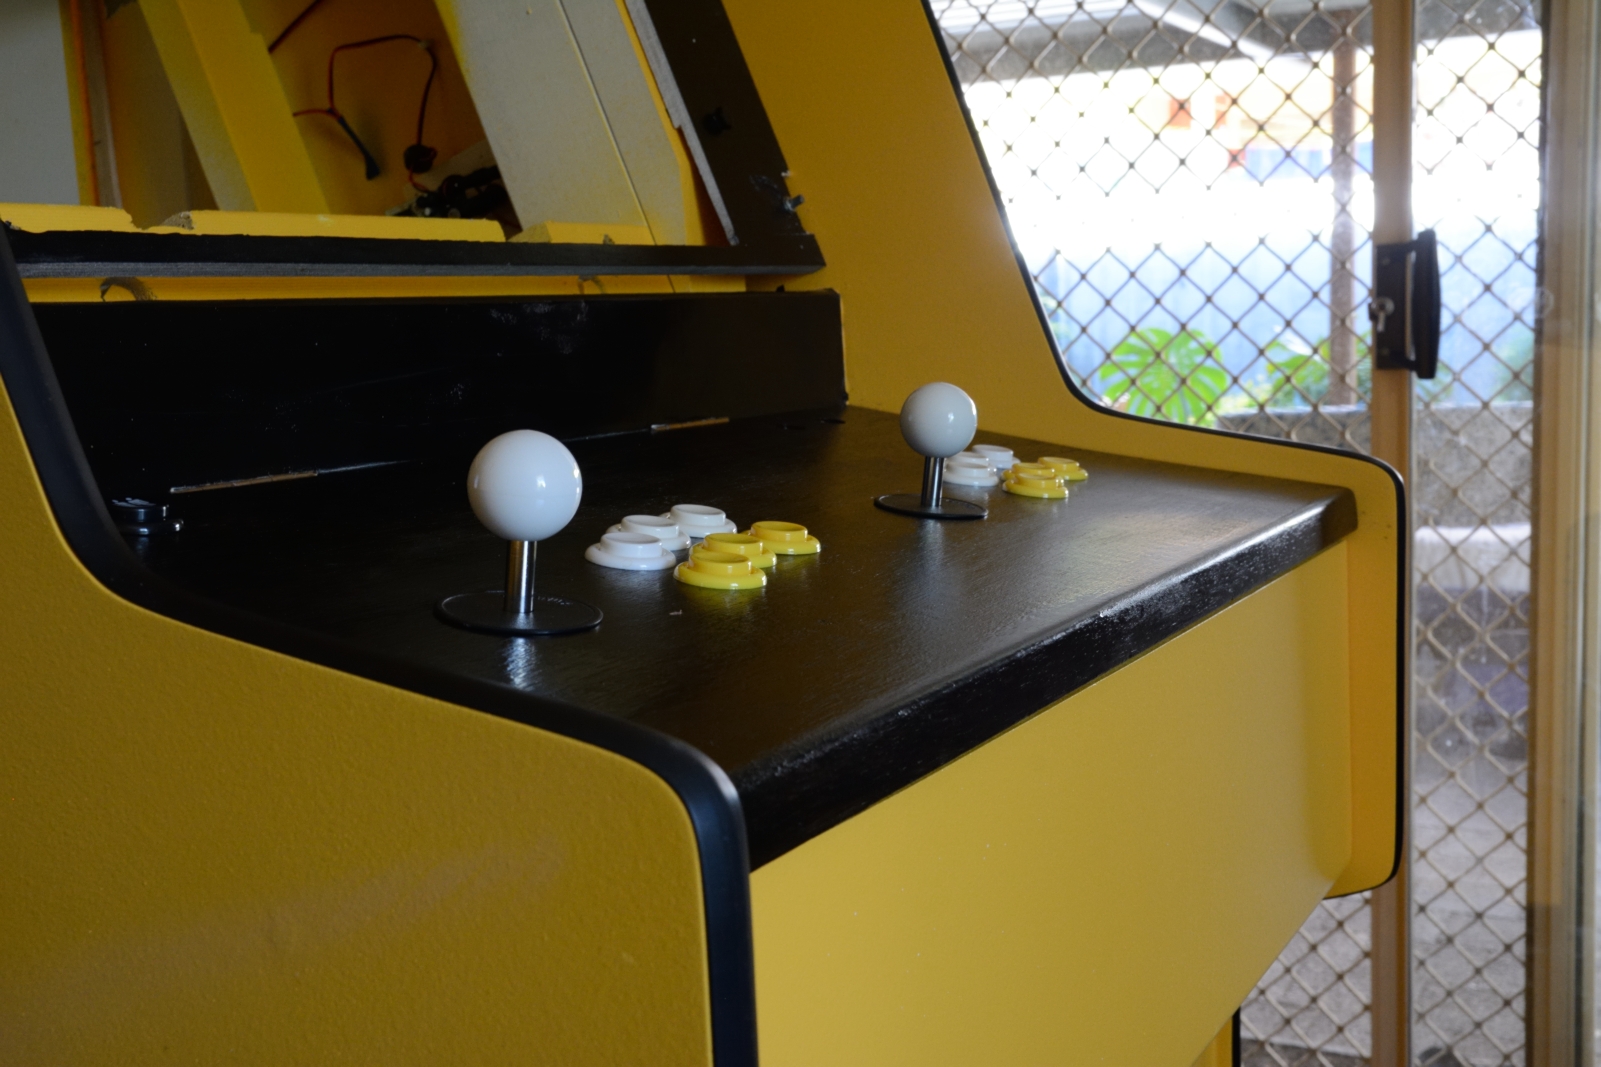
The control panel was attached to the cabinet using a couple small cabinet hinges. This allows me to lift up the control panel to more quickly access the keyboard and trackball relative to sliding out the drawer.
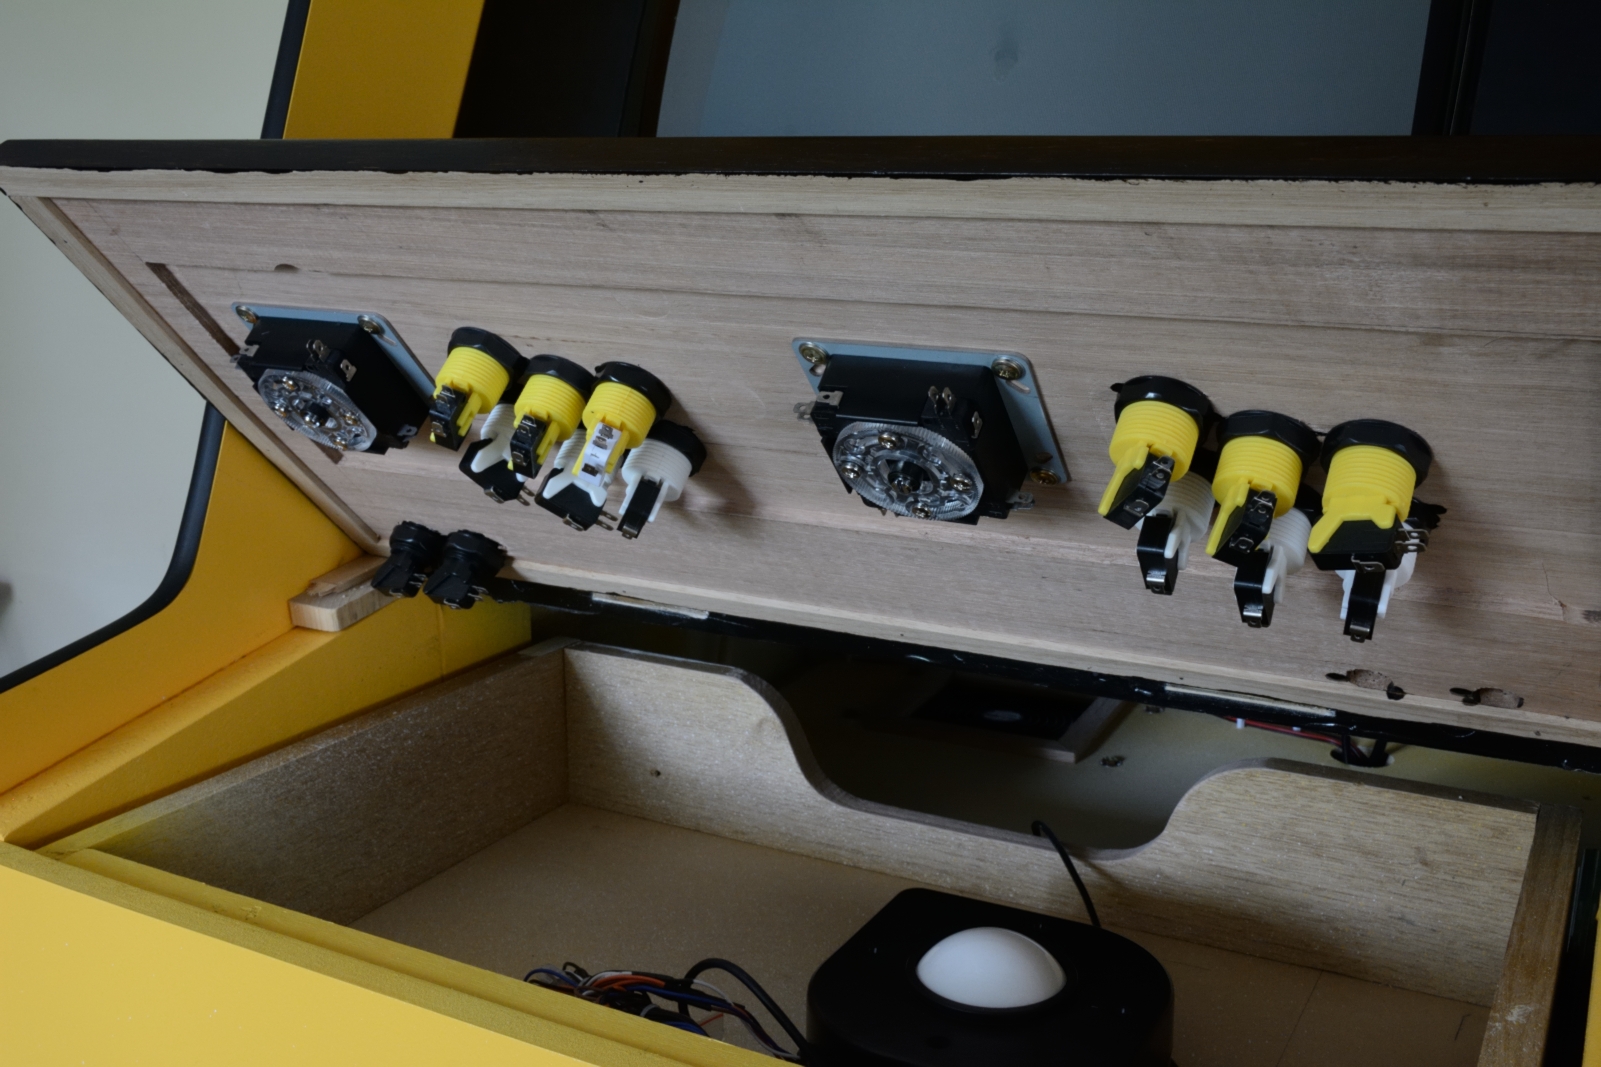
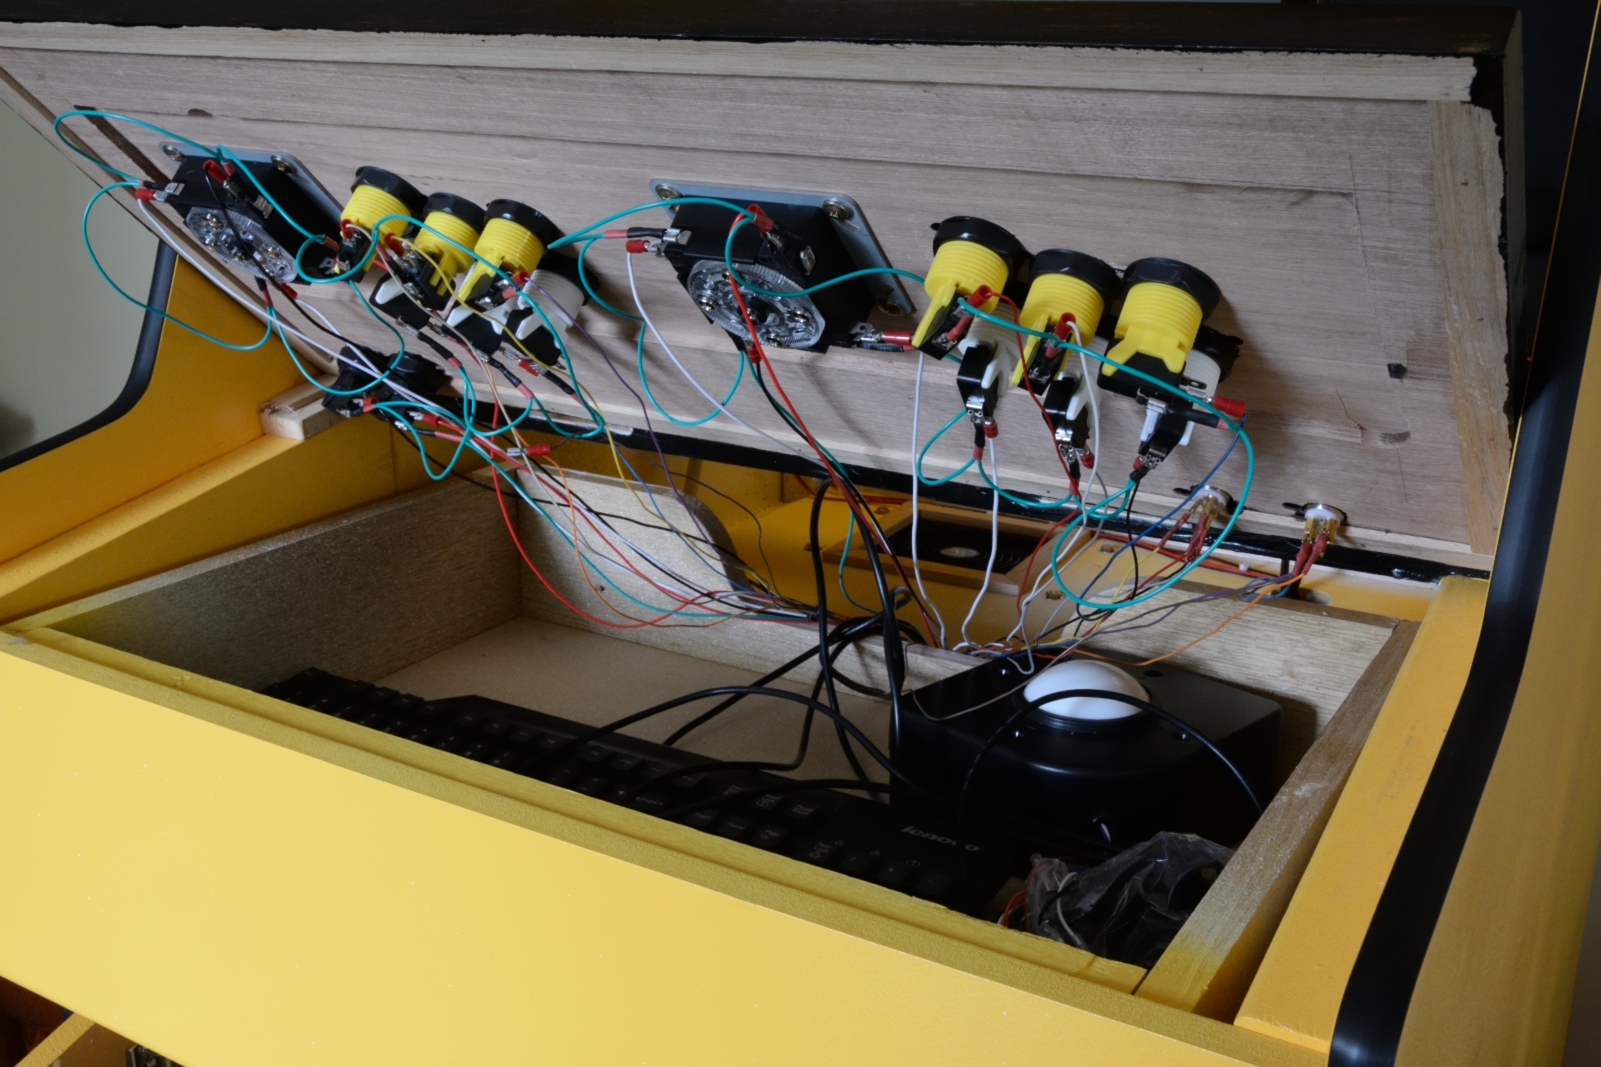
I then proceeded to install the joysticks and buttons. I used ball-top Sanwa joysticks which are highly regarded arcade joysticks. They have a nice vintage arcade feel compared to the bat-top style joysticks which i originally was going to use. The joysticks were attached by screwing them into the bottom of the control panel.
The joystick buttons were easily installed, simply slotting into the holes and being screwed into place using the plastic lock nuts. The nuts can be a little hard to tighten given the close proximity of all the buttons and i've had a couple come loose as a consequence. I would recommend getting a push button socket wrench to assist with installing the buttons.
The joysticks and push buttons are activated via microswitches. These switches are surprisingly simple compared to what i would have imagined as a child. Each switch is connected by wiring to the ground and normal open terminals. As a consequence you quickly get a lot of wires beneath the control panel. Thankfully you can save some space by daisy chaining the ground wire to each microswitch.
The wires from the joysticks and buttons all feed into an I-PAC2 keyboard encoder. The I-PAC connects to a conventional computer through PS/2 and/or USB. Associated software allows you to program the arcade buttons according to your needs.
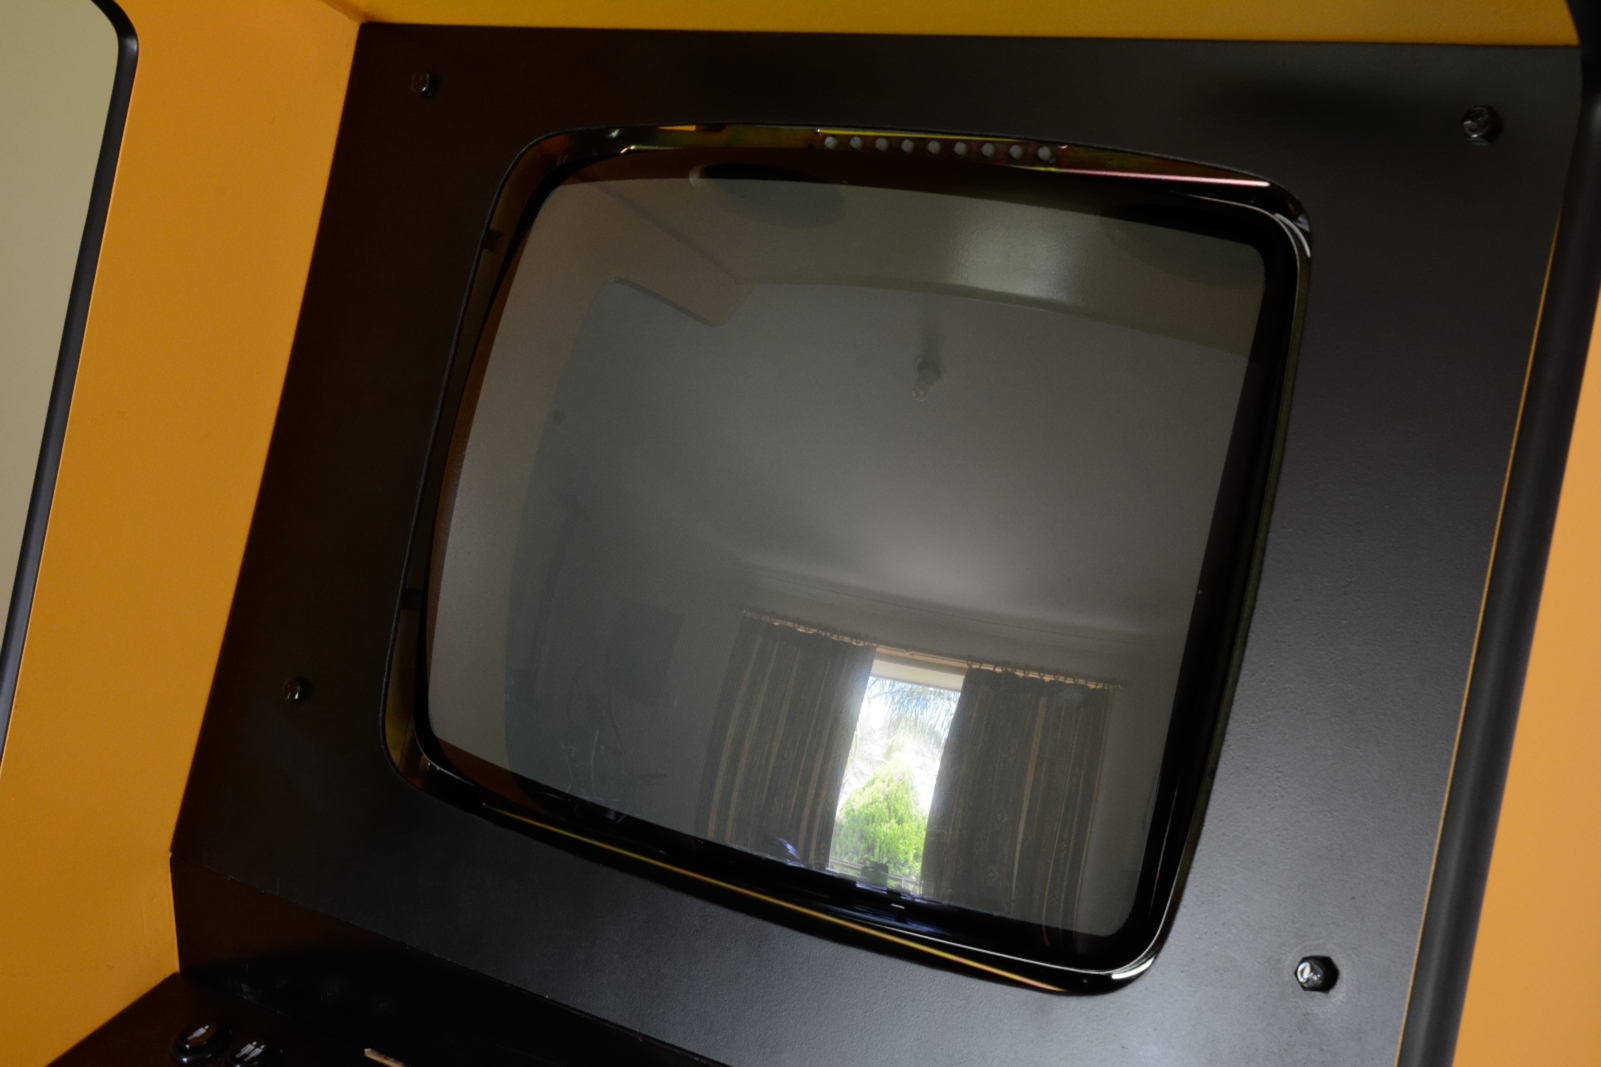
monitor bezel
I had already cut out and spray painted a bezel for the monitor but had purposefully left space between the monitor and bezel edges on the basis i was going to come up with a more elegant curved bezel to connect the two. Unfortunately i could not find any readily available bezels from suppliers that matched my monitor size. I consequently looked into getting a custom 3D printed bezel made. However, i have given up on this option for the time being since online quotes indicate it would be relatively expensive at this point in time. More significantly though, i found it difficult to measure the required dimensions for the bezel given all those curves around the monitor and even more difficult to develop a 3D model using an appropriate software package. I tried developing a model using blender but found it hard to generate smooth curves. Perhaps with some more practice i will be able to develop a good quality model and the costs of 3D printing will continue to improve, allowing me to once again pursue this option.
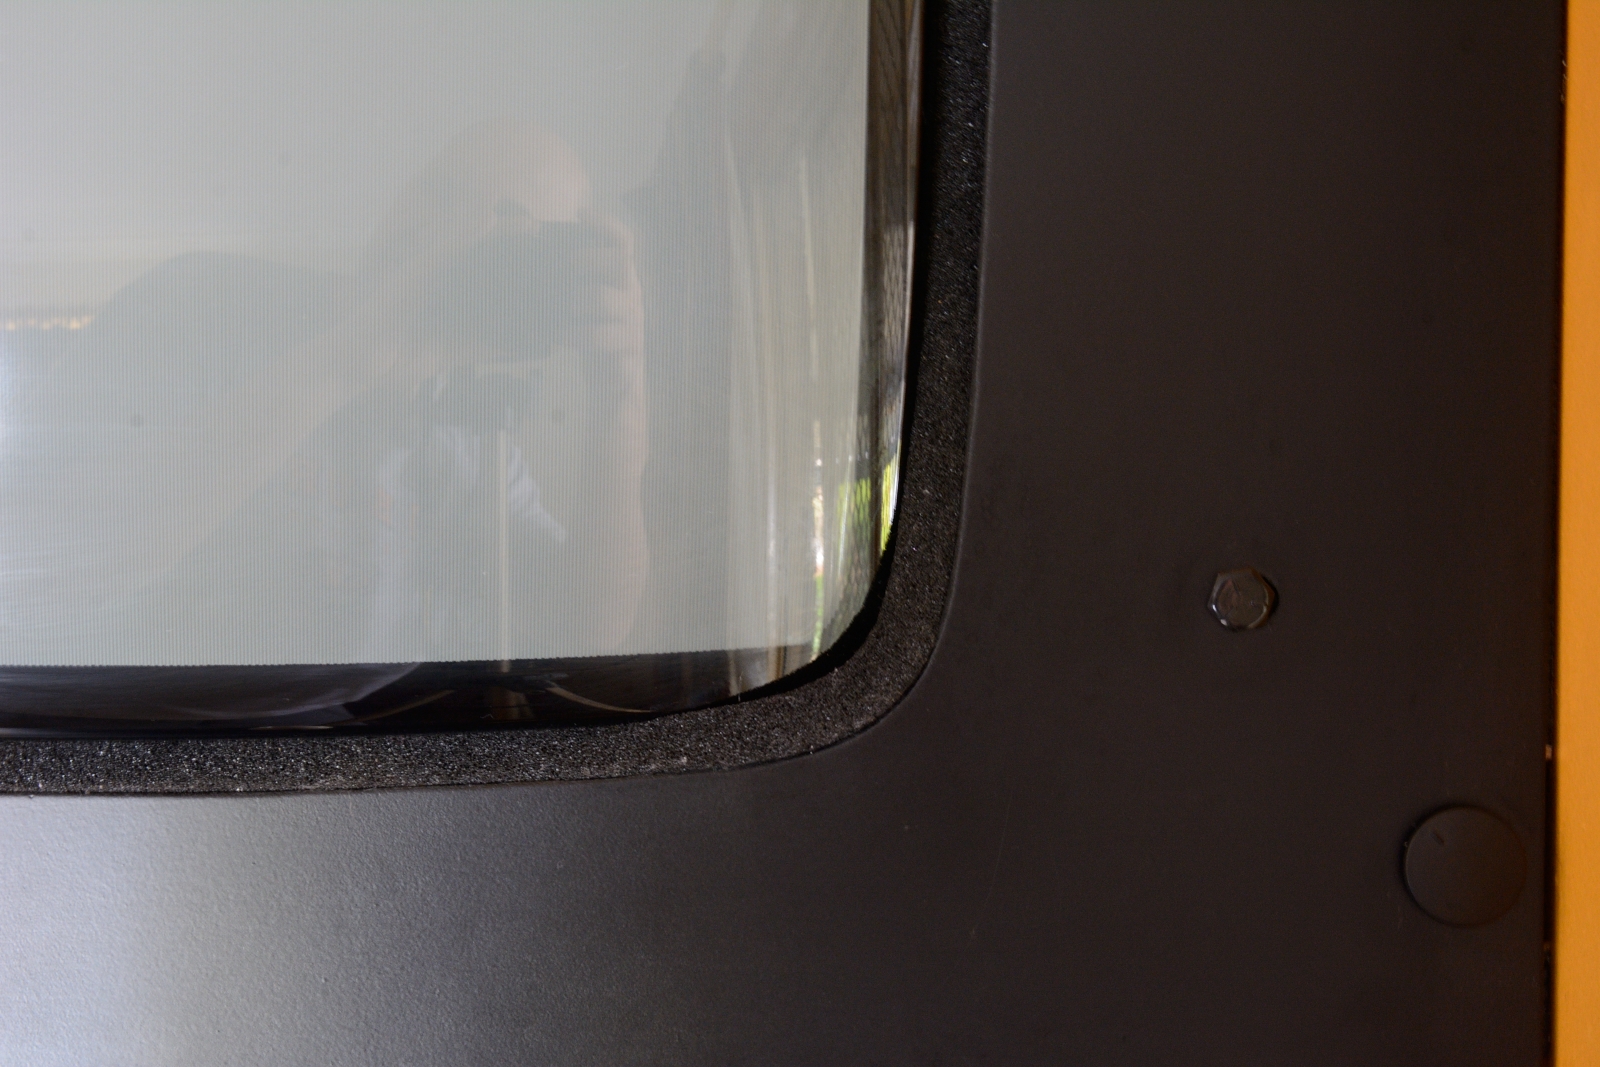
In the end i came up with a reasonably effective stop gap solution which was to use bitumen foam squeezed in between the monitor and existing bezel!
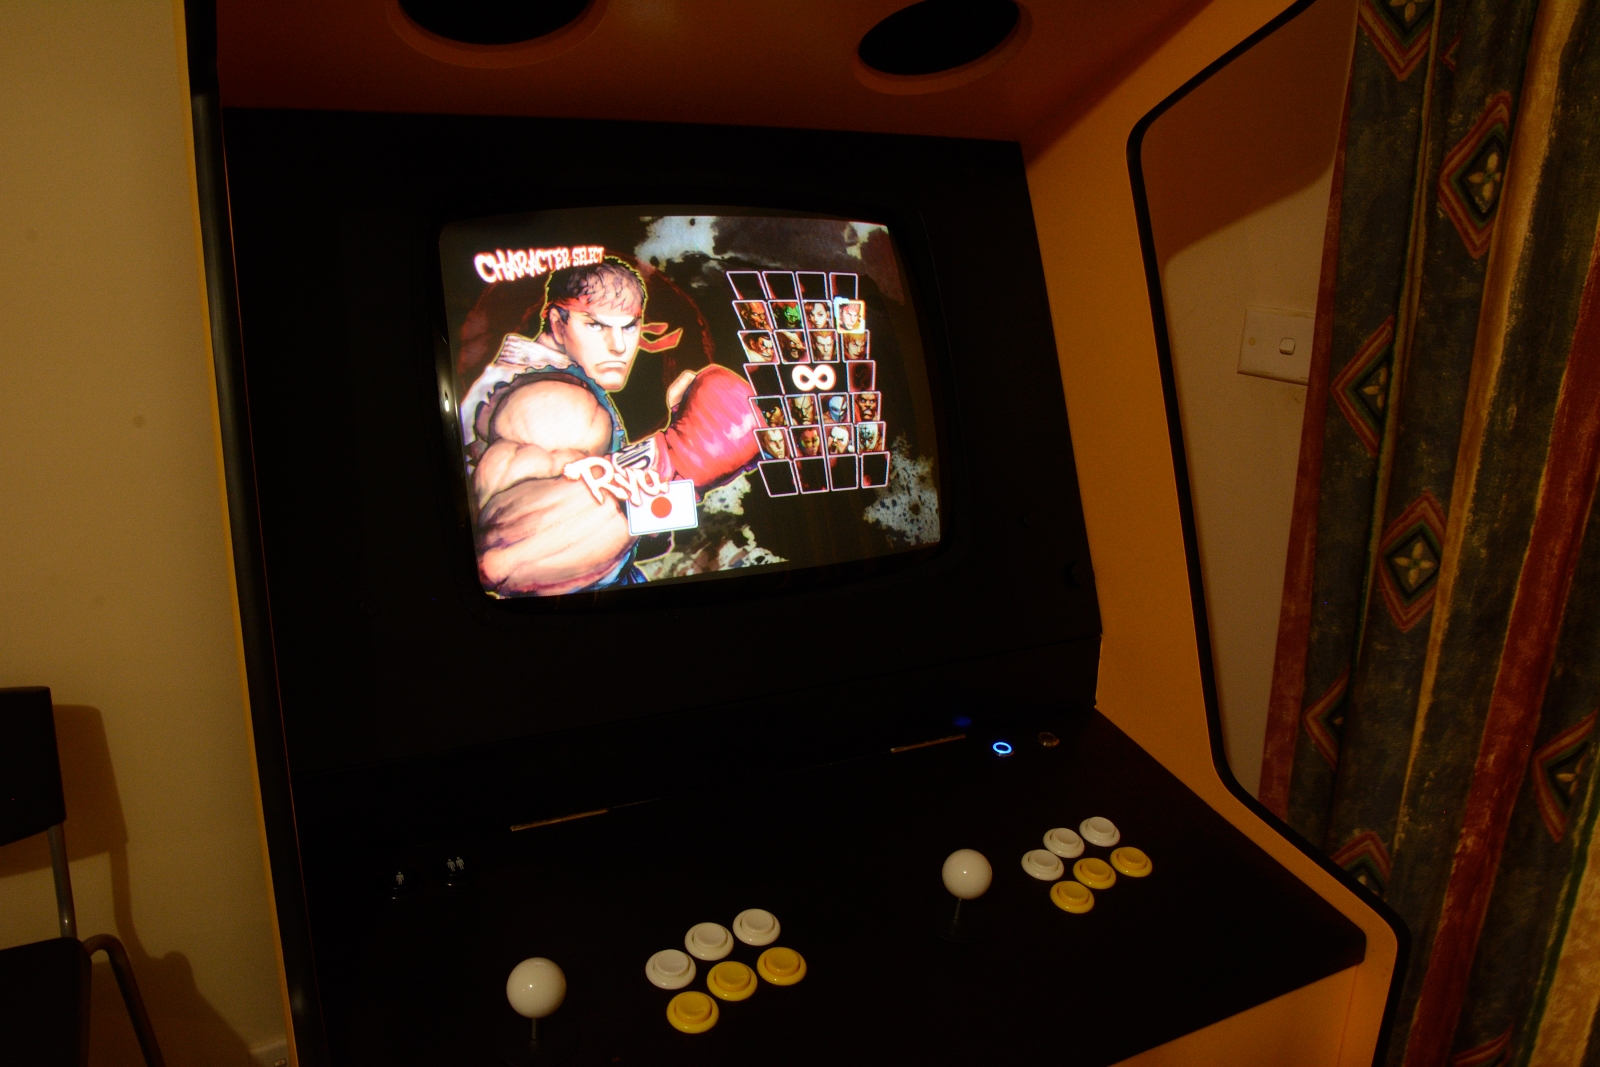
Nearing completion
With all the essential hardware installed and control panel wired up, i proceeded to install the necessary software to get the arcade up and running. This involved installing Windows 7 in all its new found low resolution glory and gaming software such as steam and mame. I have been enjoying playing a bit of Street Fighter IV which i purchased via Steam.
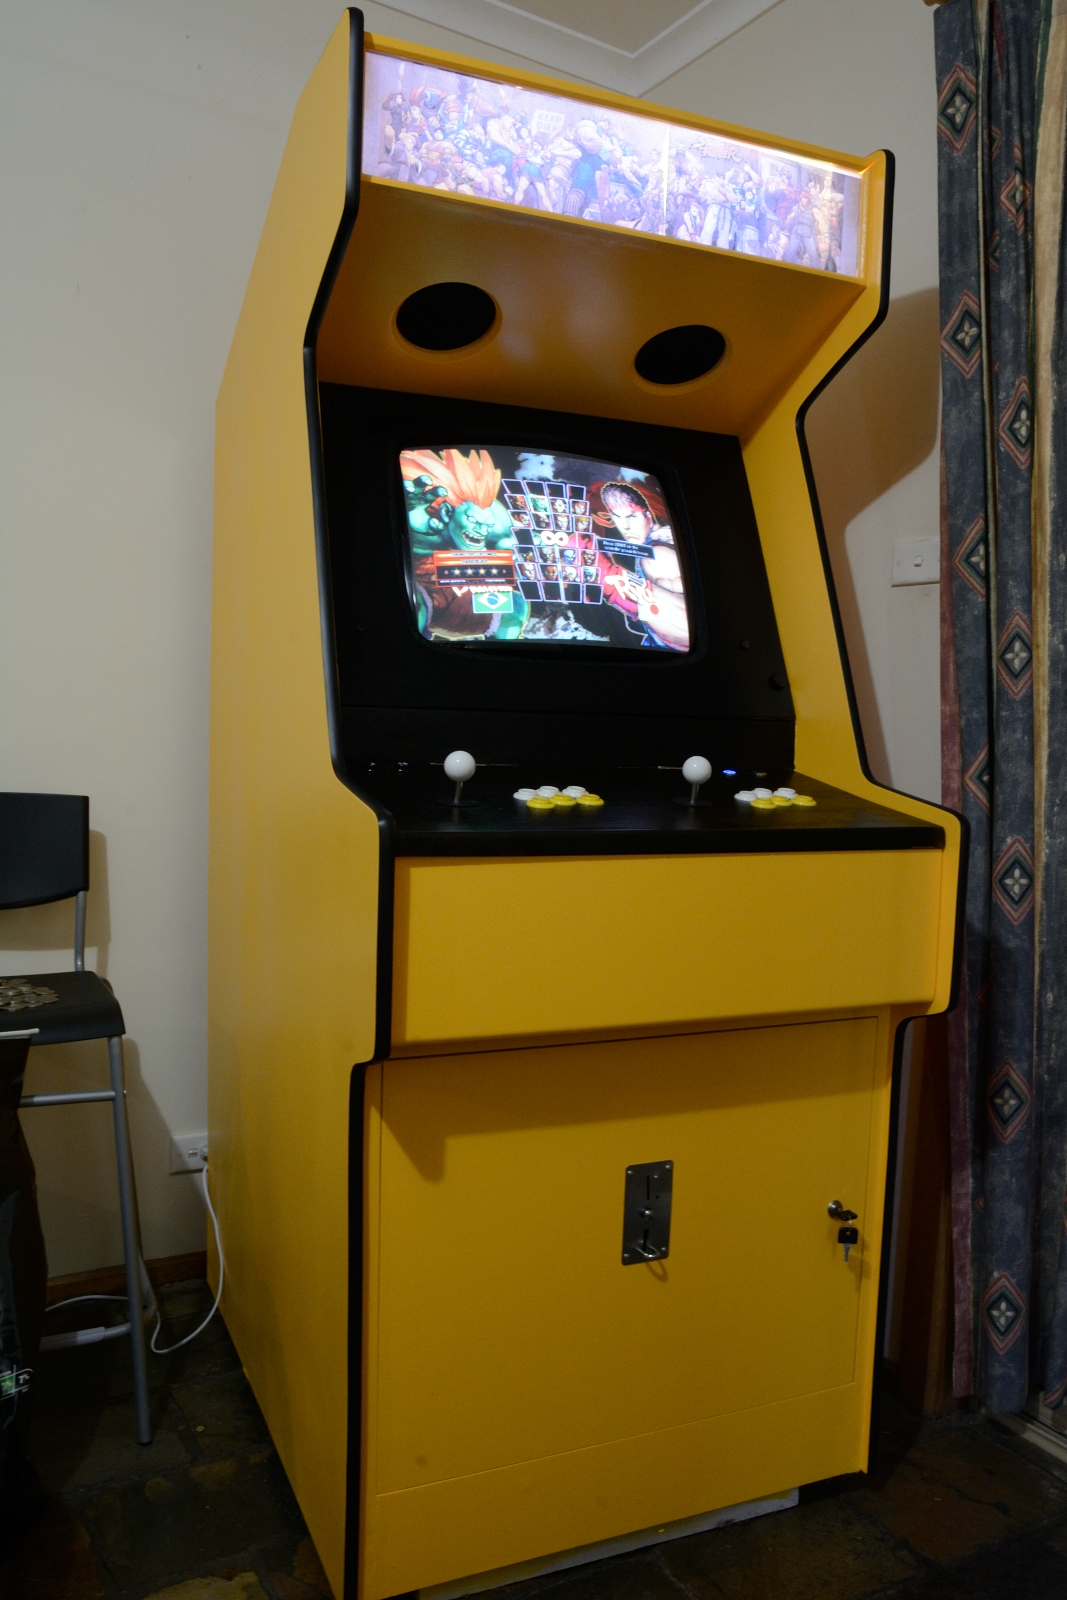
Apart from some continued software modifications there are a few remaining hardware modifications i would like to complete. These include installing a higher quality marquee featuring some original artwork and a kick plate on the bottom-front of the cabinet.
Having used the cabinet for a few months now i would have liked to install a track ball into the control panel and associated buttons for navigating windows without having to lift up the control panel. Unfortunately there may not be enough space to install the trackball given the current button layout which would necessitate a new control panel being constructed. At present i've been using the HippoRemote to control Windows from my iPhone which does a decent but not perfect job.
At the end of the day the arcade cabinet is effectively done and i'm stoked with the results.