monitor frame, rear panels and raw control panel
Monitor frame
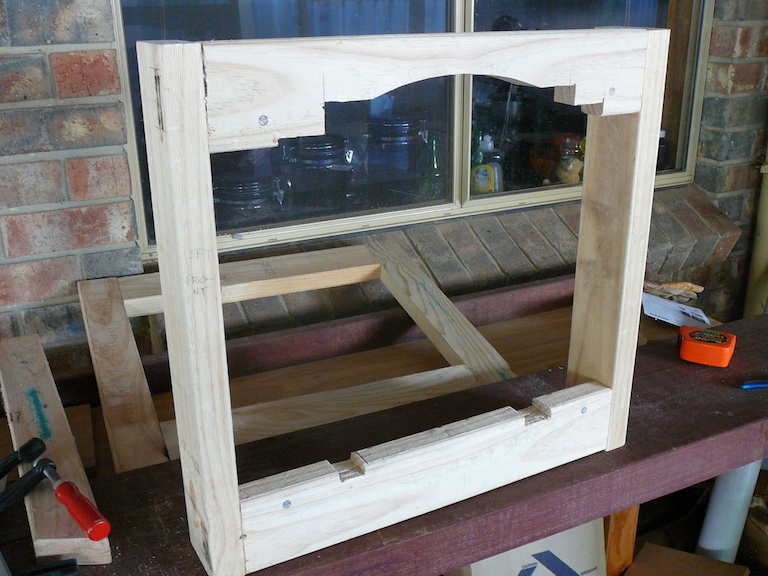
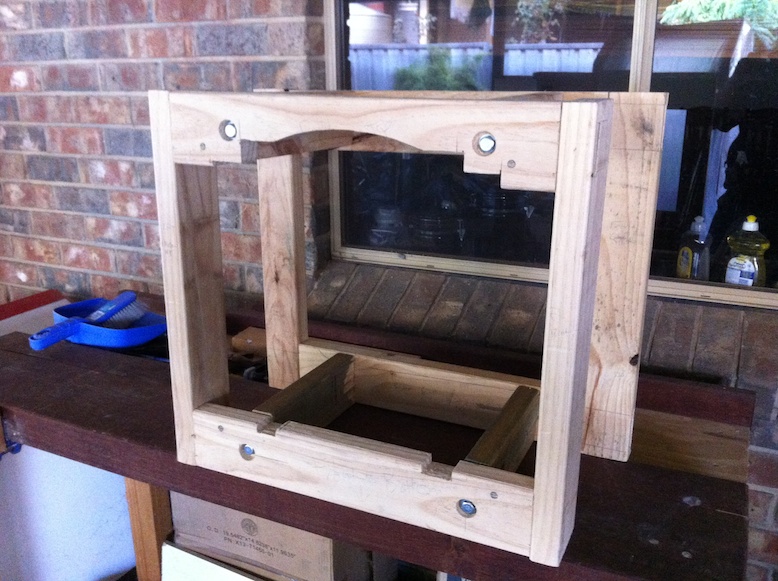
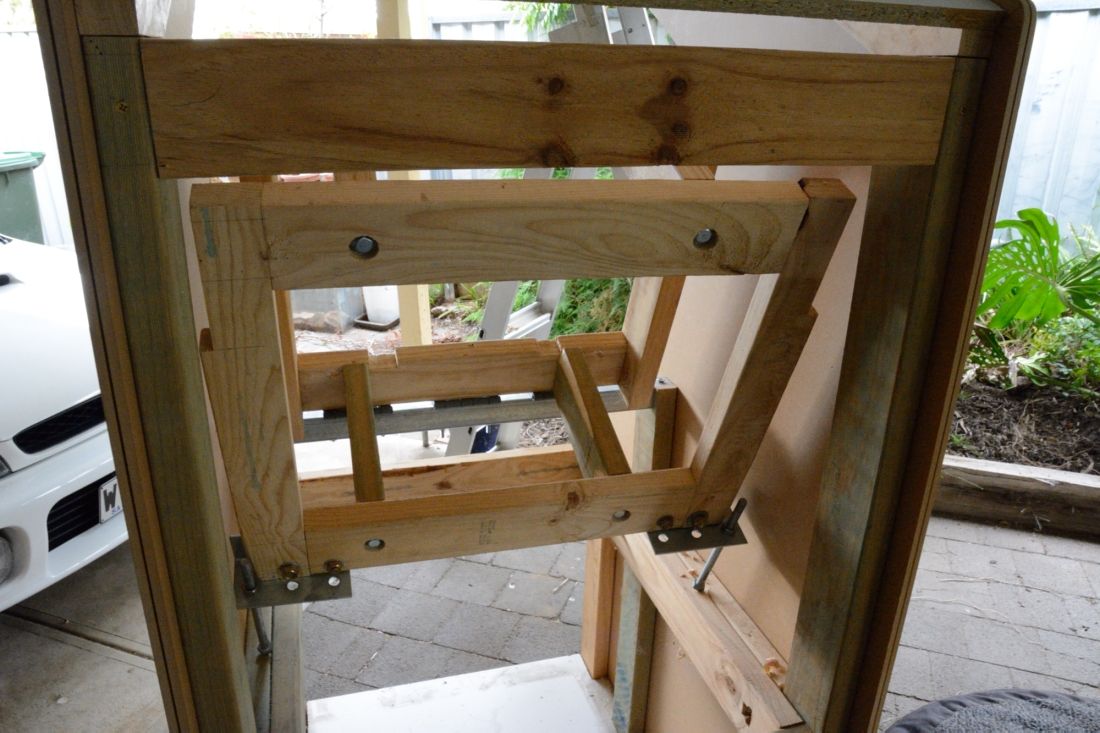
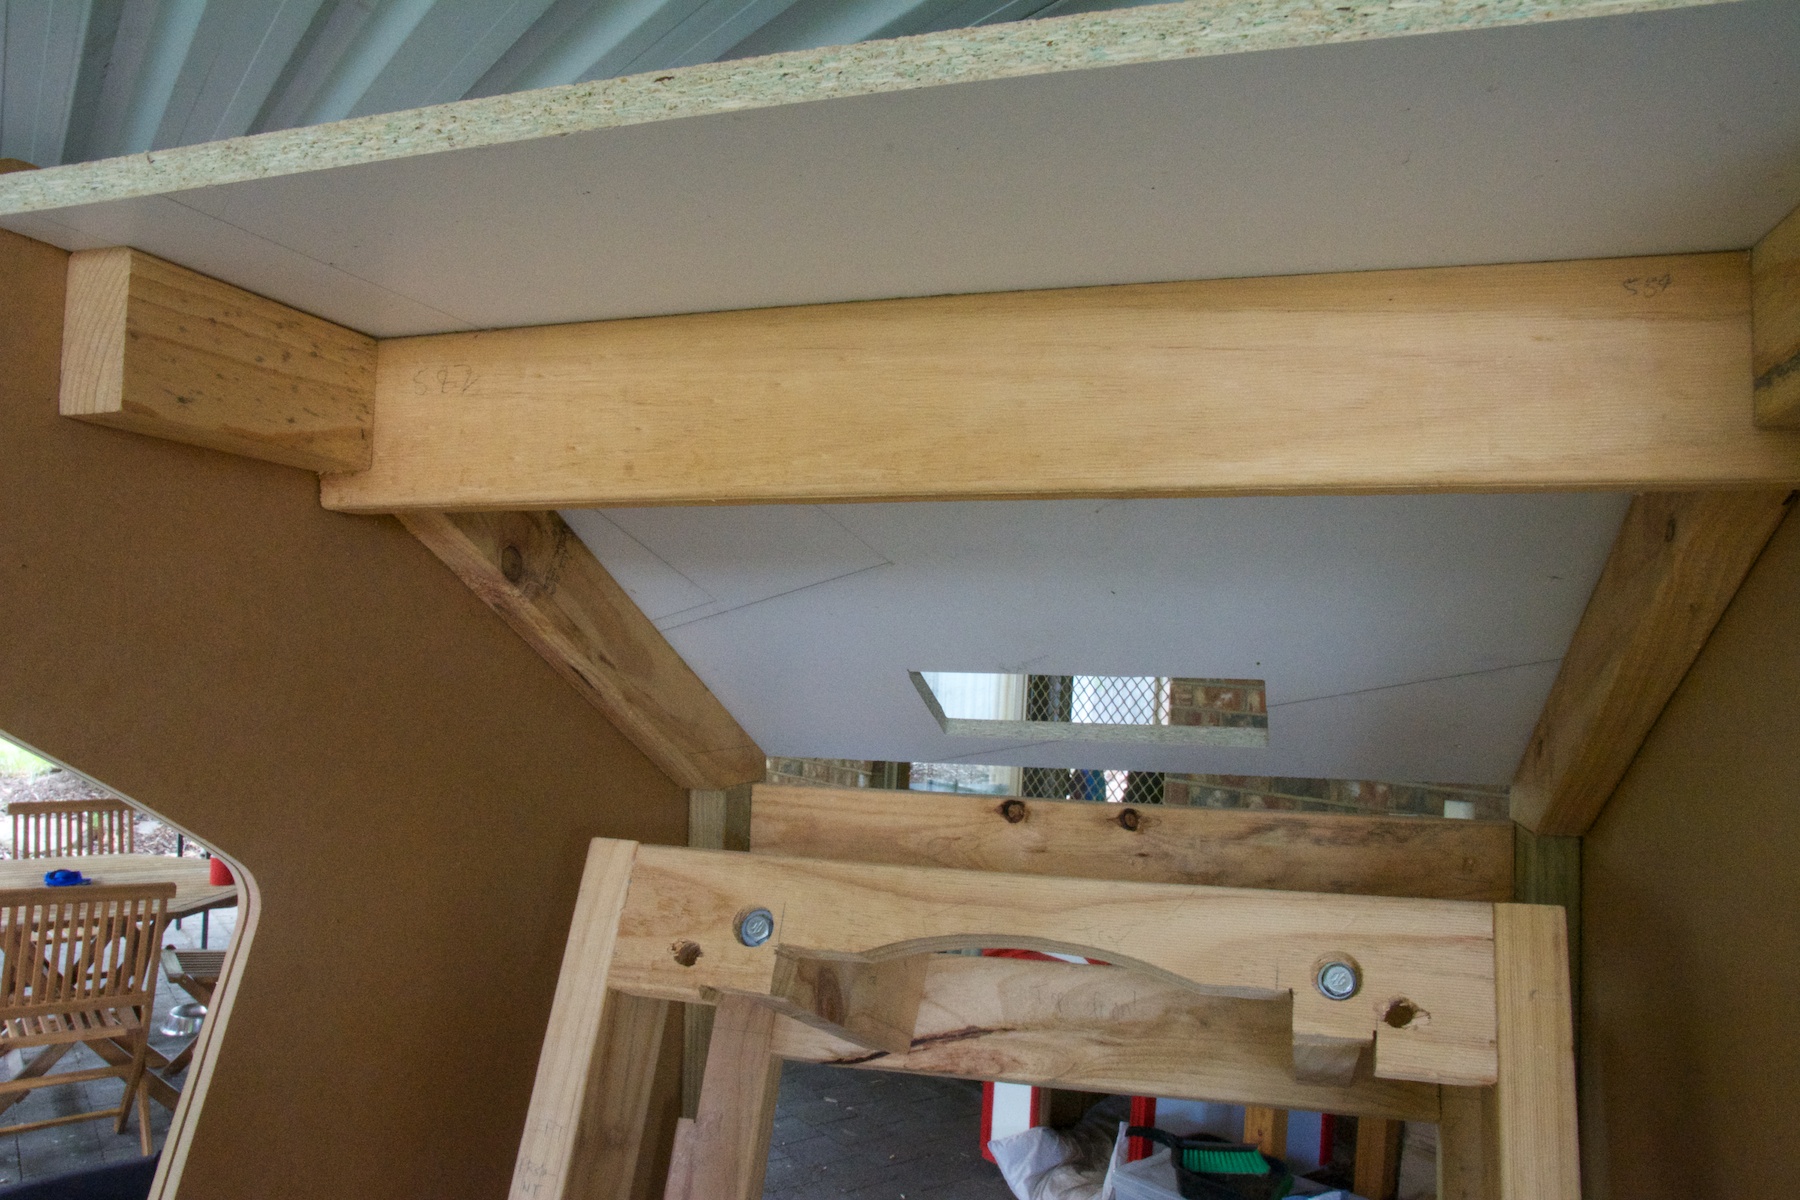
With the sides in place i set to work on building the frame that would support the CRT monitor. While a simple solution would be to install two fixed horizontal beams and then attach the monitor directly to the beams, i figured it would be smart to build a tilting frame that would allow me to adjust the monitor to the correct angle once it is in place. I subsequently settled on a box-shaped frame design.
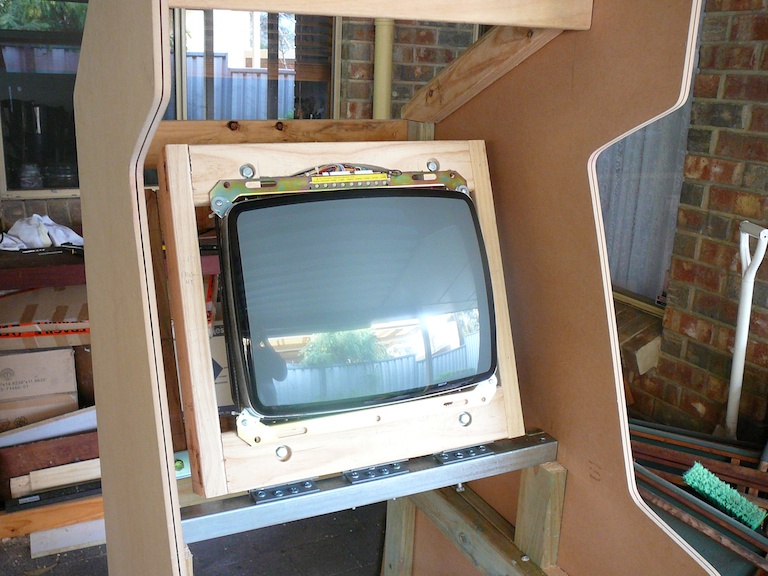
In order to fit the monitor in snugly, the first frame had to be shaped in order to slide the monitor into the frame. This required shaping of the frame with a jigsaw and chisel. The remainder of the frame was appropriately sized and bolted together.
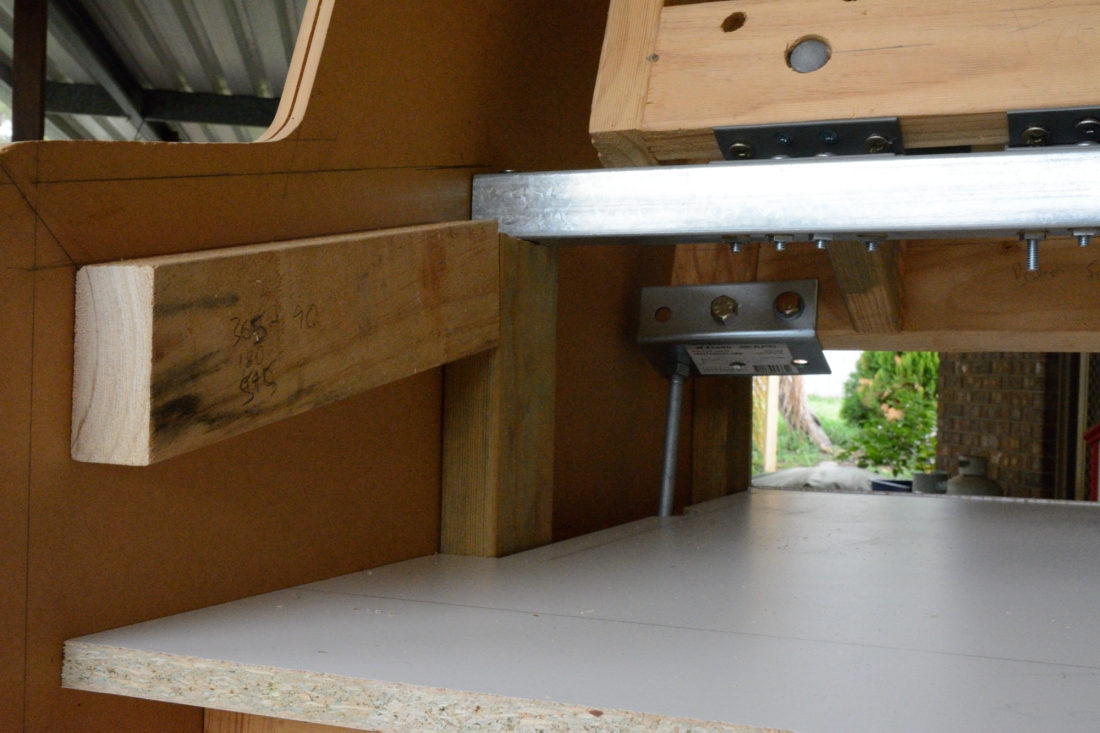
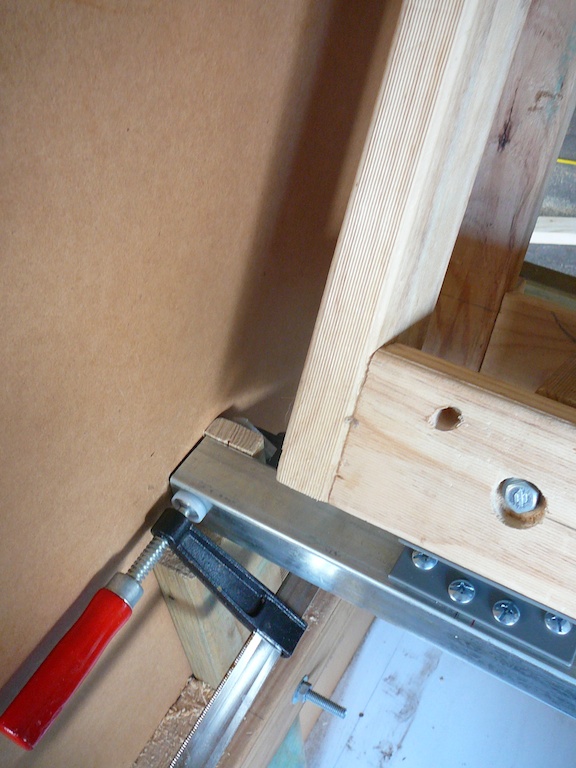
The frame was fixed to a steel square tube with hinges, while the steel tube itself was fixed to the two smaller vertical internal support beams inside the cabinet.
In order to adjust the height of the monitor i concocted a solution using steel brackets and large bolts and nuts that were attached to the bottom rear of the CRT frame.

Rear panels
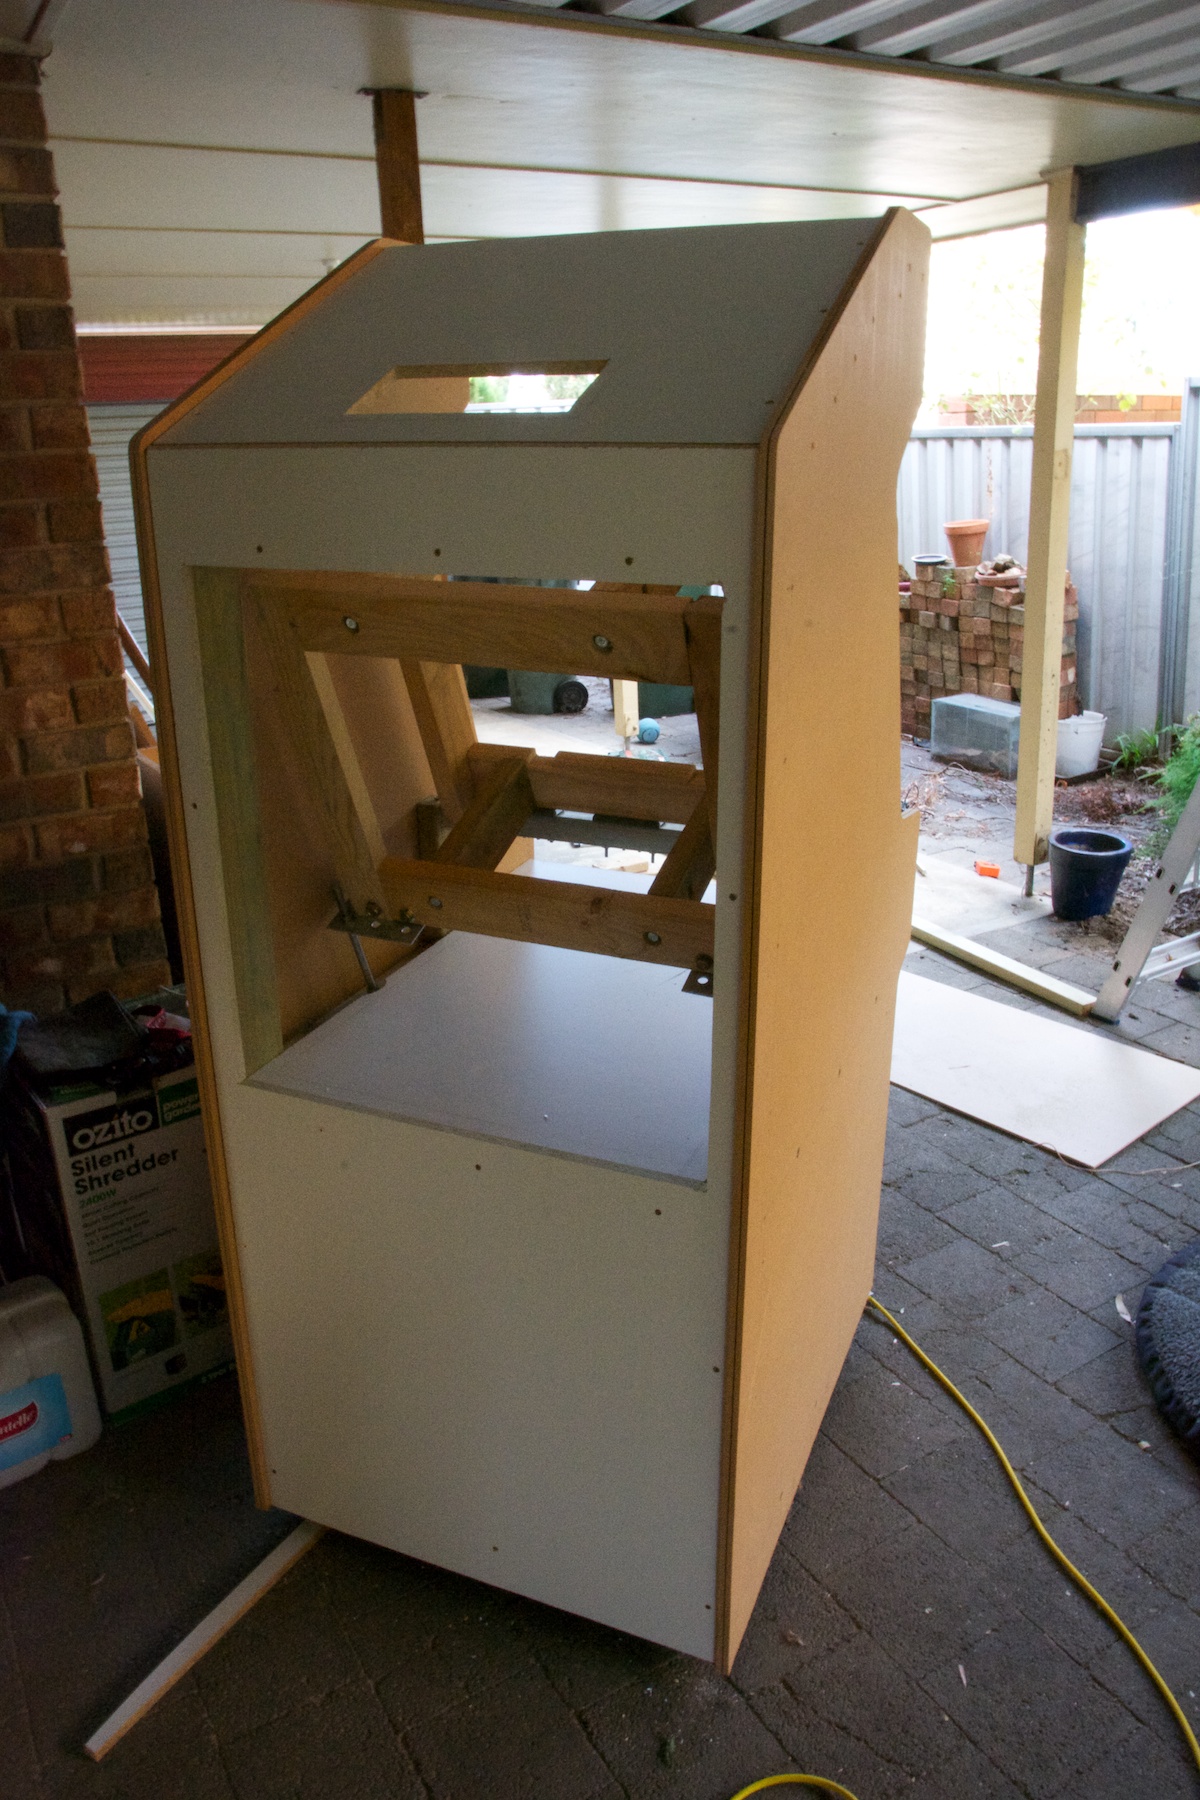
With the monitor frame in place the next task was to work on the exterior. I started on the angled section at the top rear of the cabinet. After cutting the board to size i made a small rectangular hole over which an aluminium grill will be placed to provide ventilation. The grill was picked up from Bunnings.
I then cut and installed the rear panel of the cabinet. With some challenge I cut out a large rectangle for the door which will enable me to get to the back of the cabinet. This door will feature a lock in order to ensure no one inadvertently goes near the back of the monitor which is extremely dangerous.
Given that i plan on using "european style" hinges to attach the door, i probably should have cut out and temporarily installed the door first since the measurements for the hinges and door have to be precise in order for the door to line up with the rest of the back panel. In any event, this is a problem i can put off solving till later in the project as i need the door detached in order to gain easy acces to the inside of the cabinet.
I then cut out a narrow rectangular panel for the very top of the cabinet. I did not attach this part to the cabinet at this stage as i would probably need to cut this piece to accommodate my (at the time) undecided solution for the marquee.
At this point i also cut out the internal middle shelf which is designed to separate the monitor section from the computer section for safety reasons - i want to minimise the risk of anyone accidentally touching the monitor and receiving an electric shock when working on the cpu.

Control panel
At this stage i thought it would be a good idea to cut out the initial piece for the control panel in order to help guide the construction of the surrounding elements.
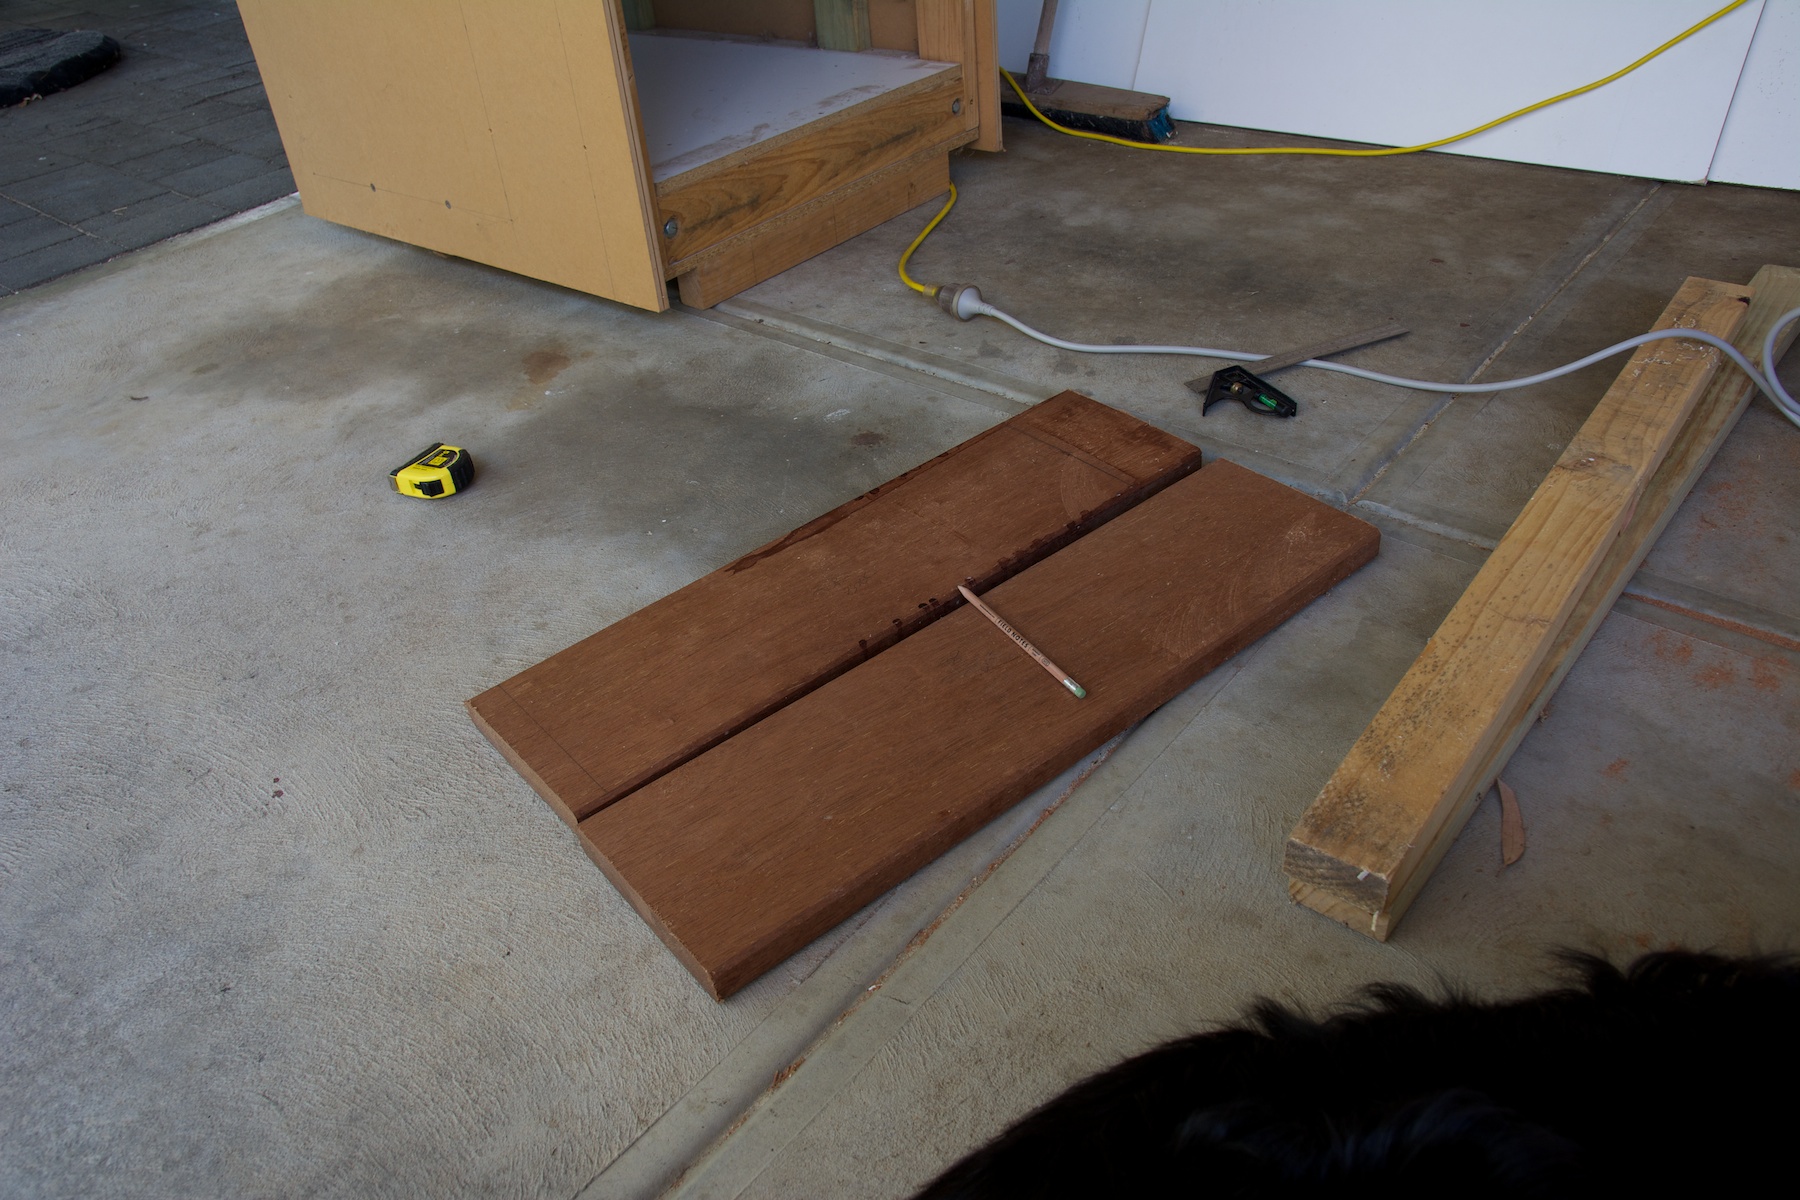
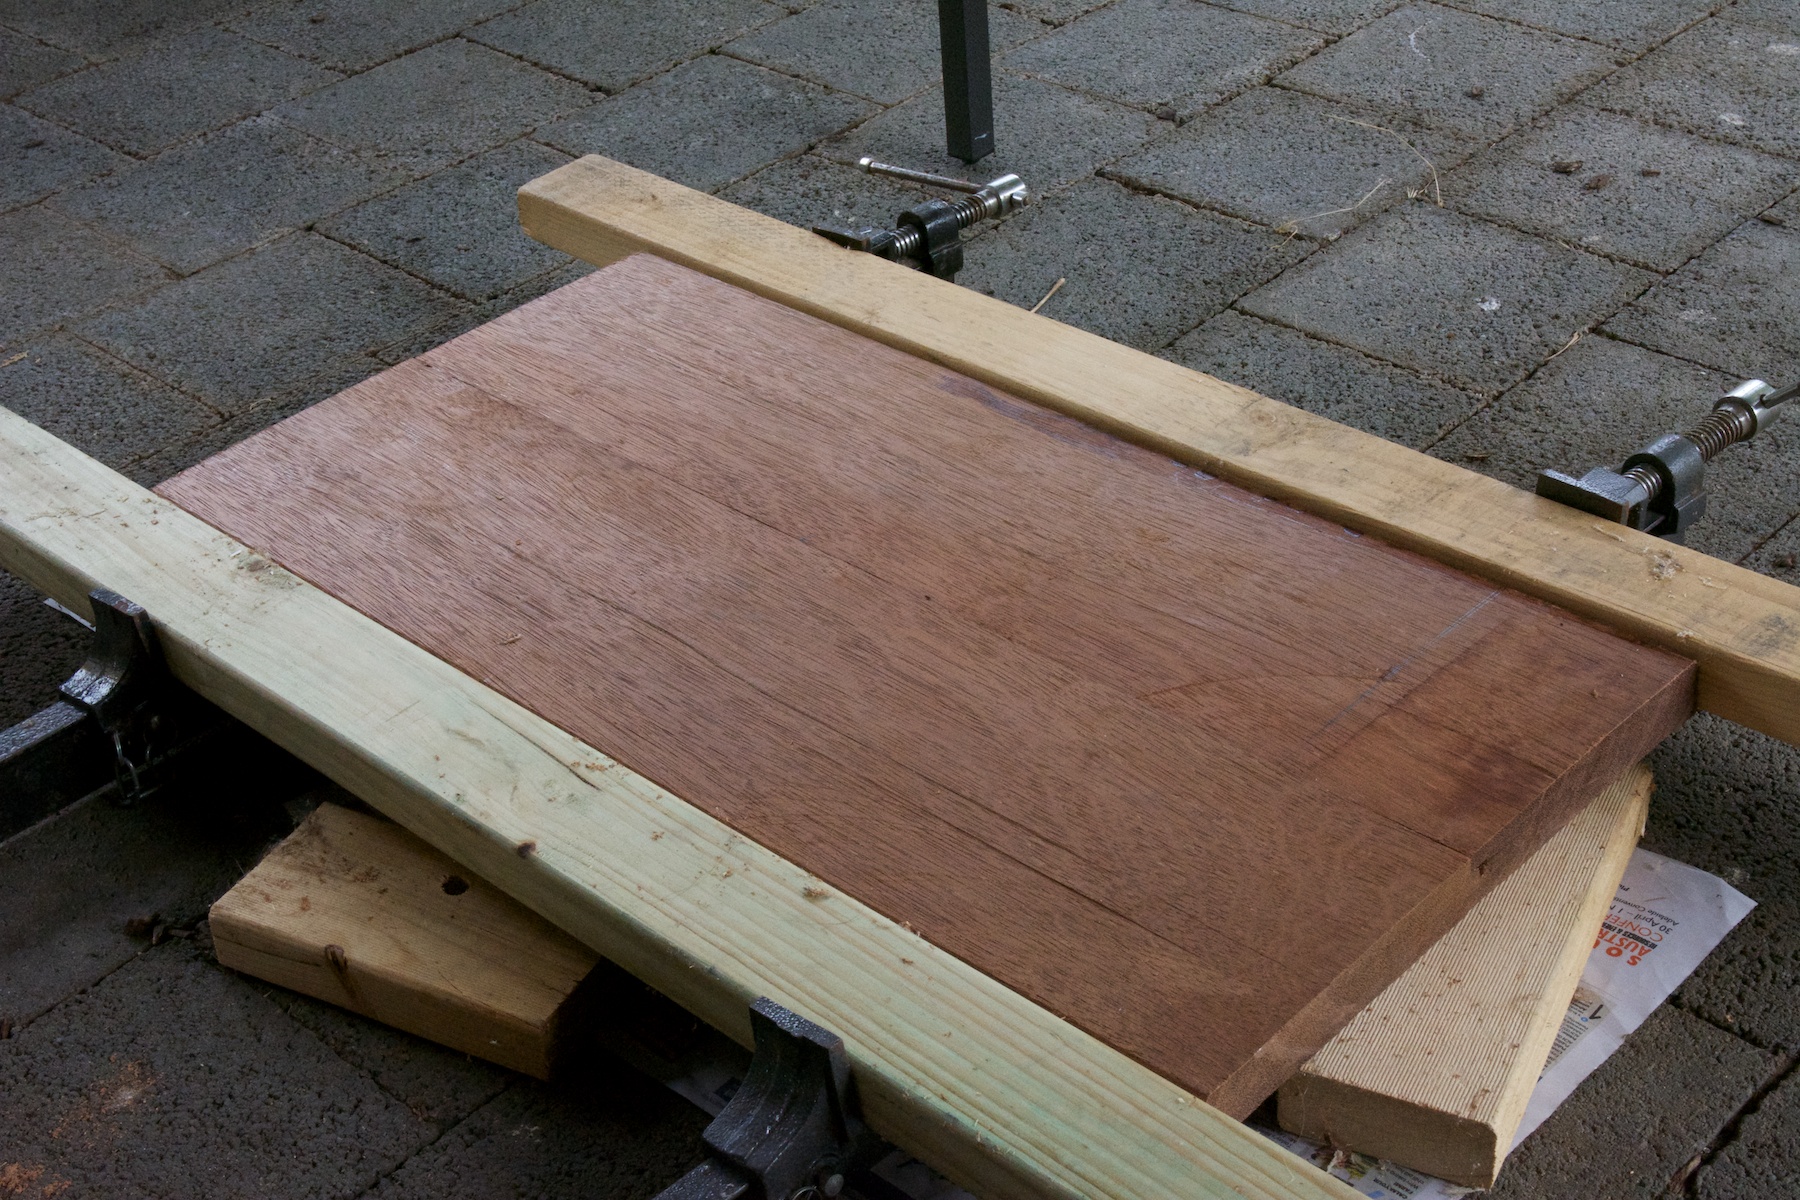
I was very uncertain about what material to use for the control panel given the importance of this piece. My initial thought was to simply use a piece of MDF board covered with wood veneer. After seeing the zombie arcade cabinet i was thinking about going with an anodized aluminium panel. However, it seems that such panels are not easy to come by, and there would be significant challenges and costs associated with machining a sheet to my specifications. At one stage i even considered going the DIY route and anodizing my own piece of aluminium! In the end i decided to do the right thing and use some fine Australian Jarrah that i had left over from building the work bench.
As the pieces of Jarrah were not large enough, i had to glue two pieces together, using a router to create a shallow full-width mortise and tennon joint