speaker panel, marquee and drawer
speaker panel
At this point in the construciton process i was getting to the more fiddly components including the speaker panel.
I have already purchased the speakers and associated amp which i will discuss in a subsequent post. Basically my set up will involve two speakers connected to a mini amp which connects to the audio port of the computer. An external volume knob connected to a mini amp will provide easy access to the volume control - an important consideration given that i might use the arcade as a jukebox from time to time.
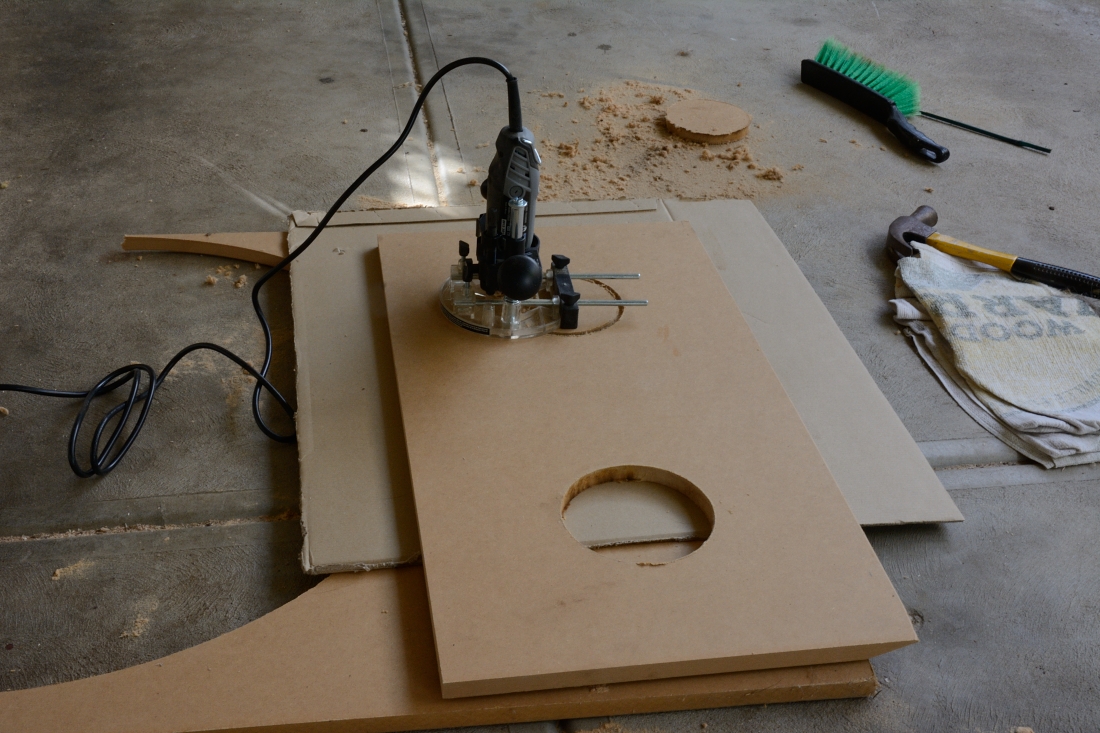
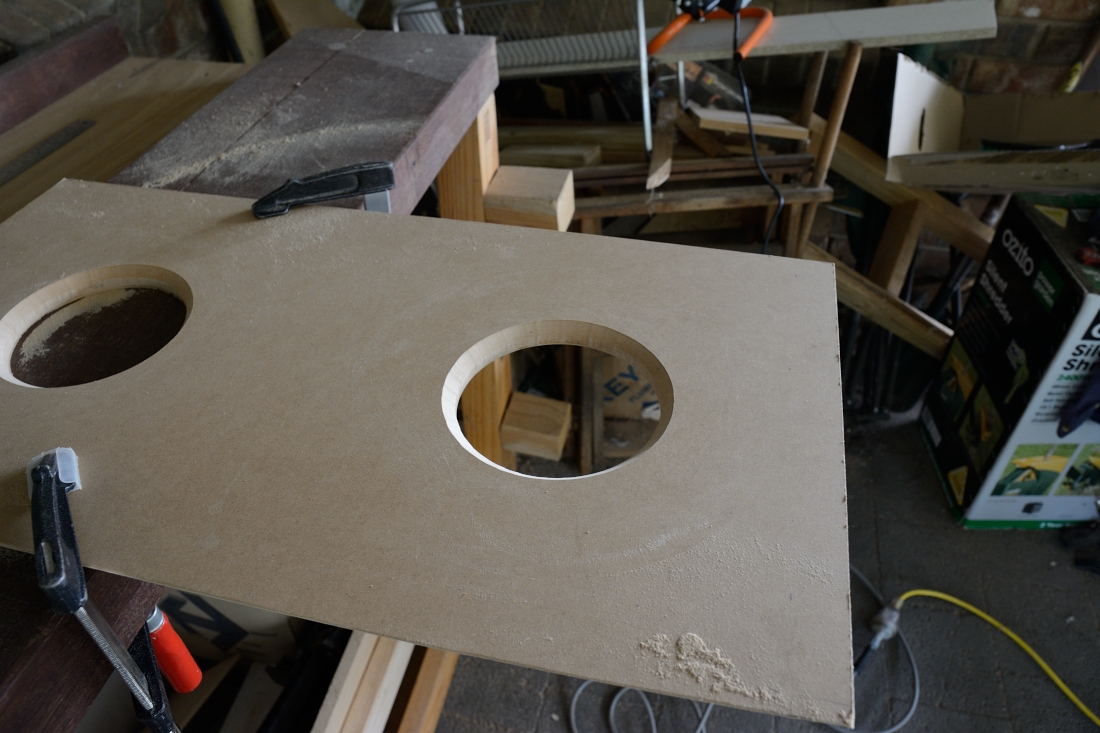
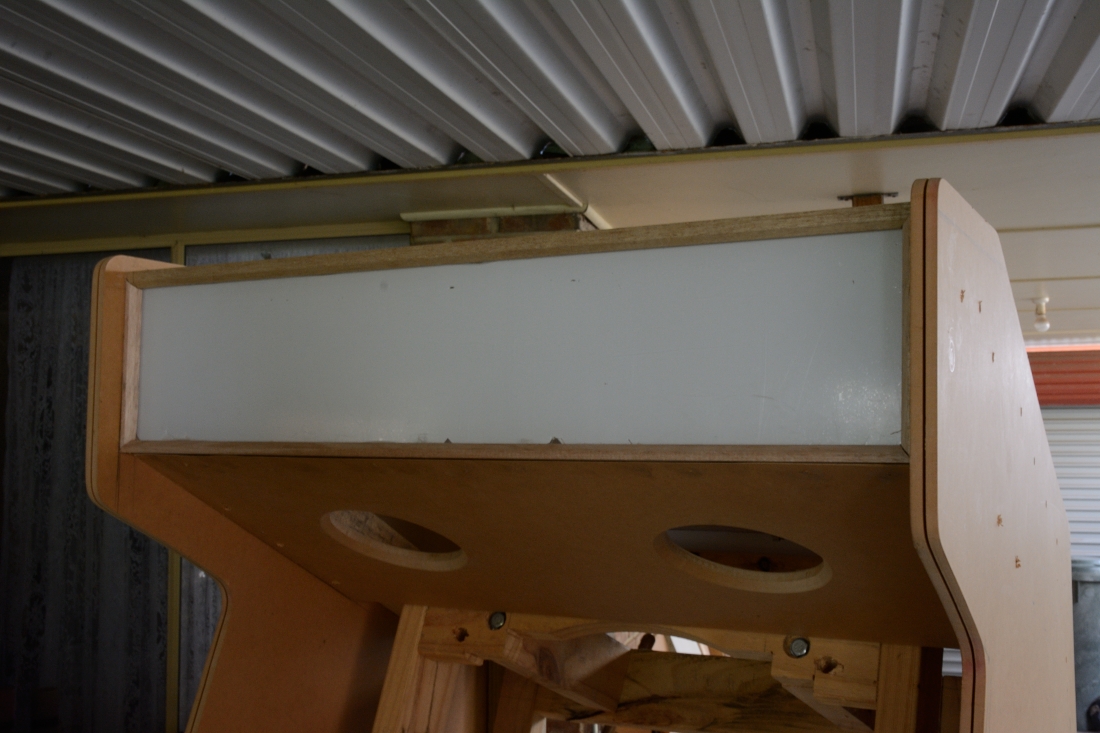
After cutting the panel to size, i then used my new Dremel to cut two speakers holes. Although i will probably obtain two speakers covers to insert over the holes, i used a router to finish the holes with an angled bevelled edge.
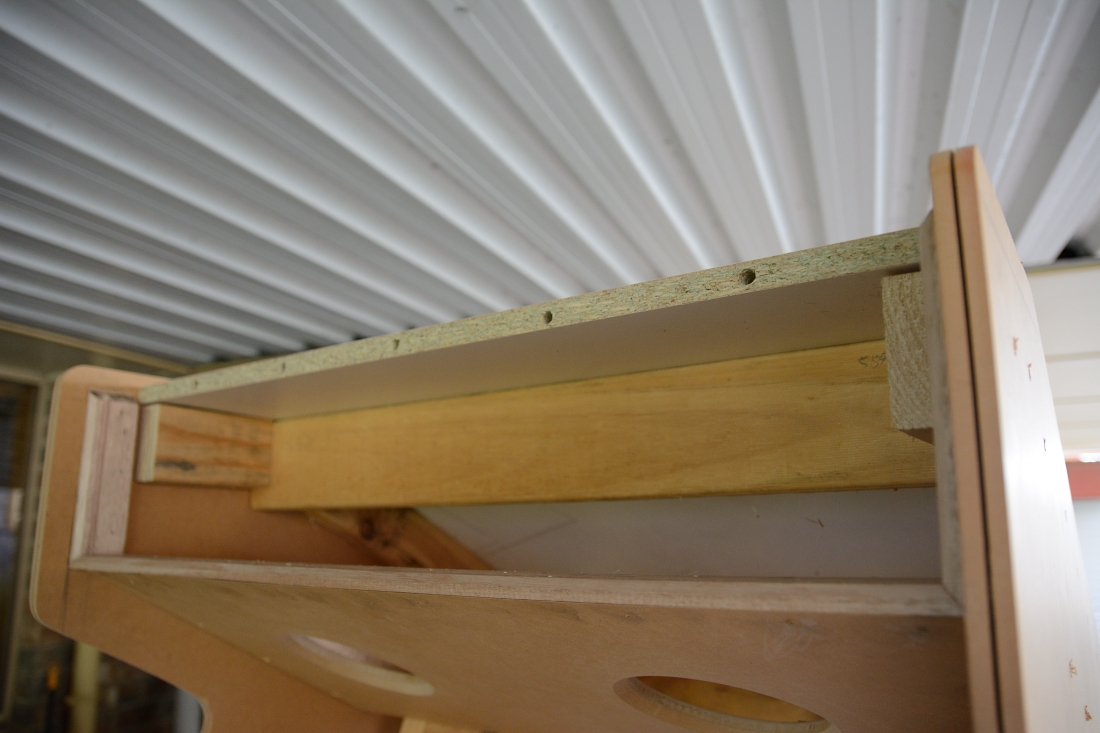
The speaker panel was then attached to two pieces of wood attached to the sides of the arcade cabinet.
marquee
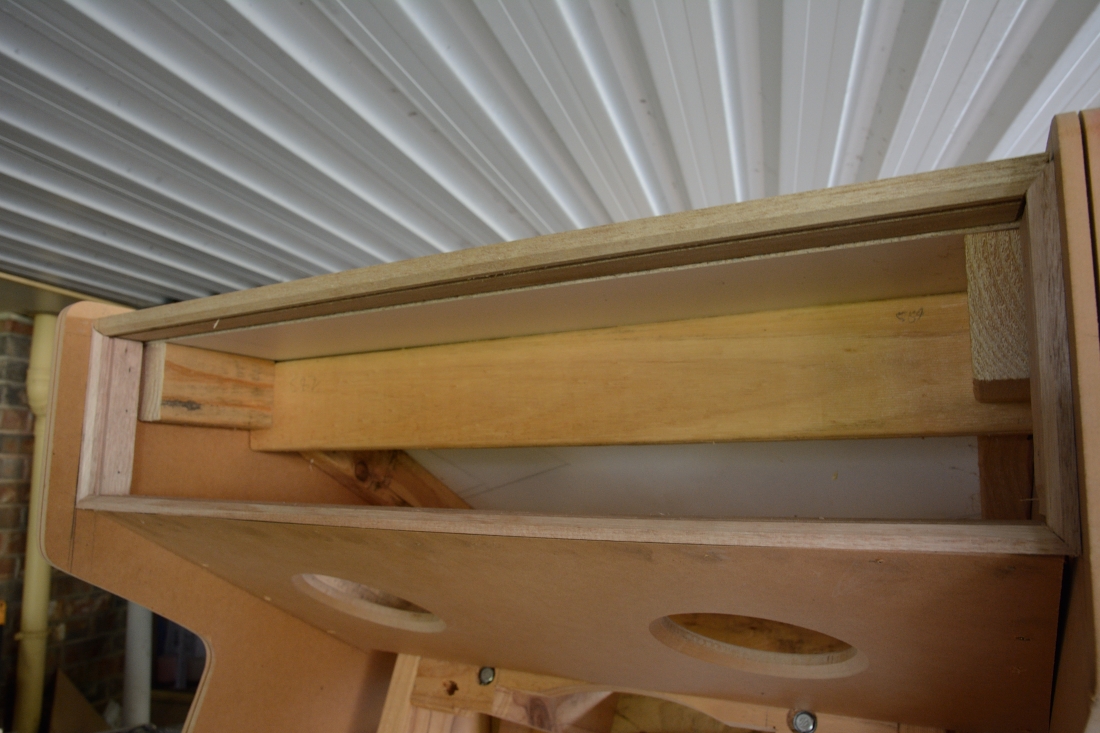
One of the more tricky parts of the cabinet was coming up with the frame for the marquee. I decided to create a frame that could be opened from the top to allow the marquee to be slid into the frame. The top part of the frame would be connected to the top lid which itself would be attached to the cabinet via a hinge. This arrangement would enable easy access to the lights, speakers and marquee when needed.
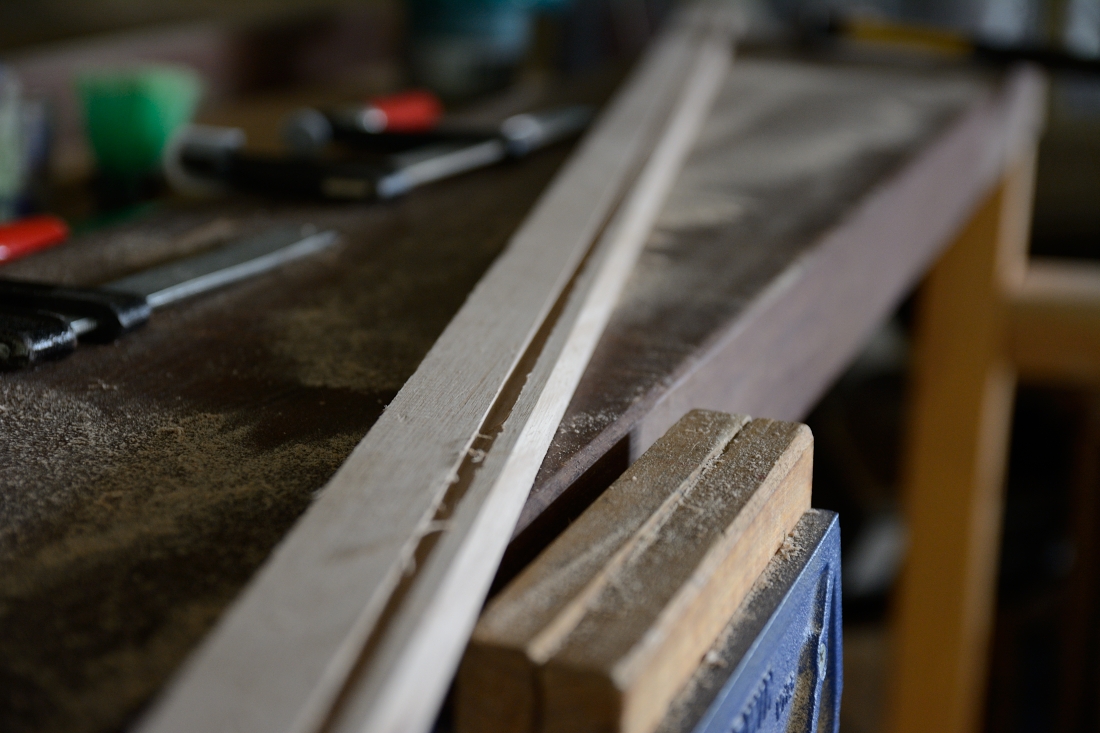
To create the frame i used a wide piece of timber in which i cut out a groove for the marquee using a router. I then used a router to cut an angular bevelled edge on the front inside edge of the frame, matching the bevelled edge of the speaker holes.
The edges of the frame were then cut to size. The bottom and side edges were nailed and glued to the speaker panel and sides of the arcade cabinet respectively. This process was somewhat time consuming since i had to do a fair bit of planeing and sanding in order to get the pieces to fit snugly.
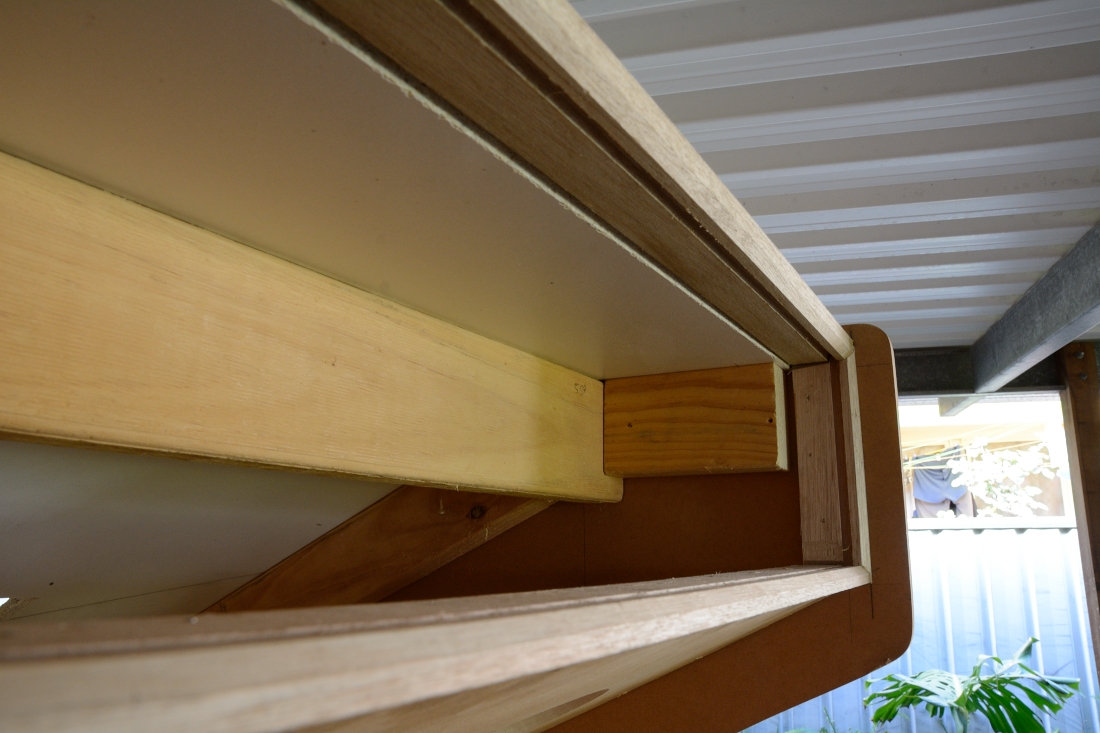
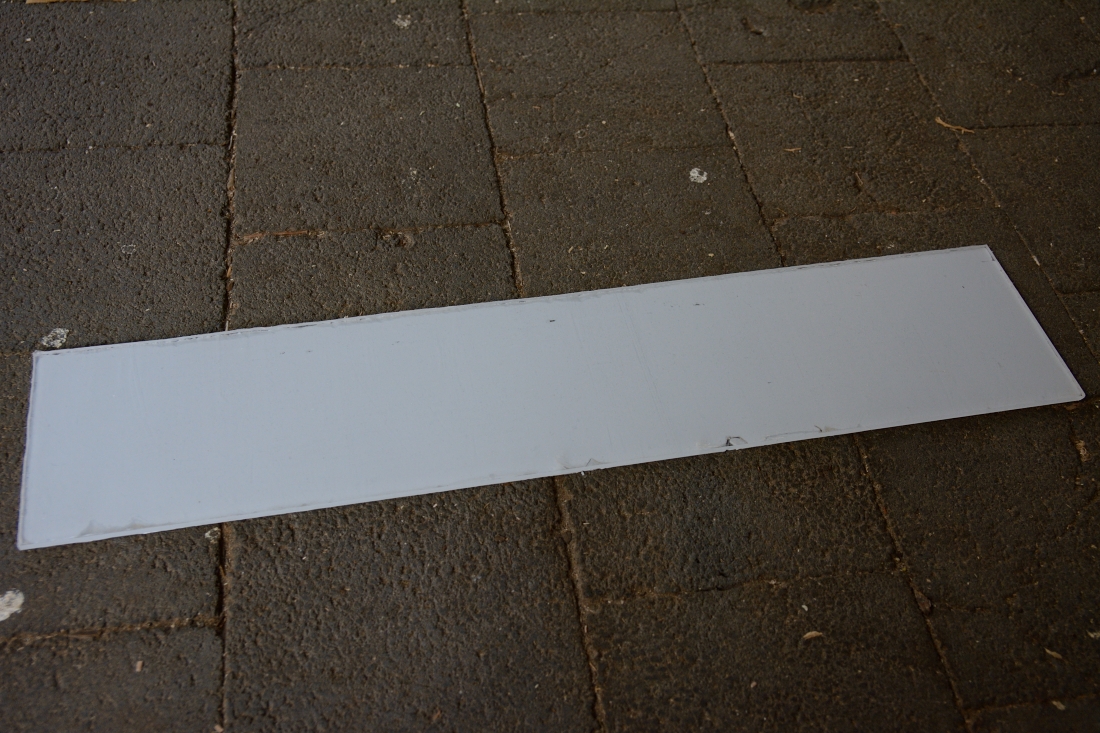
Before fixing the top frame of the marquee to the lid of the cabinet i cut out the actual marquee from a piece of transparent acrylic glass. The marquee was then slid into place.
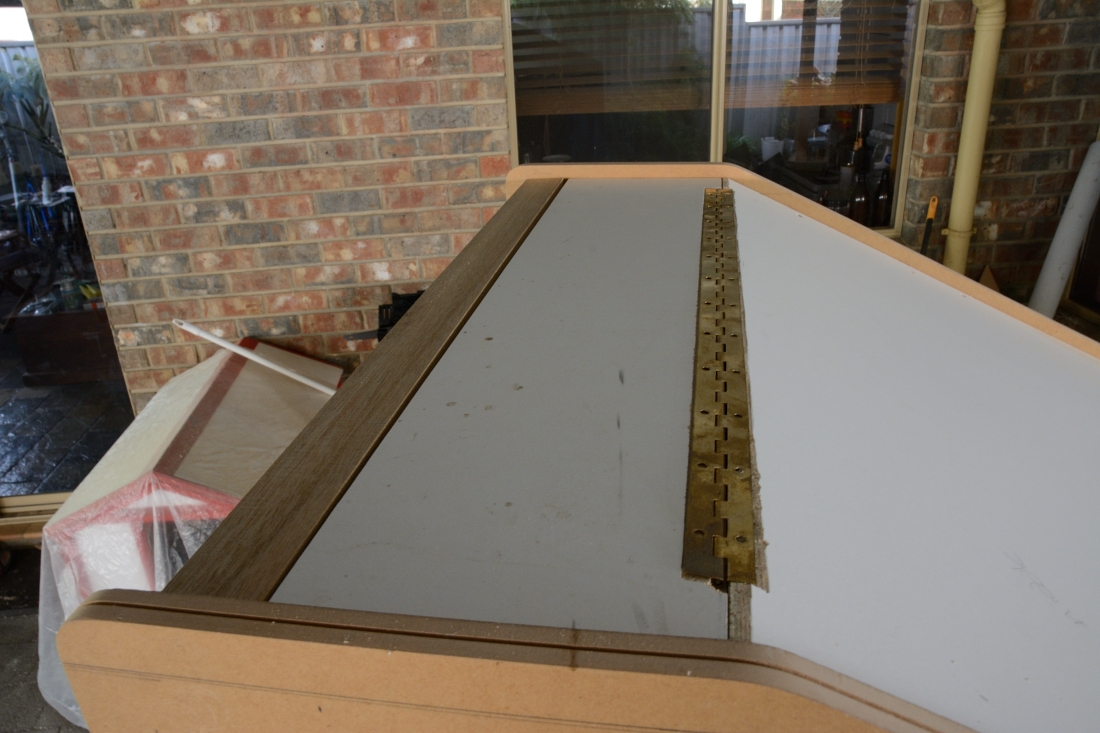
After ensuring that the top frame and lid lined up, i attached the top lid to the arcade cabinet using a piano hinge.
The top frame of the marquee was then attached to the top lid of the arcade cabinet using some wooden dowel pins. This approach gave me some latitude to ensure the top frame lined up with the rest of the marquee frame. It did leave a small gap between the frame and top lid which i will fill in at a later stage.
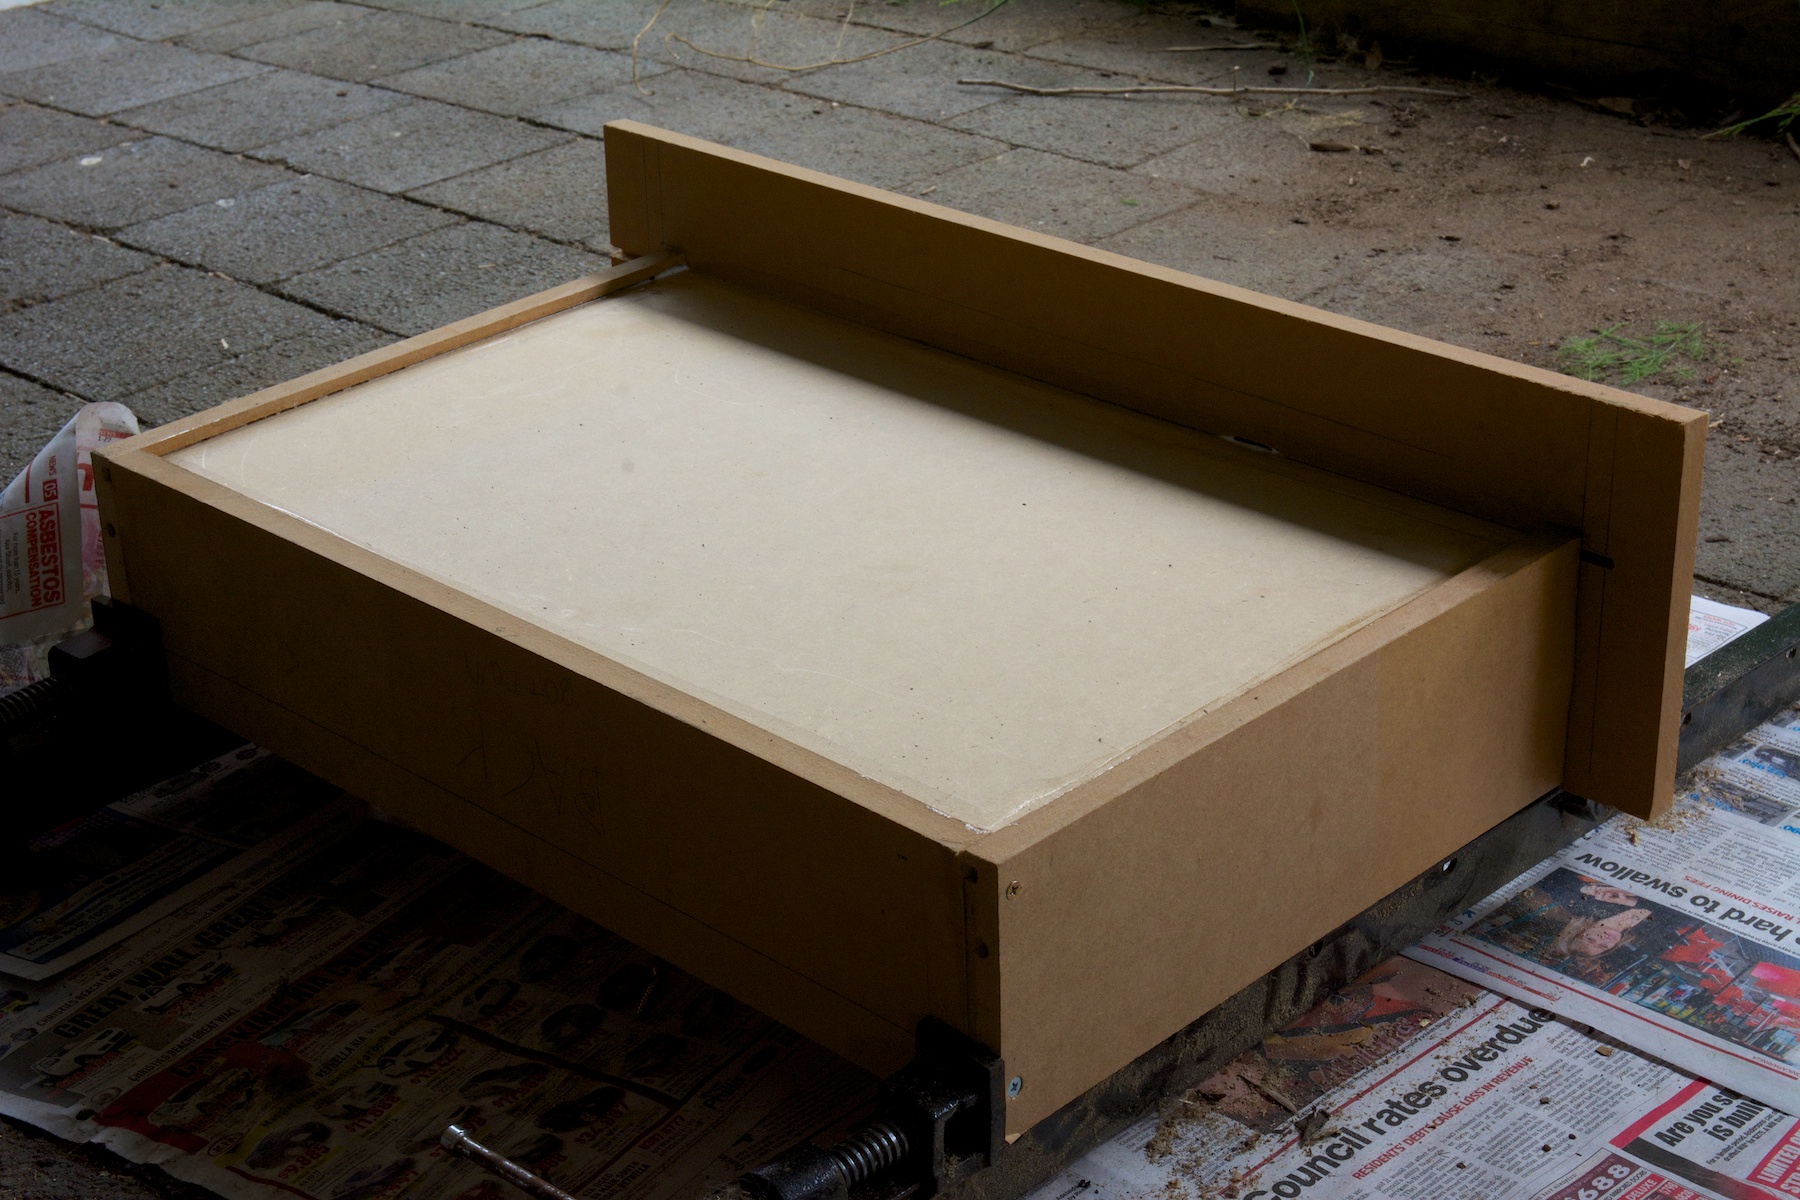
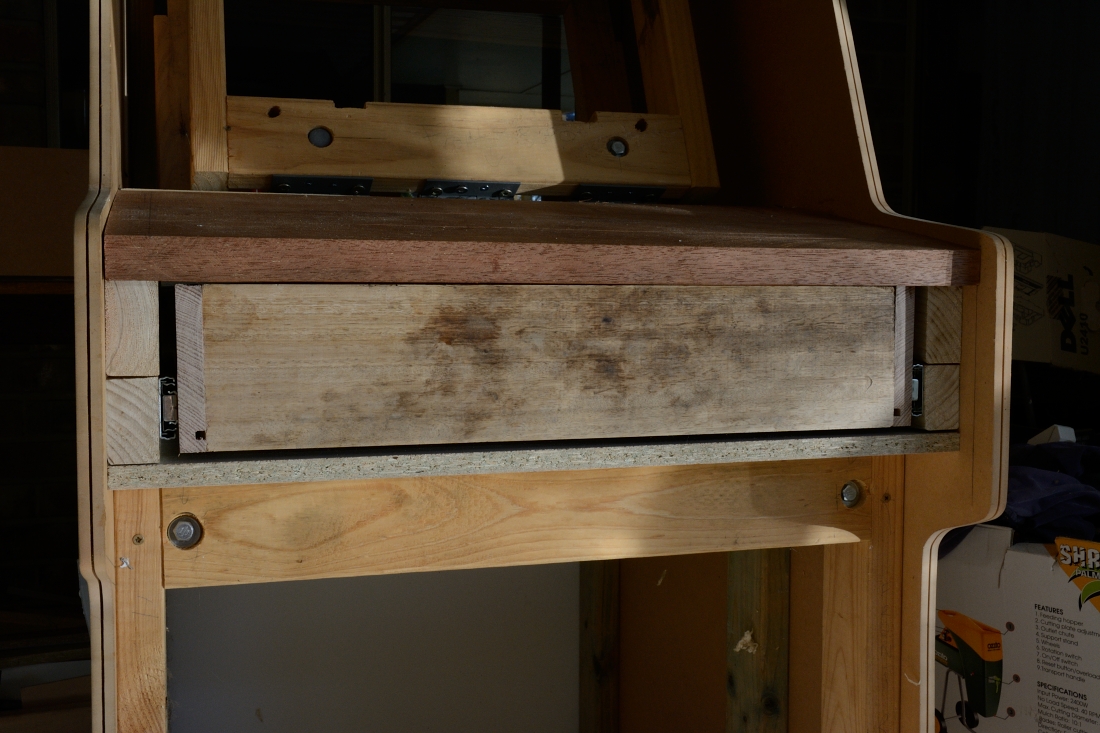
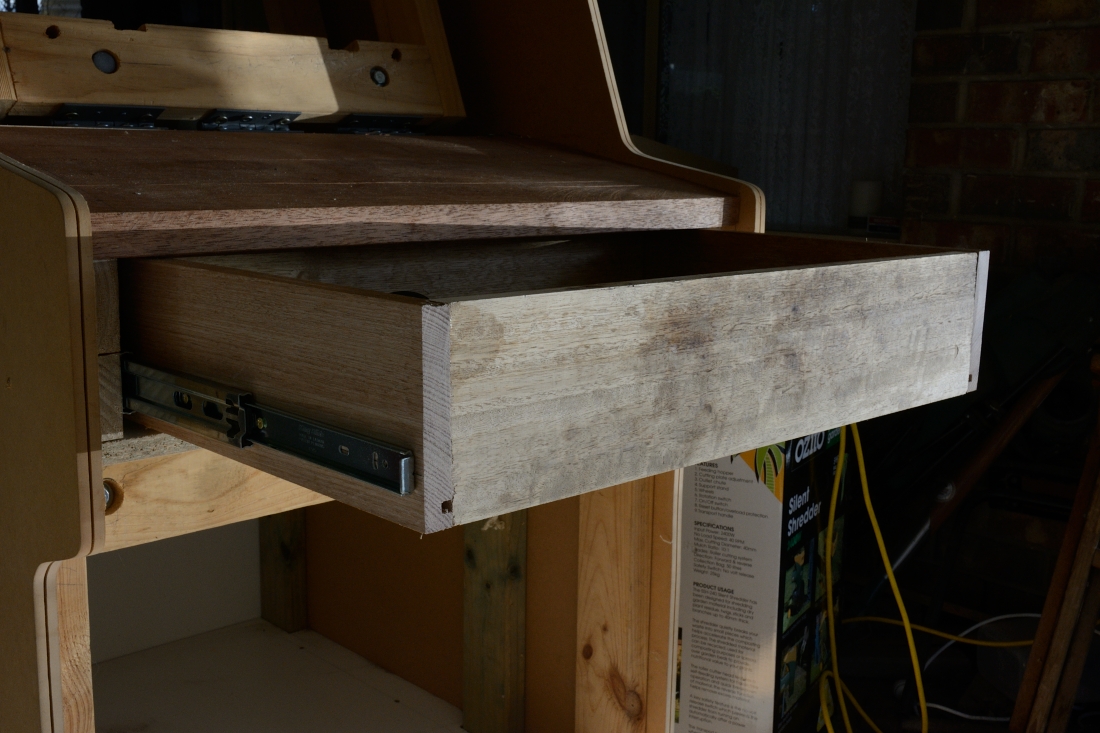
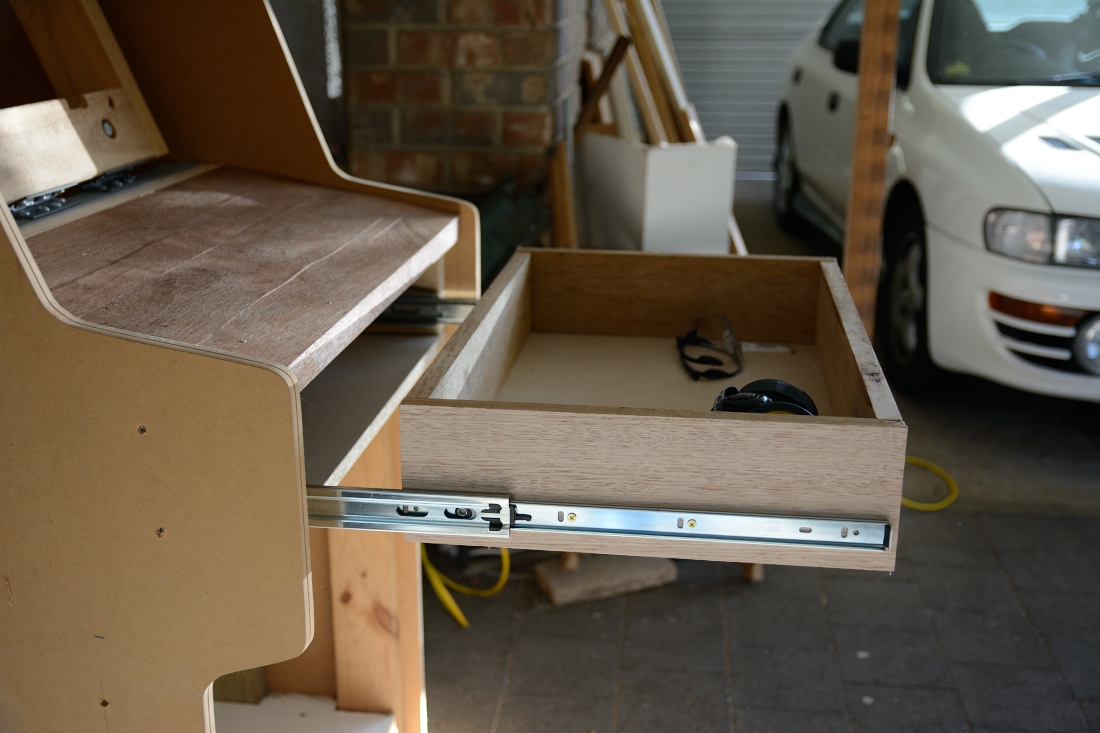
drawer
One issue with having a MAME set up is that i will need a keyboard and mouse in order to interact with the operating system. I consequently decided to install a sliding draw under the arcade control panel for housing the keyboard and mouse.
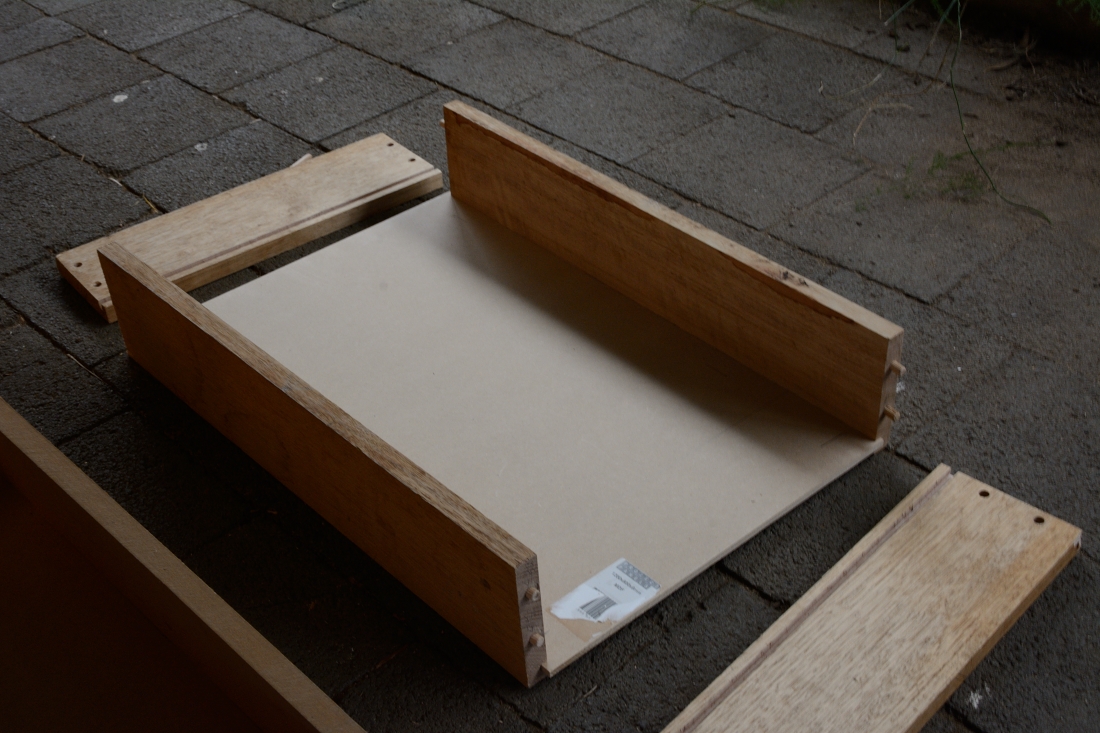
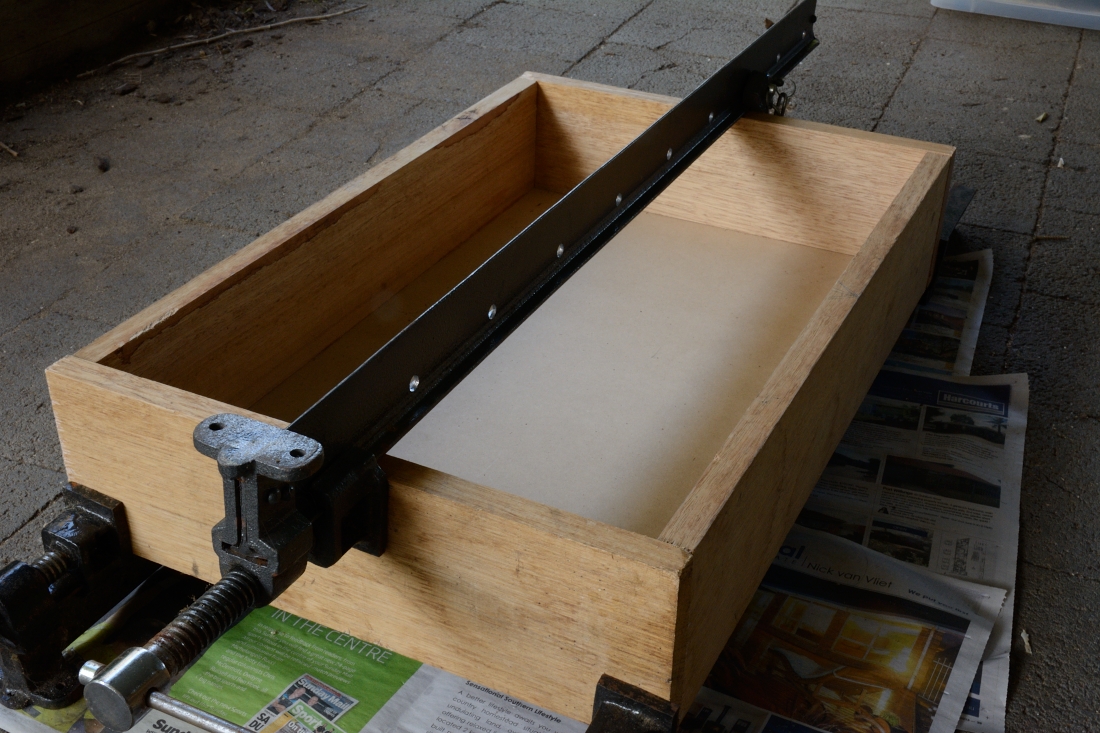
Unfortunately i have no experience building drawers and my first attempt, while decent, was not good enough for my needs. In addition to not checking the squareness when glueing the drawer together, I made the mistake of routing the slot into the side panels for the bottom piece after cutting the sides rather than before cutting the sides. For the first drawer i had also decided to make the front panel of the drawer the front panel of the control panel, which meant less room for error and a more unwieldy shape. After watching a youtube video on drawer construction i decided that building a drawer and then connecting the front panel to the drawer would be a better approach.
My second attempt was much better. I used a solid piece of timber rather than MDF board which combined with a more simplified design and thorough approach resulted in a superior outcome.
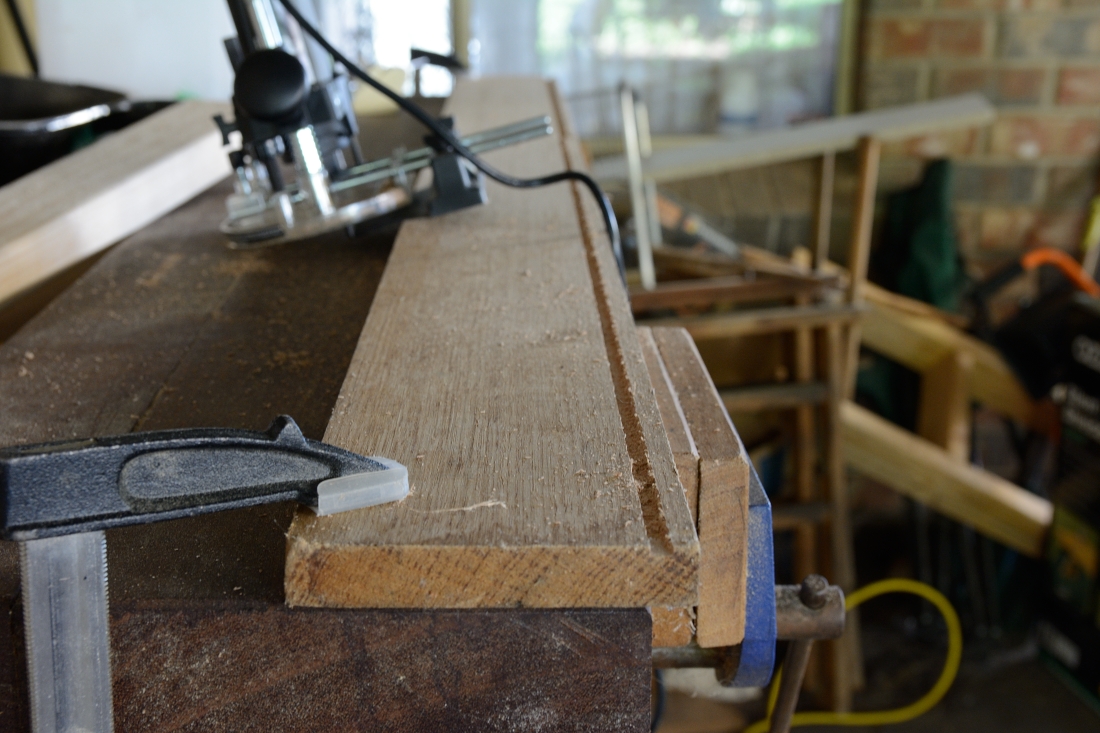
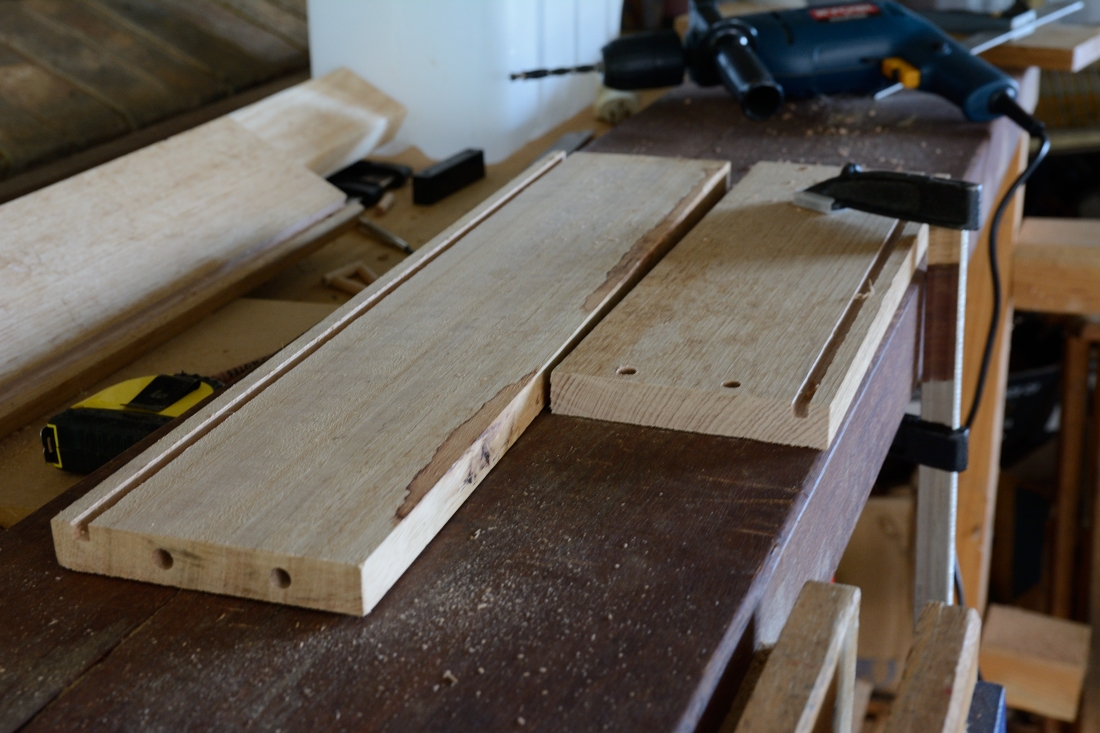
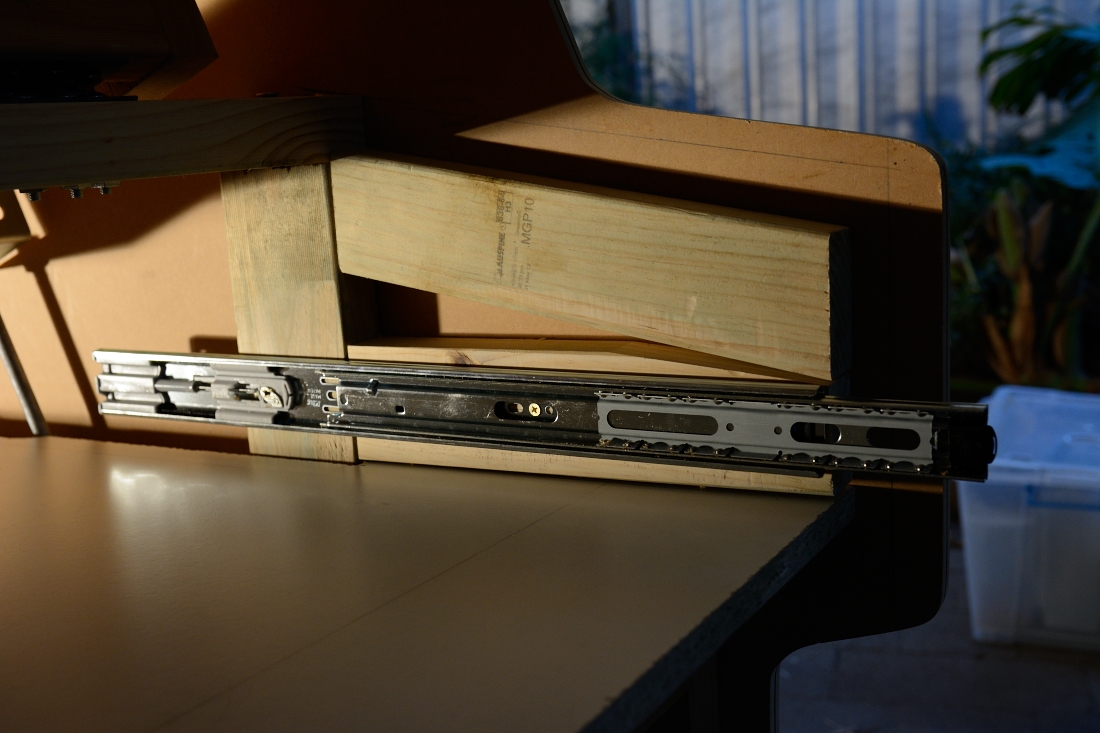
The next step was to attach the sliding rails to the drawer and arcade cabinet. This process involved testing the fit of the drawer prior to drilling, which required some planeing on both the cabinet and drawer. Carefully following the instructions i attached the rails to the drawer and cabinet in accordance with the given dimensions. Hoping for the best i inserted the drawer into place and was pleasantly surprised to find that the drawer fit nicely into position.