doors, panels and bezels
doors
Most of my recent work on the arcade has focused on completely some of the more complex external parts such as doors and the bezel. Unfortunately i've had a set back with the control panel which i will cover in a subsequent post.
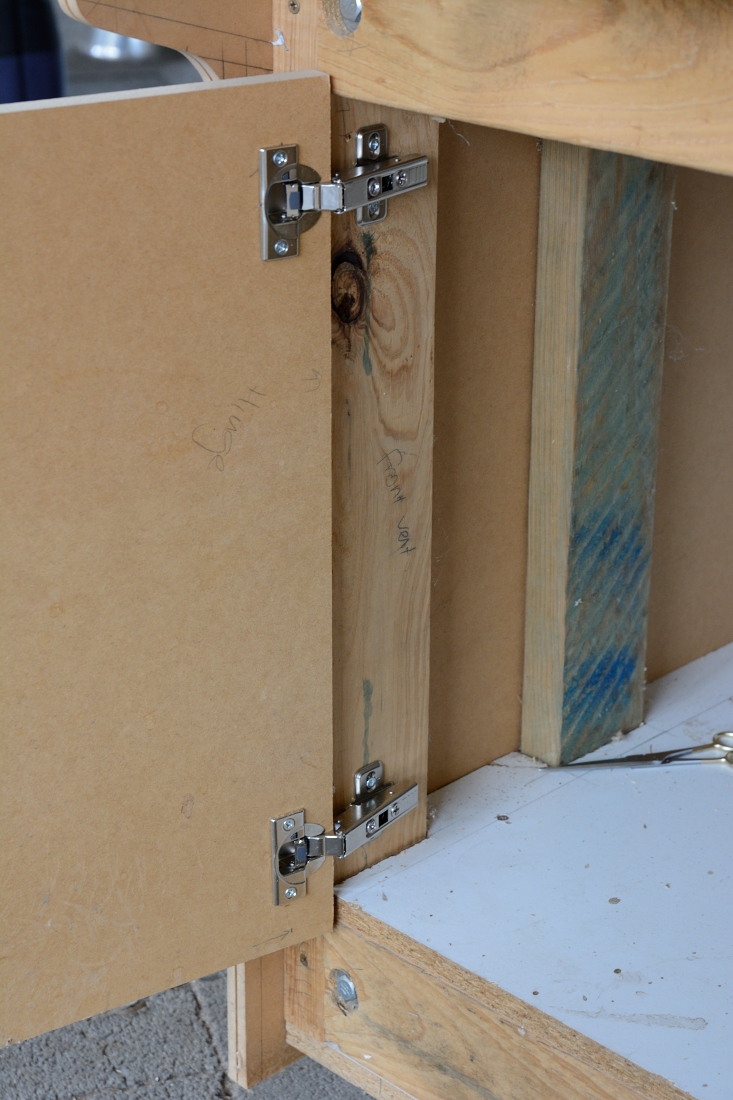
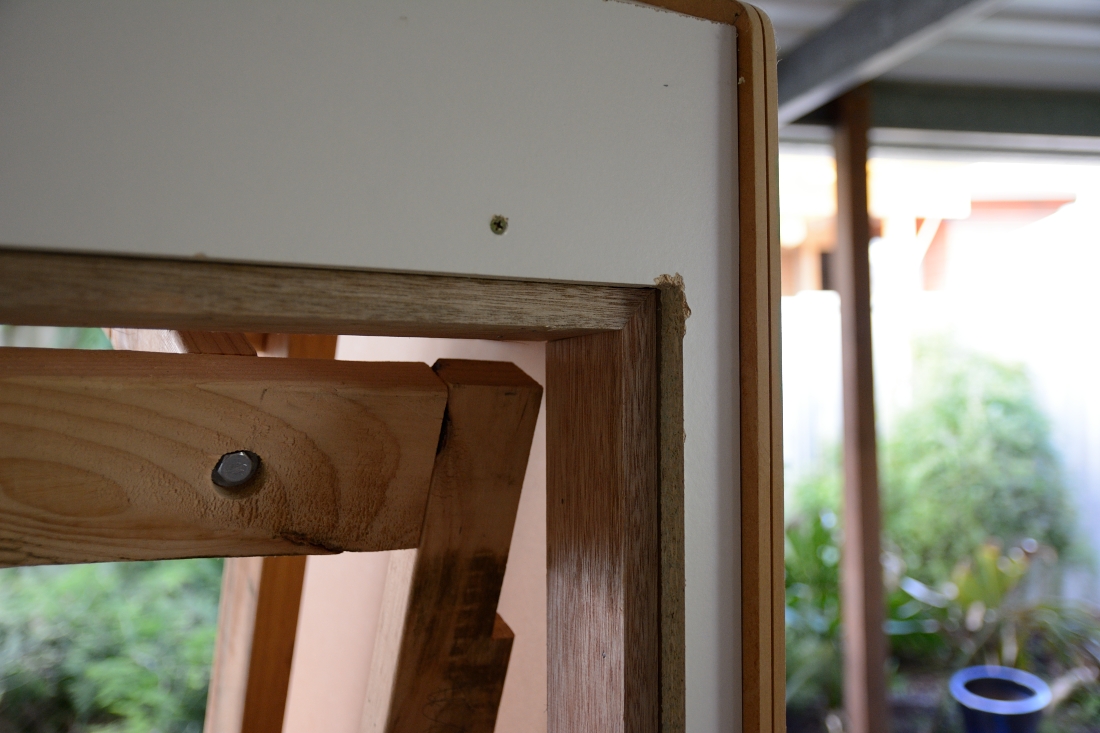
After some considerable thought i decided to go with 'european style' hinges for the front and rear cabinet doors. I have never tried installing such hinges so proceeded with some trepidation. Nonetheless, by carefully following the instructions i was able to successfully install the front and rear doors. Both doors will be secured using key operated drawer style locks.
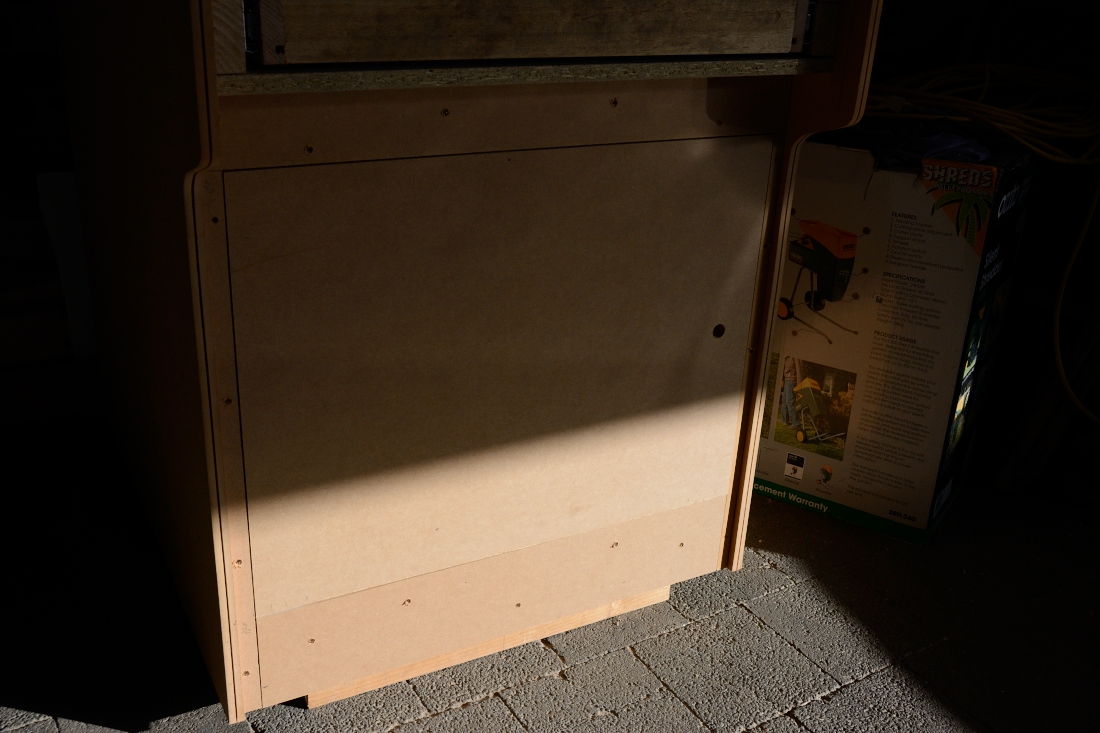
Once the front door was installed, i had to cut some small panel pieces to complete the bottom front of the cabinet.
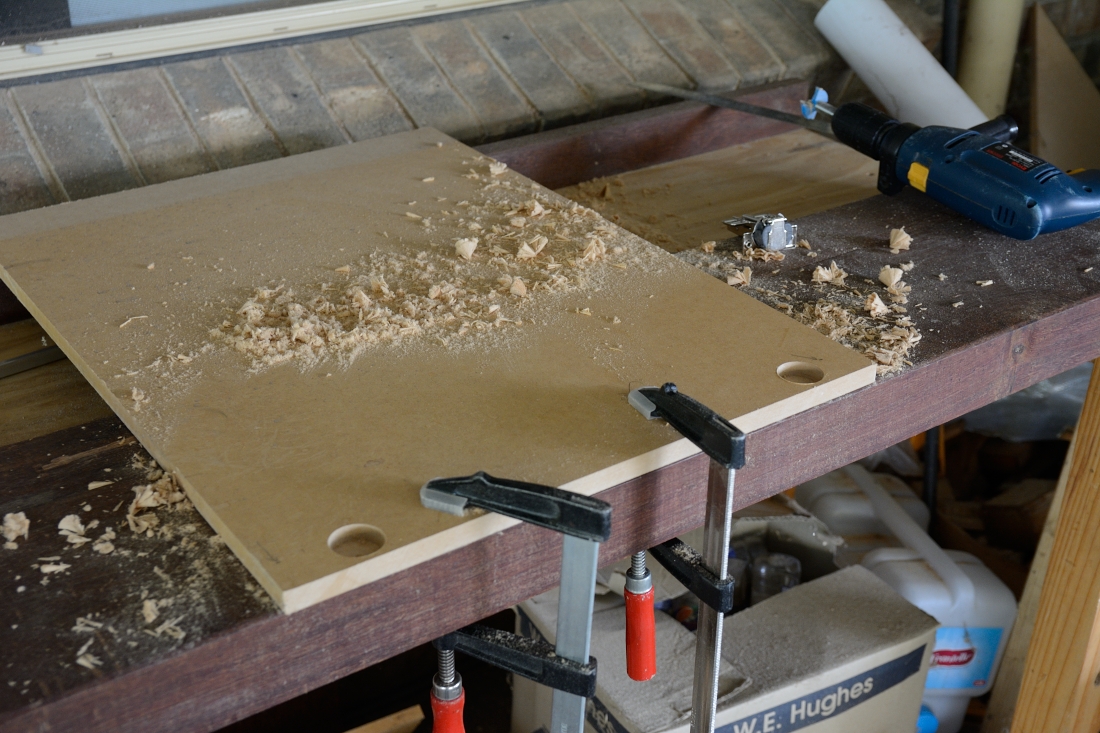
front panel of control panel
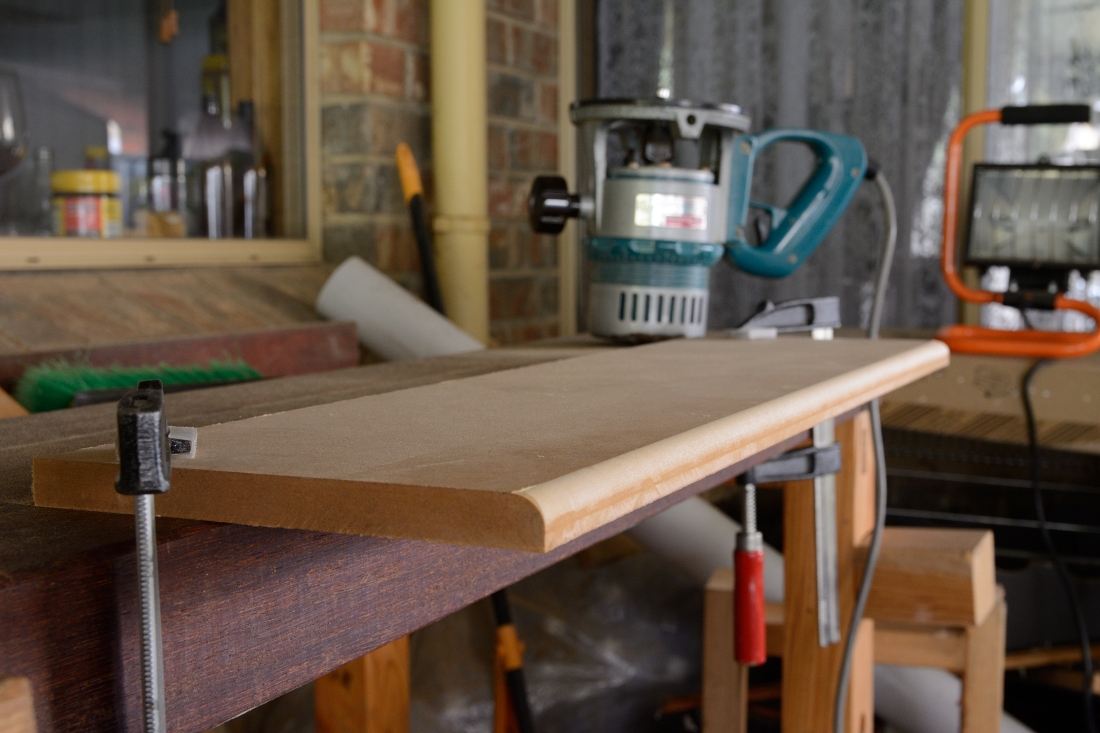
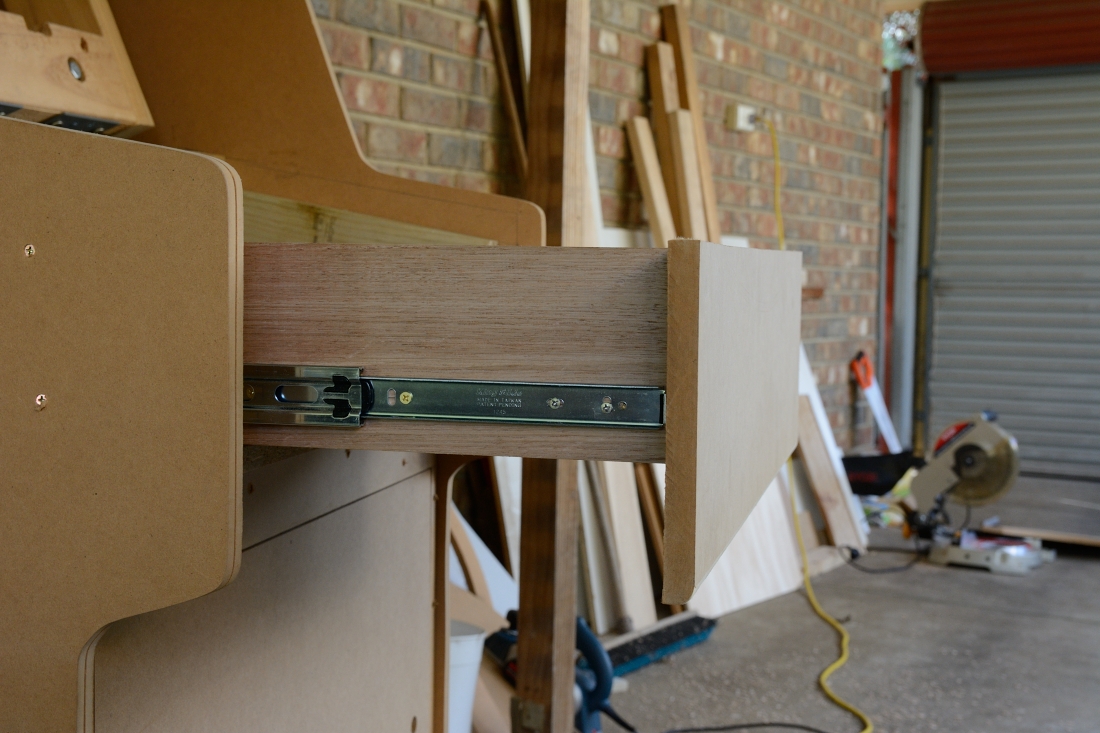
With the doors in place i moved to the front face just beneath the control panel which attaches directly to the drawer. After cutting the panel to size i then used a router to make a nice curved surface to the bottom edge of the panel. I then attached the panel to the drawer by screwing from the inside of the drawer to give a nice clean external finish.
bezel
The bezel has proved to be one of the tricker parts of the cabinet build. I tried searching for an off the shelf part to accommodate my CRT monitor but they are not easy to come by. I have toyed with actually designing a custom 3D printed bezel and may eventually go with this option. However, such an option looks like it will be relatively expensive given the large size of the part im looking at - at least a couple hundred dollars on the basis of a rough mock up submitted to Shapeways (might get the cost much lower by reducing elements of the design). Furthermore, there is a bit of a learning curve to going down the 3D printing path. In order to keep the project moving along i consequently decided to go with a simple custom-made wooden bezel in the meantime.
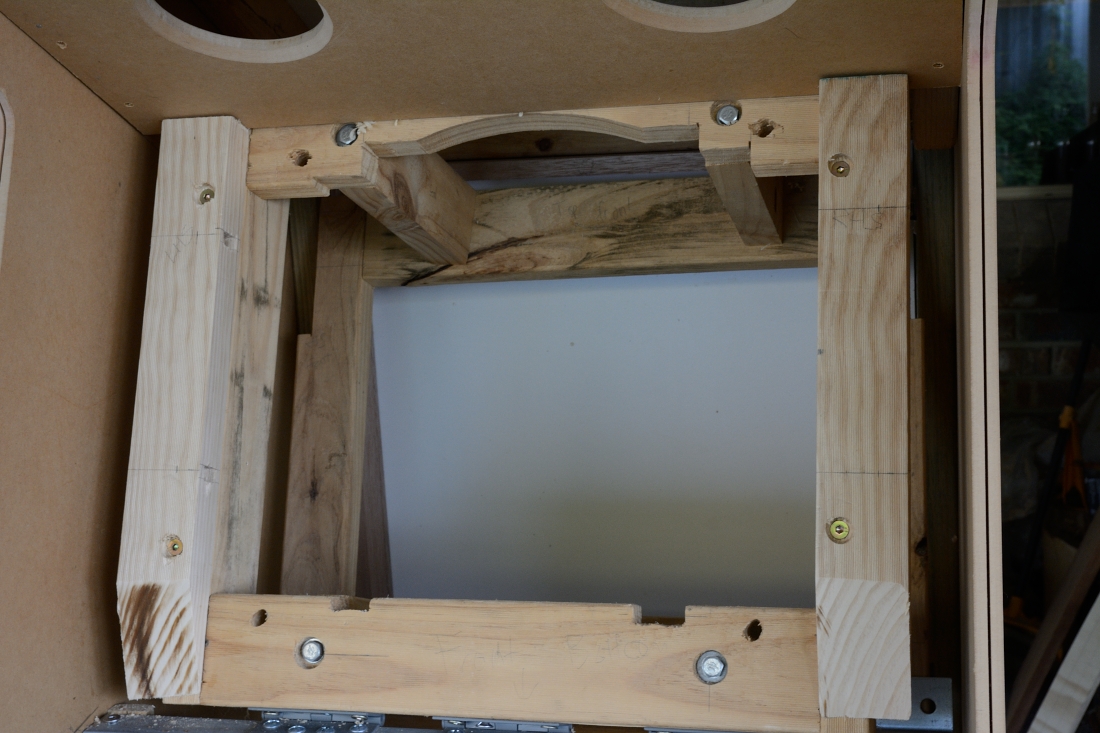
One of the first challenges was working out how far the bezel should sit in front or behind the front of the monitor. Ideally the bezel would sit in front but i quickly realised that this was going to be virtually impossible given the dimensions of the cabinet. At best i could have the bezel sitting just behind the front face of the monitor. This required attaching two supporting timber frames to the front of the existing monitor frame to which the bezel would be attached.
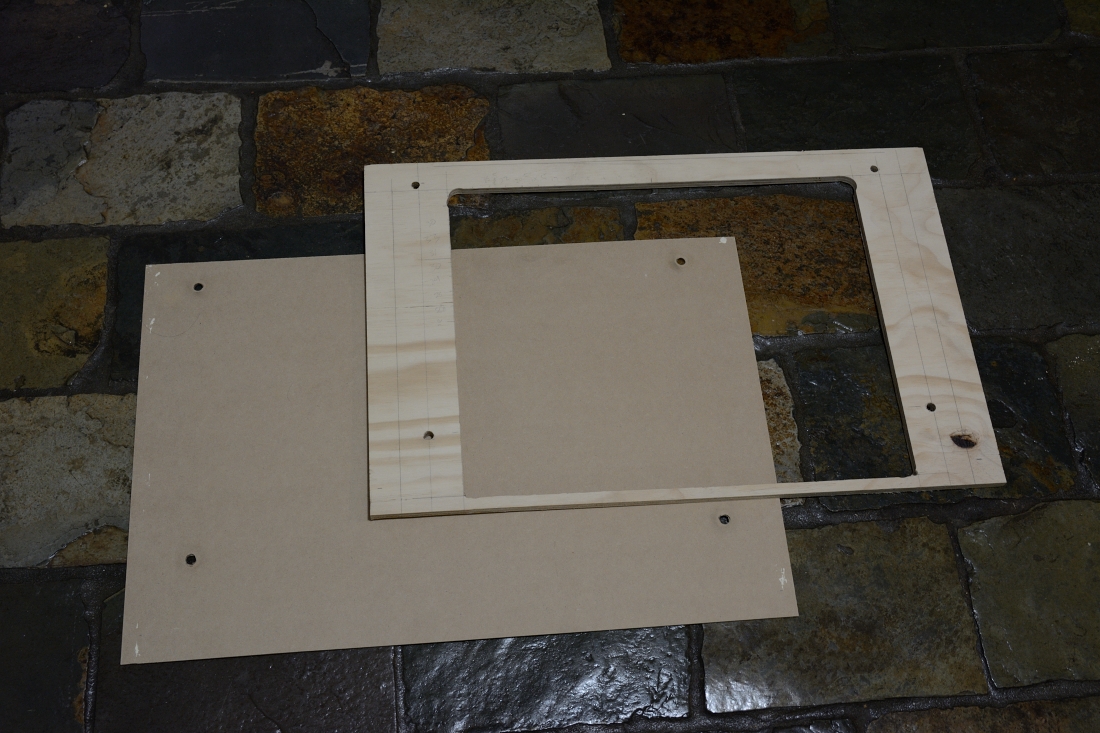
The next step was to cut out the actual bezel from some plywood. One of the challenges with the bezel - whether 3D printed or wooden - is accurately measuring the shape of the monitor. All those curves make it extremely difficult to trace while i do not have the tools to easily assist with the process. I decided to go with two pieces of plywood: a thicker base layer which i could roughly cut some distance away from the monitor and a thinner top piece that would be cut closely to the edge of the monitor.
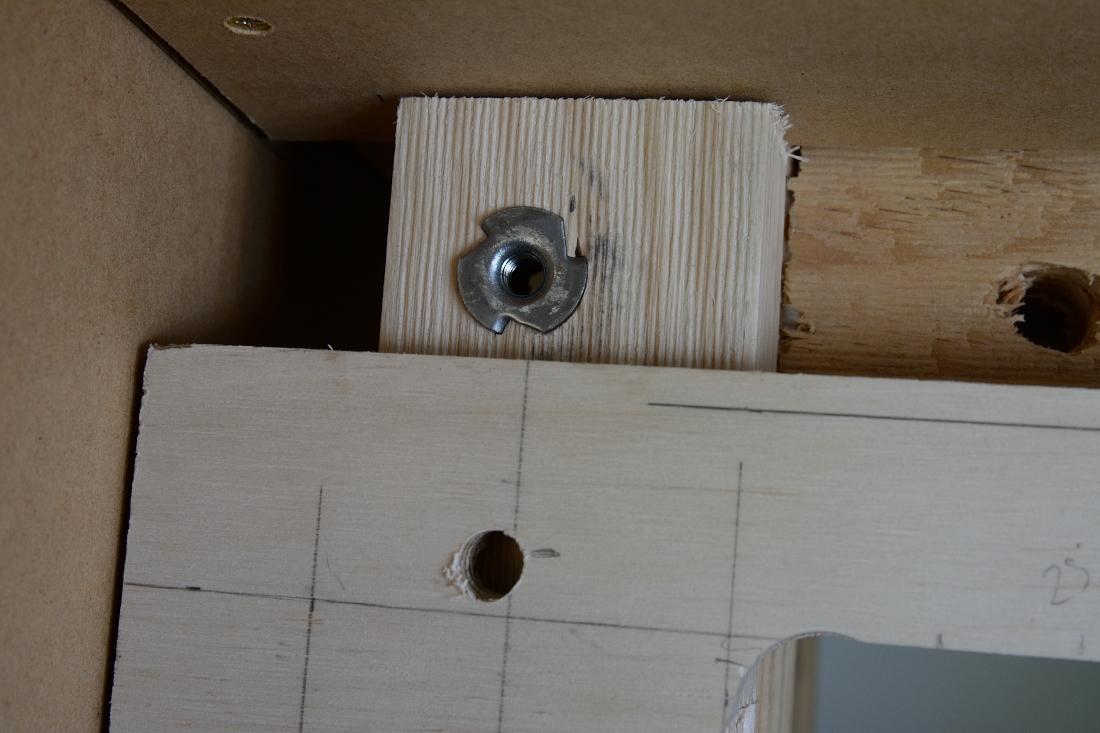
I want to be able to remove the bezel in order to remove the monitor if necessary. After searching around i finally discovered T-nuts from Carba-tec - an excellent supplier of woodworking tools and supplies. Installing these to the frame allowed me to install the two bezel pieces to the monitor frame using high tension bolts (seriously, i've bought way too many bolts during this whole process).
coming together
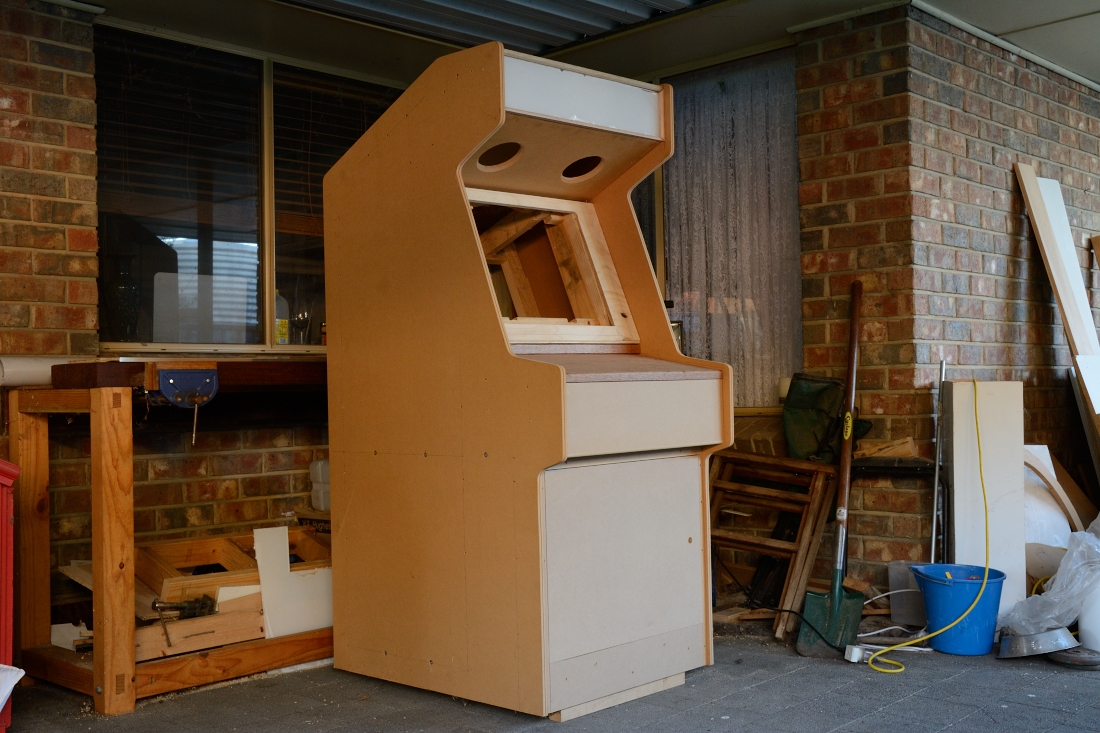
I'm currently at the point of creating a paper template in order to precisely cut out the monitor hole for the top piece of the bezel. Hopefully i will get onto that this weekend along with a new controller panel, which will be the topic of the next blog post.
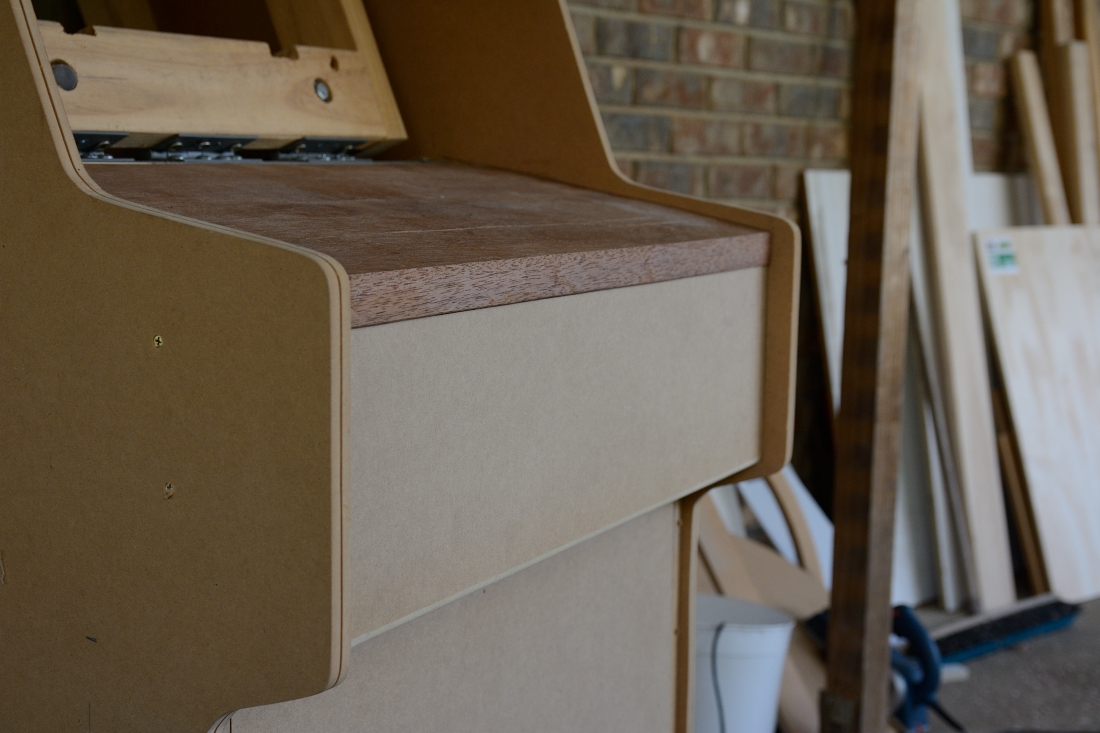
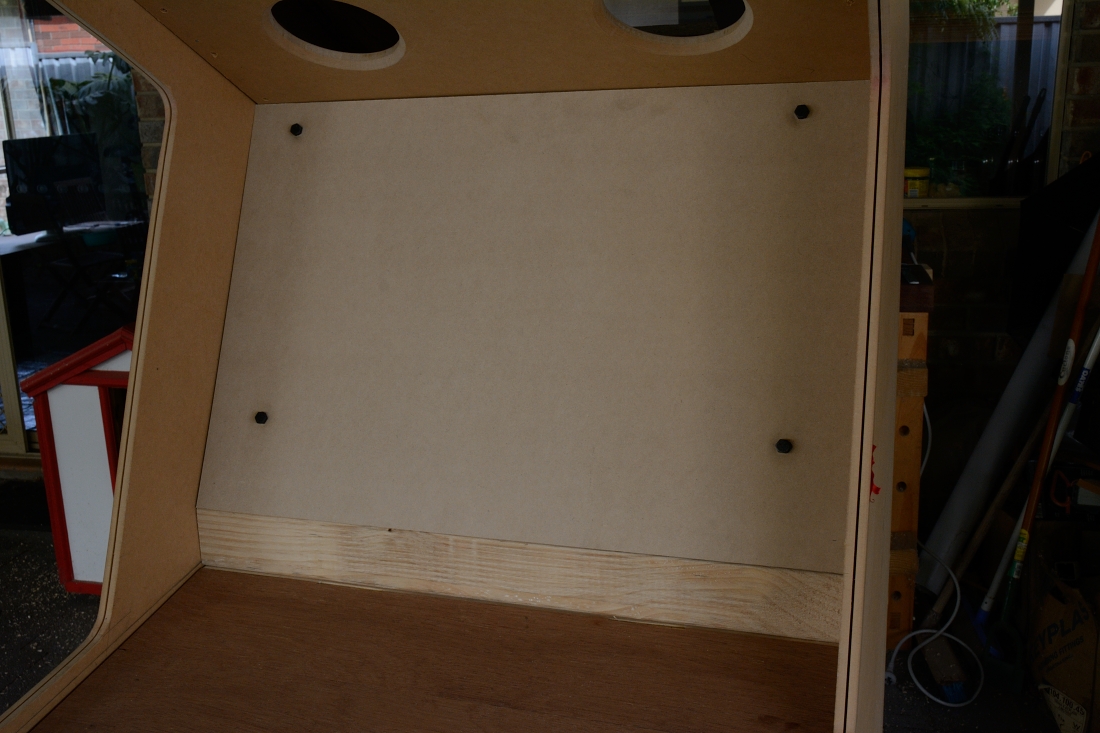
Below is a picture of the arcade cabinet showing the above changes prior to the front panel of the bezel being drilled and attached. Since this photo was taken i have given it a good sanding and applied filler in preparation for the painting process. Still on track for completing by the end of the year, i think.