painting
sanding, filling and undercoat
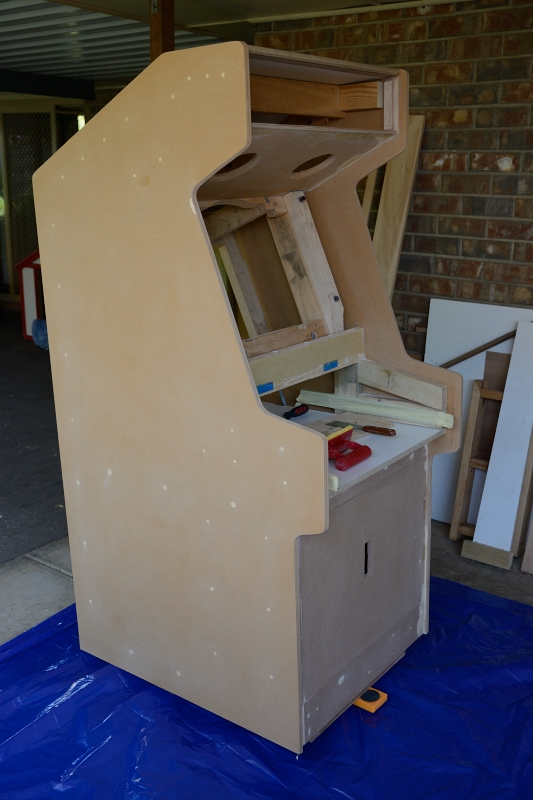
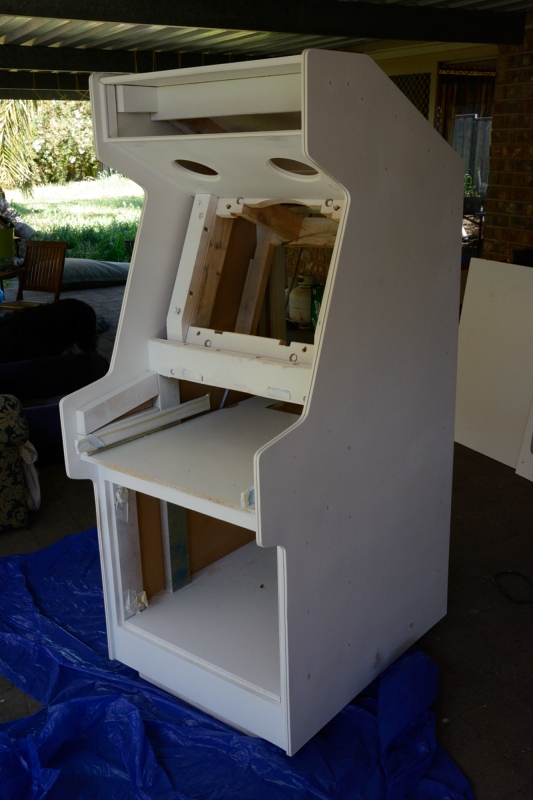
With the main external elements of the cabinet in place it was finally time to paint the cabinet - a milestone i was extremely looking forward to but also wary of given the process would determine the ultimate look of the cabinet, my desire to do justice to all the preceeding work and my relative lack of experience with painting.
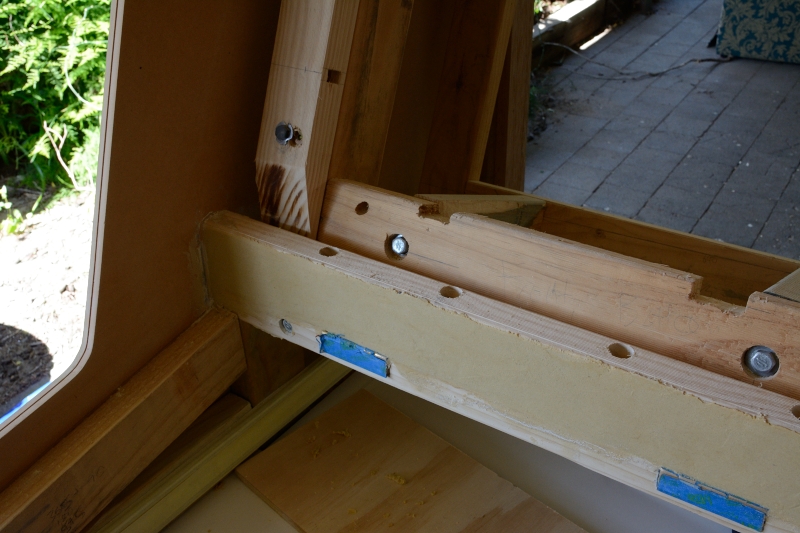
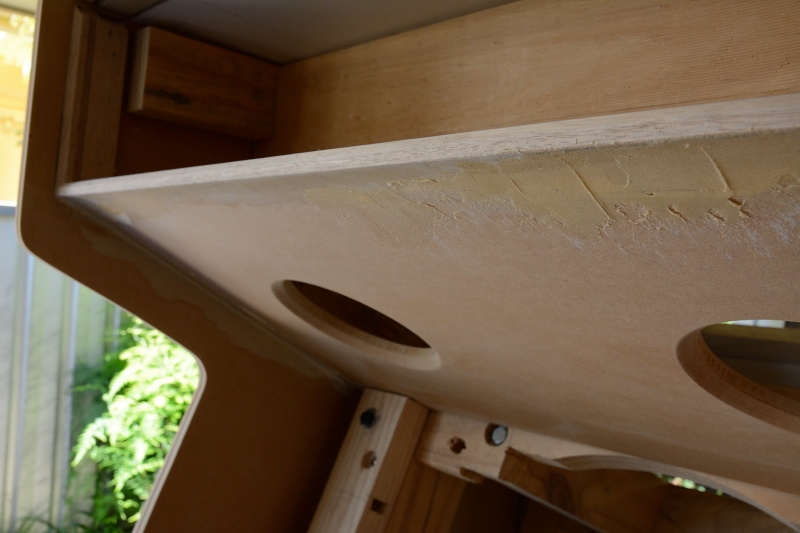
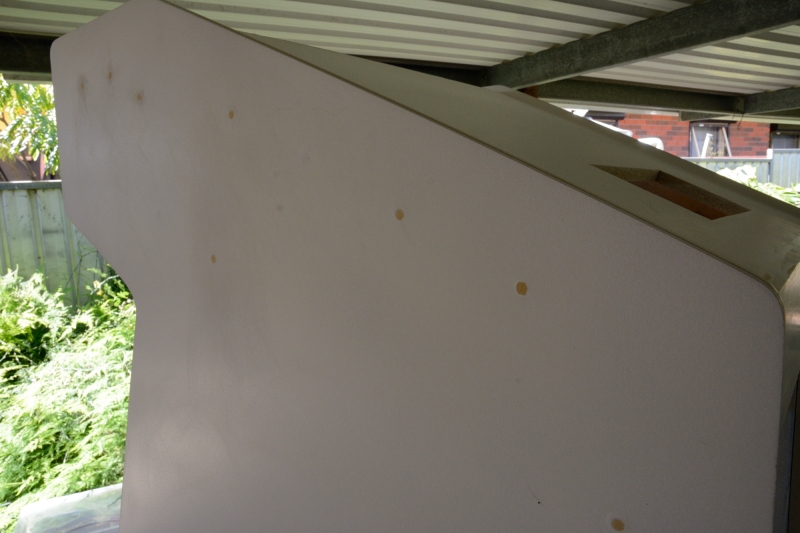
Before getting stuck into the painting the first task was to fill in the holes and cover over the screws using a general purpose water putty. I then sanded back the filled in areas and overall cabinet using 120 and 180 grit sandpaper. I actually had to repeat the filling and sanding process several times as i continually found gaps and other imperfections each time i went over the cabinet. I had also used the filler to create some smooth curved surfaces, particularly above the speakers under the lip of the front bezel, which required some work to get a decent finish.
painting approach and undercoat
A major decision was whether to apply the paint using brushes, rollers or spray gun. Much consulting of the internet indicated that people had success with both approaches. In the end i decided to use a spray gun as i felt it would give a better finish, particularly in those tight areas where it can be hard to get to with a roller. The fact i could use the spray gun to paint stencils and pretend to be Banksy was an added bonus.
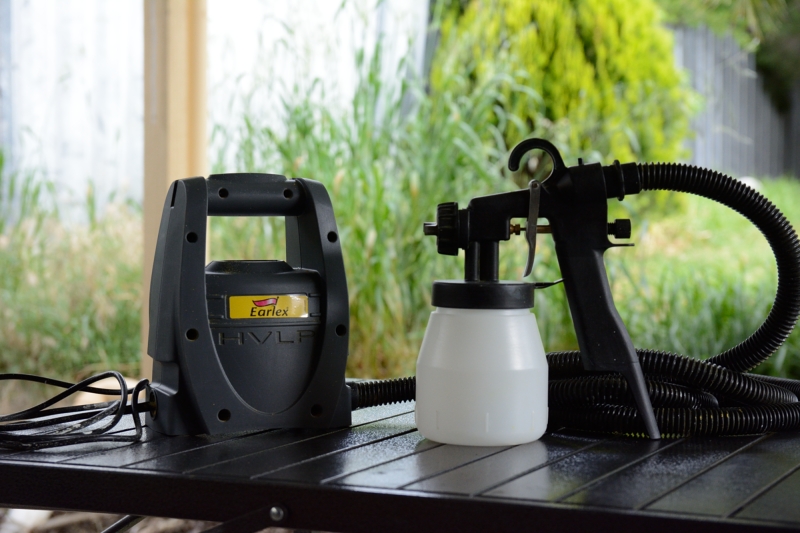
The next decision was whether to go with an air compressor and spray gun attachment or a purpose spray painting unit. In the end i went with the Earlex Spray Station 1900 System - their entry level purpose spray painting unit. Although an air compressor provides more multipurpose uses in the long run, i felt the dedicated nature of the Earlex (i.e. low pressure) would provide a better finish and be easier to use, plus would come in handy for other paiting projects. The fact the Earlex was British made and a reasonable price ($200) was also a plus.
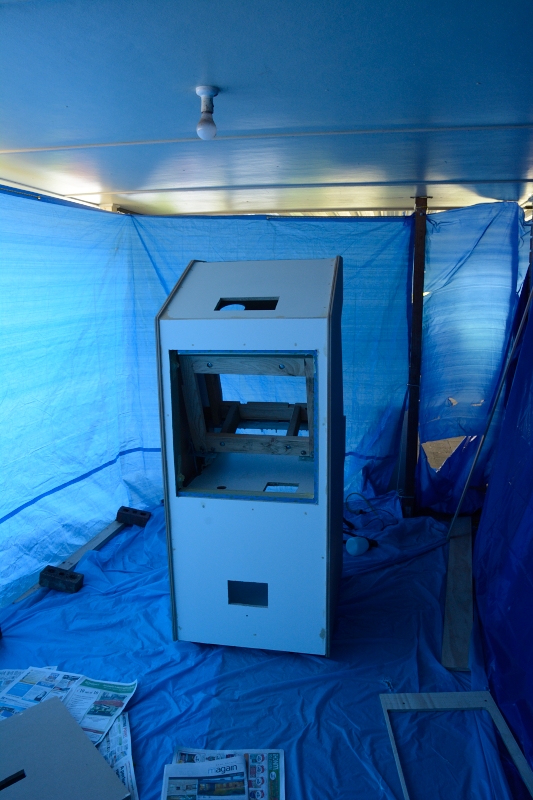
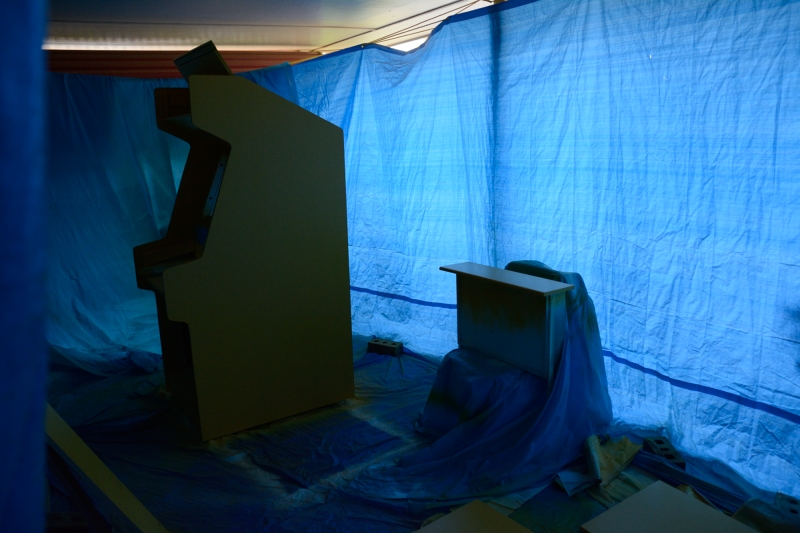
With the Earlex in hand and having carefully read the instructions (for a change) i set about painting the undercoat. The process went well but there is a bit of a learning curve involved with spray painting. You need to get a feel for the speed required in order to get a sufficient coat on while ensuring it is not too thick to prevent runs in the paint. Given some mistakes in terms painting too light or heavy in certain areas, i ended up sanding back the first coat and applying a second coat.
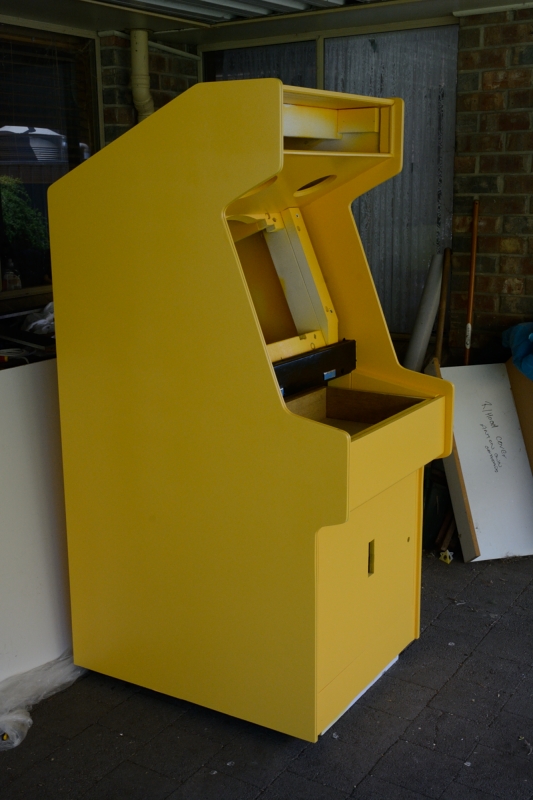
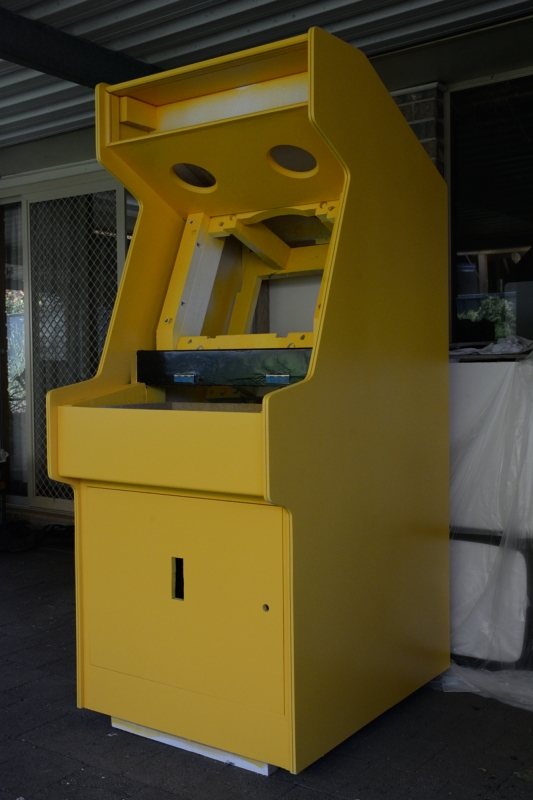
hot pop yellow
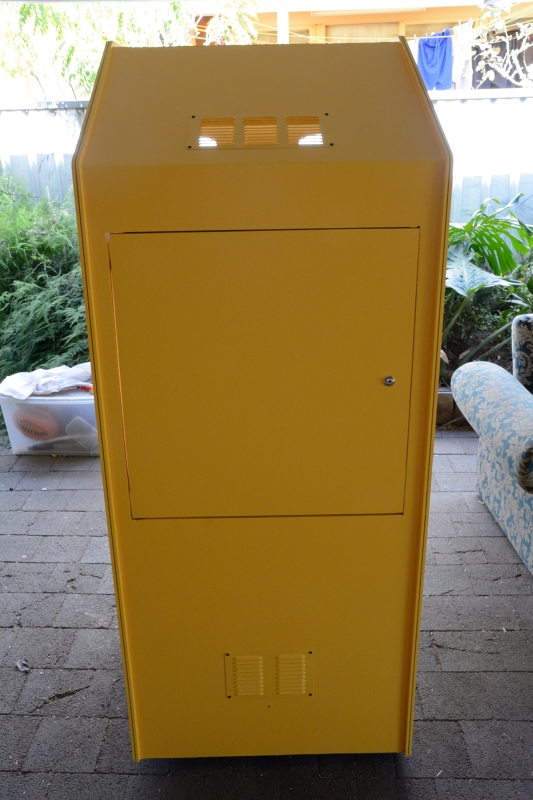
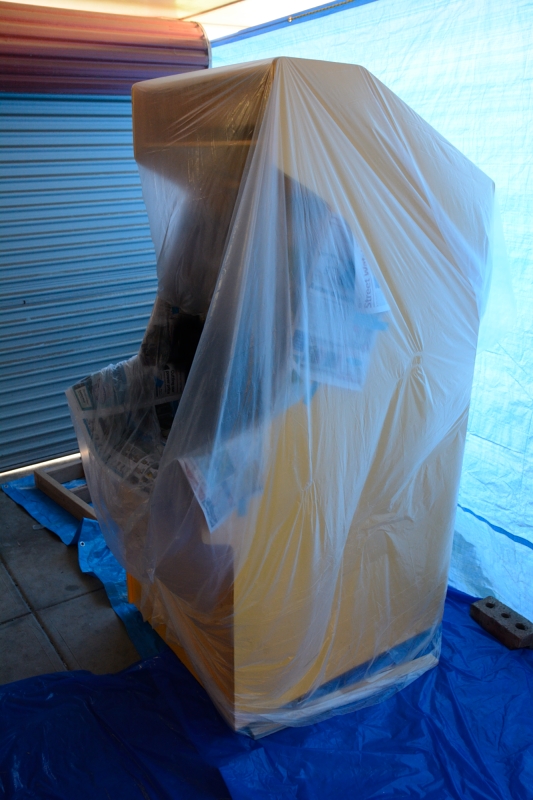
Following another undercoat and very light sanding it was finally time for the colour coating. In the end i selected a nice darkish yellow based on British Paints' Hot Pop Yellow, although a lack of supply at the hardware store meant the actual paint had to be mixed using Dulux paints. Once again i used a water based semi gloss.
I ended up applying 3 coats of hot pop yellow given sufficient paint volume and my increasing familiarity with the spraying and cleaning up process. Between the first two coats i made a light sanding to smooth over the coat. I contemplated wet sanding back the final coat with very fine grit sand paper but in the end decided i liked the rough finish.
After the yellow was applied i painted the bezel that will go around the monitor and the horizontal front beam below it black. I choose black in order to offset the yellow of the cabinet but also felt that yellow may be too reflective around the glow of the monitor.

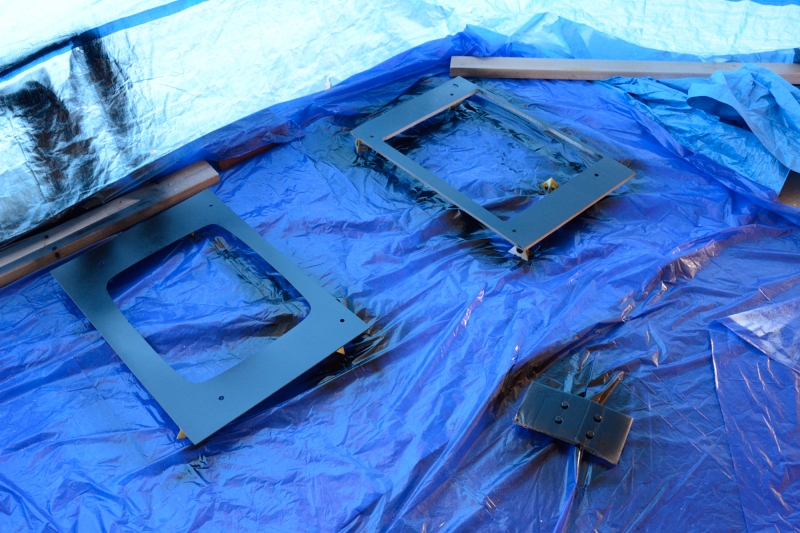
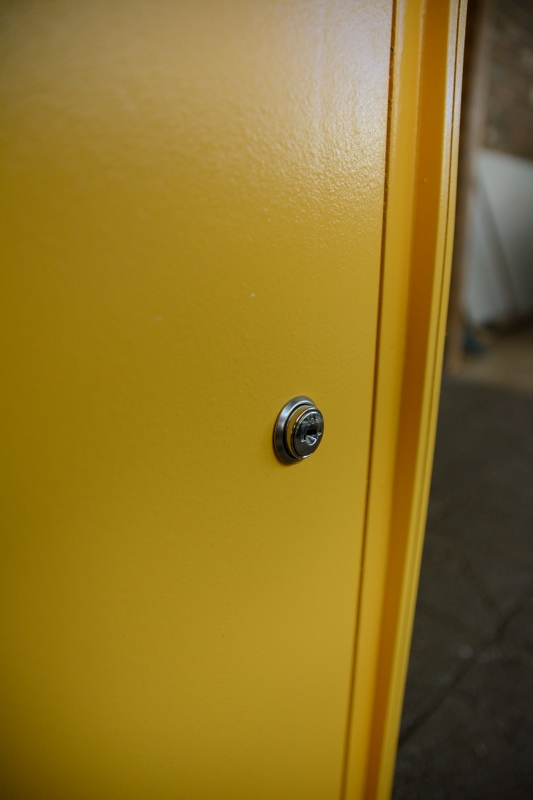
Grills and camlocks
With the doors back on the cabinet it was time to install the camlocks on the fornt and rear doors.
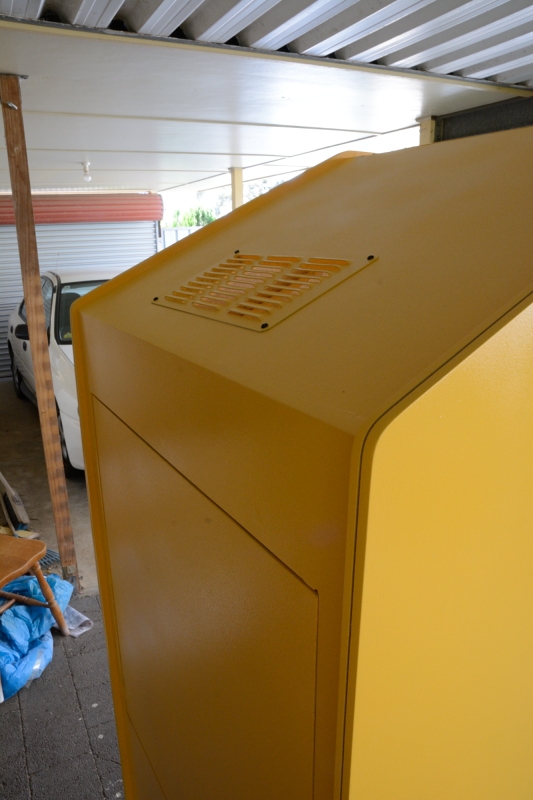
I also attached the two aluminium grills which i had painted yellow to match the cabinet. These wil provide ventilation for the cabinet while hopefully keeping out the dust (though not dog hair. Nothing keeps out dog hair).