lights, sound, power, rubber and coins
sound
Following completion of the painting, it was time to start installing some of the hardware components, starting first with the sound system.
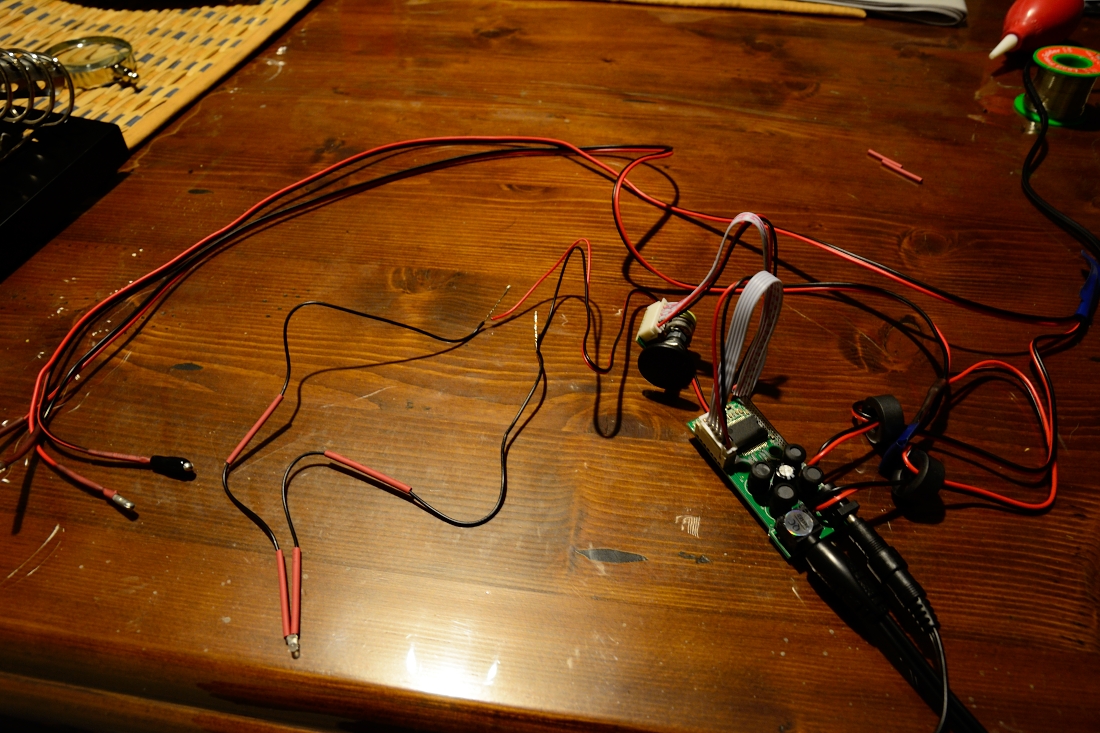
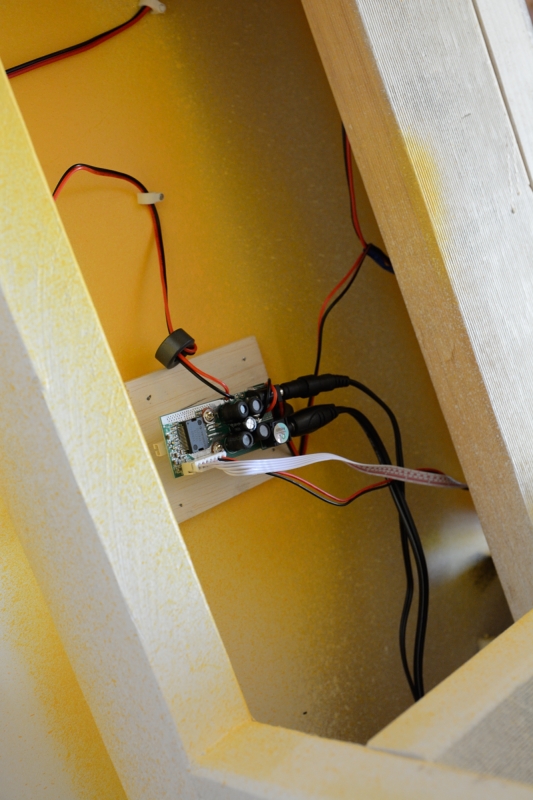
After doing a little bit of research, i settled on the Dayton Audio DTA-2 amp from Parts Express. This nifty little amp is inexpensive (~US$15), but does require some soldering know-how. The amp plugs straight into the audio jack of the motherboard, and comes with a separate volume control which i subsequently integrated into the front panel adjacent the monitor.
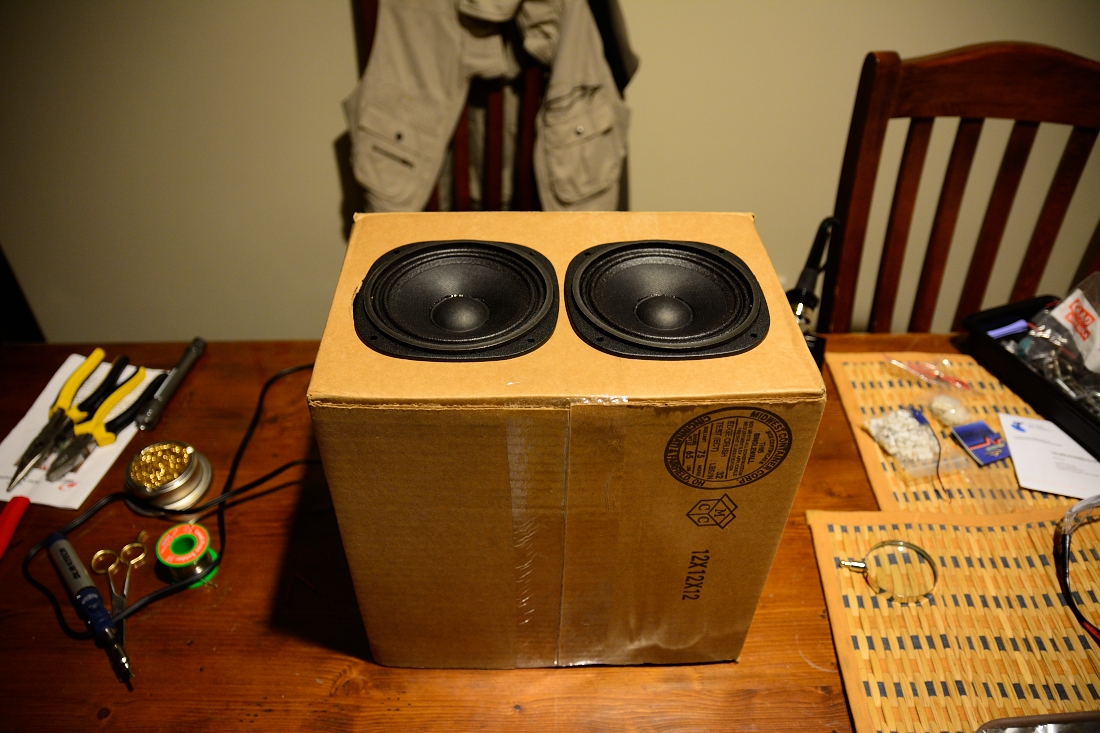
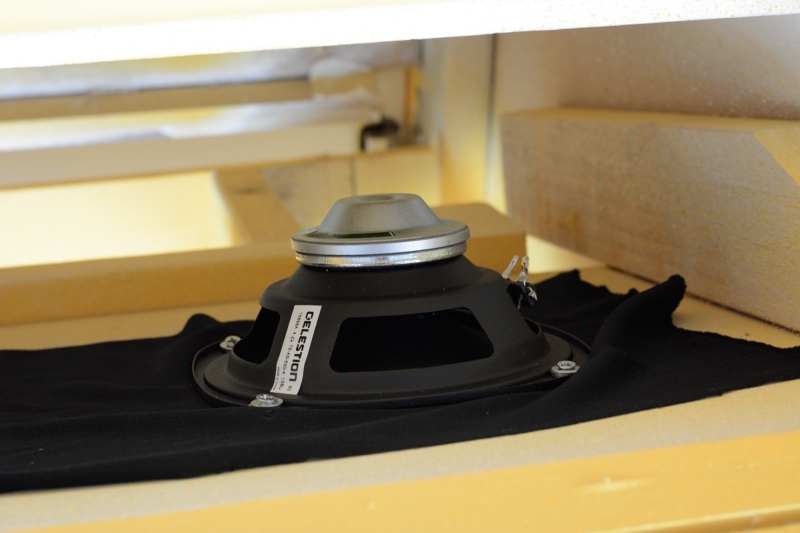
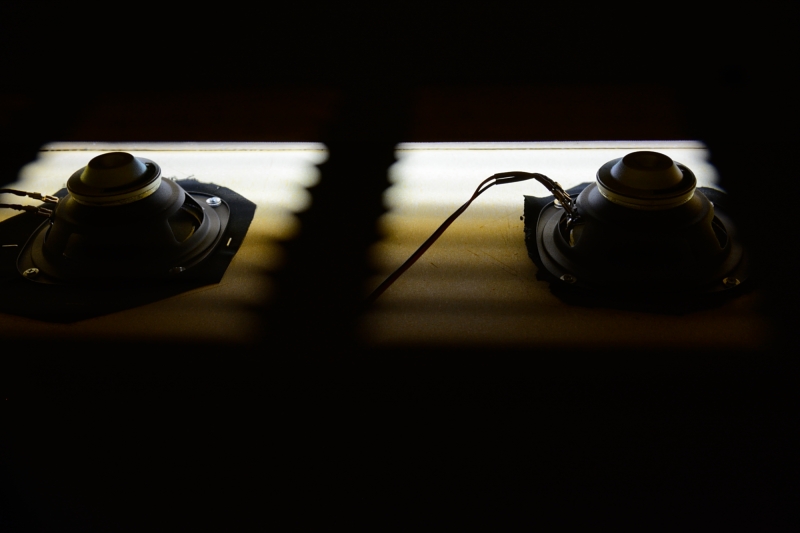
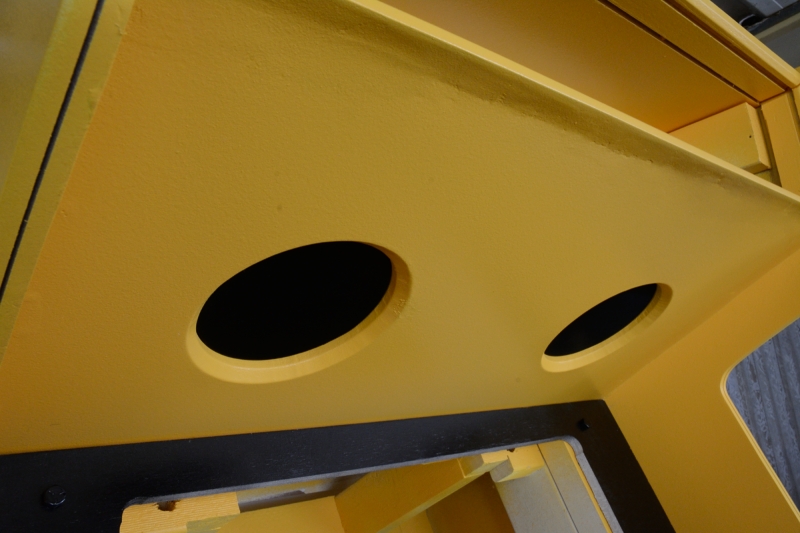
I also picked up a couple 5" speakers (woofers) from Parts Express. Rather than a bulky speaker grill, i decided to go a minimalist route by covering the speakers with some speaker cloth i picked up from Jaycar. Placing the cloth over the speaker holes, the speakers were then placed over the cloth with the latter being pulled tight and stapled into place. When screwing the speakers I did unfortunately screw through the wood in a couple instances but fortunately these were minimal breakthroughs in not easily visible places.
The speaker wires from the amp were then attached to the speakers. The audio cable from the amp was then threaded to the bottom part of the cabinet though a small hole for subsequent insertion into the motherboard.
lights
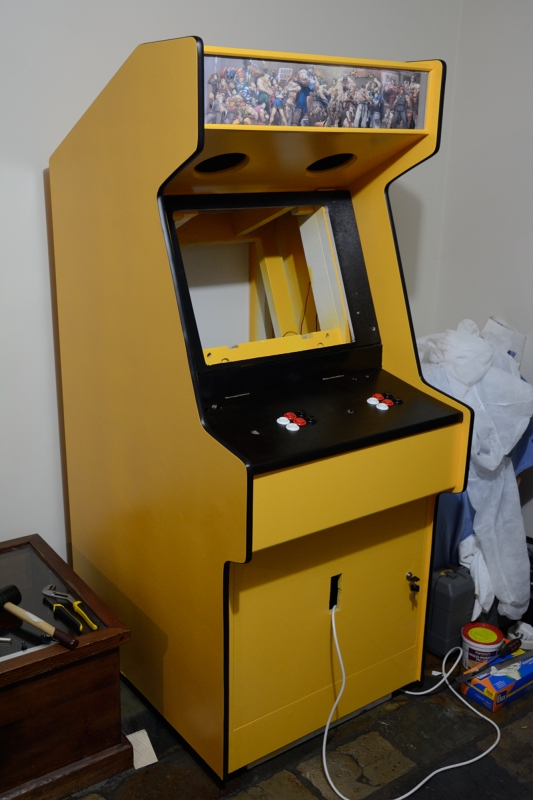
My original plan for the lighting behind the marquee - when i started almost 5 years ago - was to use a fluorescent globe. However, with the development of LED lighting in the interim, i decided to go for a strip LED lighting solution. LEDs would hopefully be a more energy efficient and long lasting solution compared to a fluorescent bulb.
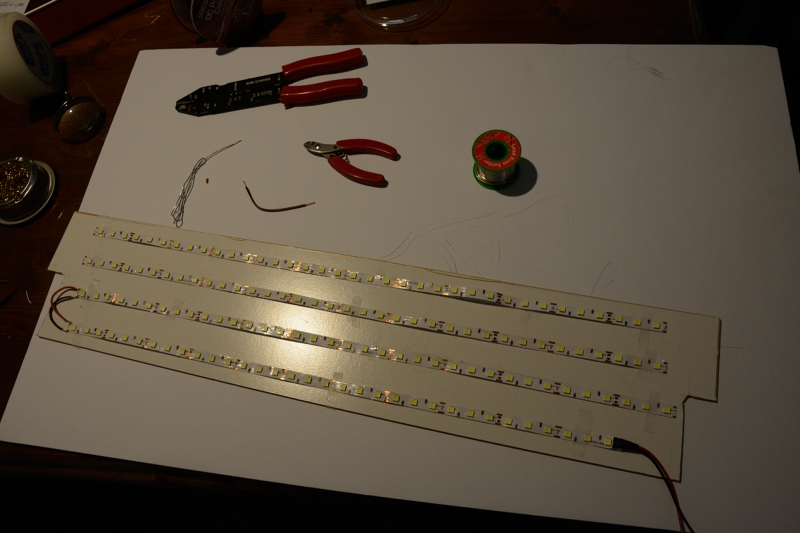
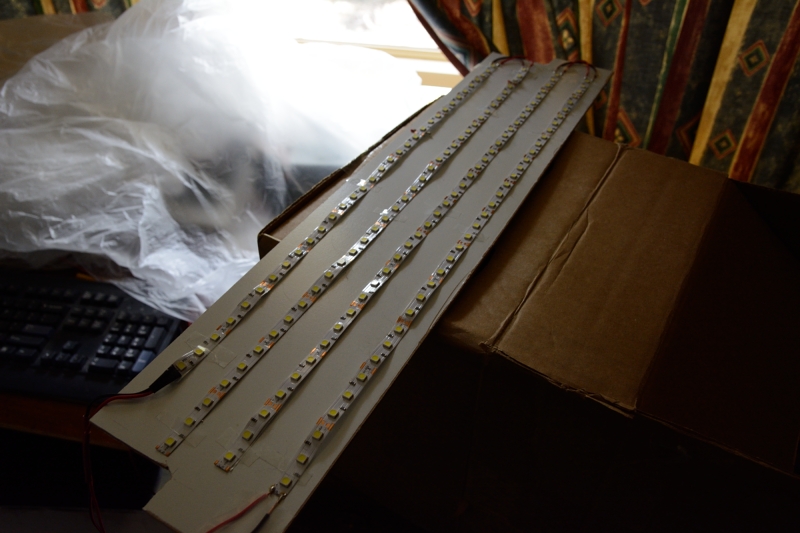
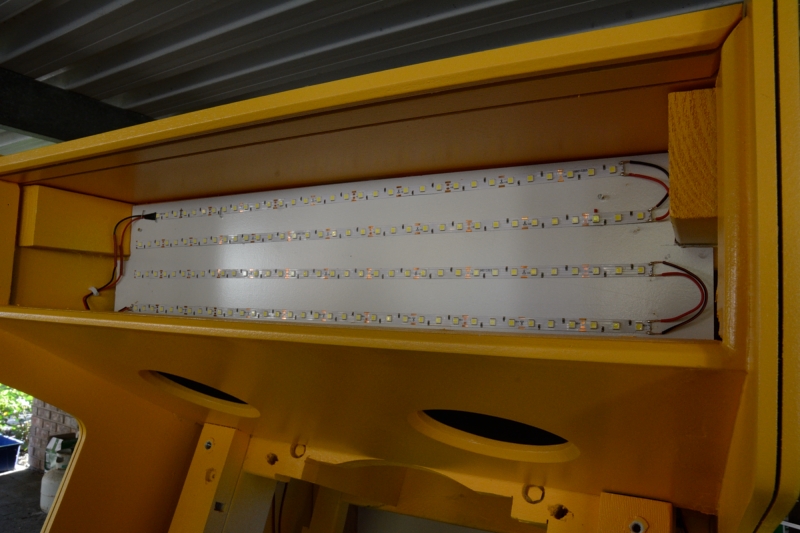
I purchased a roll strip LED lighting from Jaycar Electronics. I cut out a backing board from a thin piece of white laminated plywood. I cut 4 strips of the LED lighting to the appropriate length, spacing the strips evenly to provide even coverage over the height of the marquee. Once again i had to pull out my soldering iron to solder two strips together, with one of the strips then being soldered to power cabling.
To power the LED strips, each pair of strips was wired to a single molex connector which plugs straight into the power supply unit for the PC. As a consequence, the LED lighting turns on as soon as the computer is turned on.
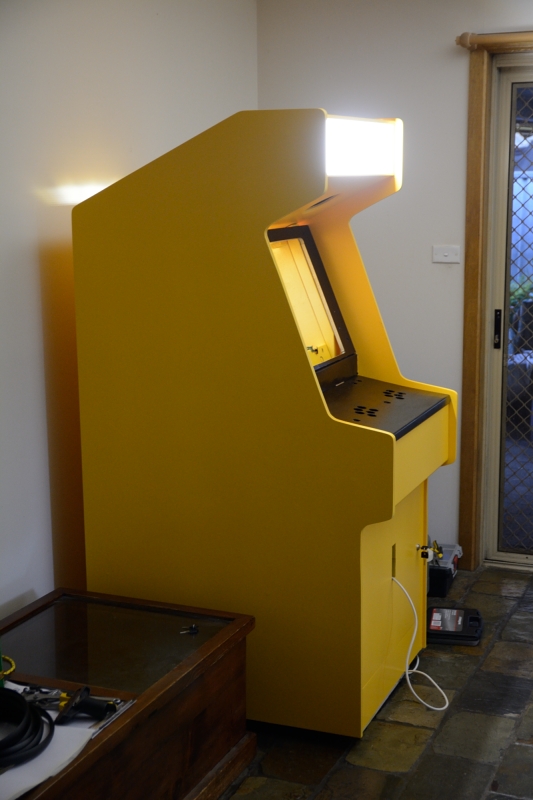
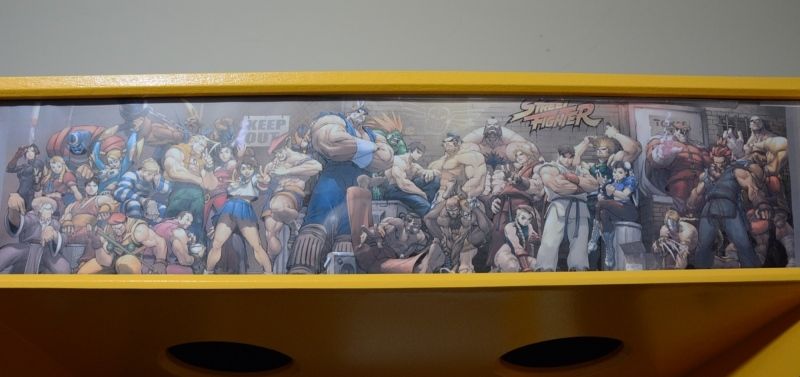
To avoid being blinded by the lights, i temporarily covered the transparent acrylic marquee with an impressive street fighter artwork titled Street Fighter Street Jam by Udon Crew. As you can see in the image below, this was a rough job. I will eventually come up with something more permanent with a higher quality finish that does justice to the artwork. One problem with the existing image is that it is washed out when the lights are on. At this point i attribute this to the paper and light colour of the printing rather than the strength of the backing lights.
Power Supply Unit
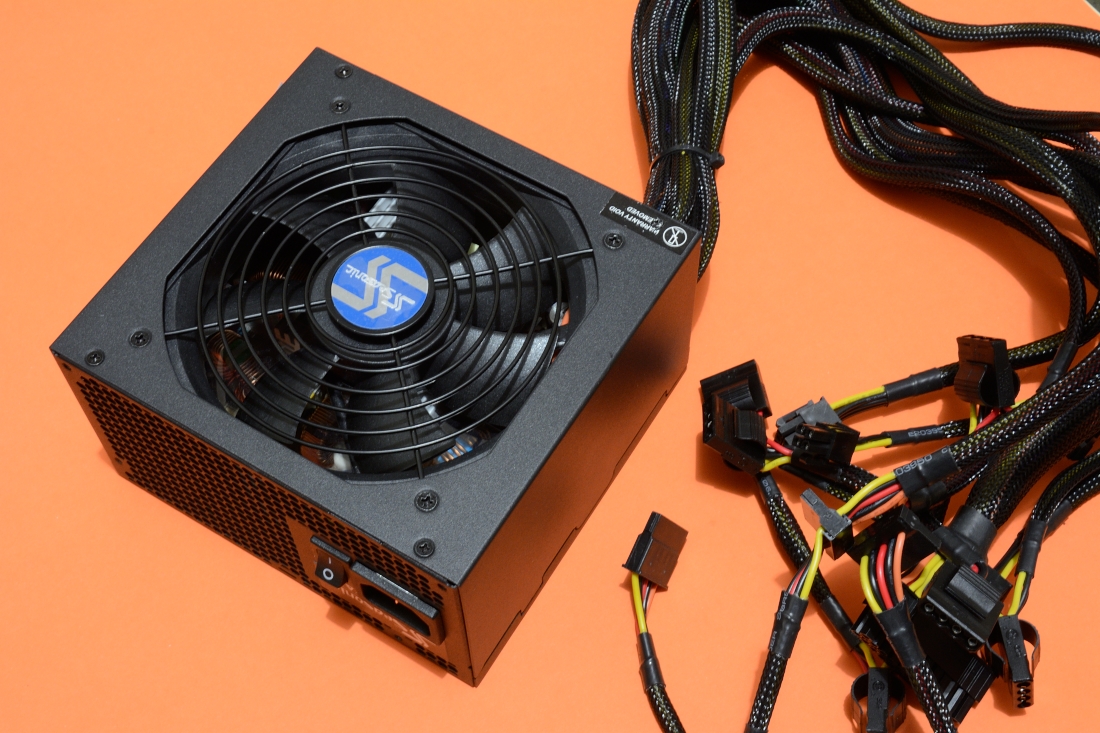
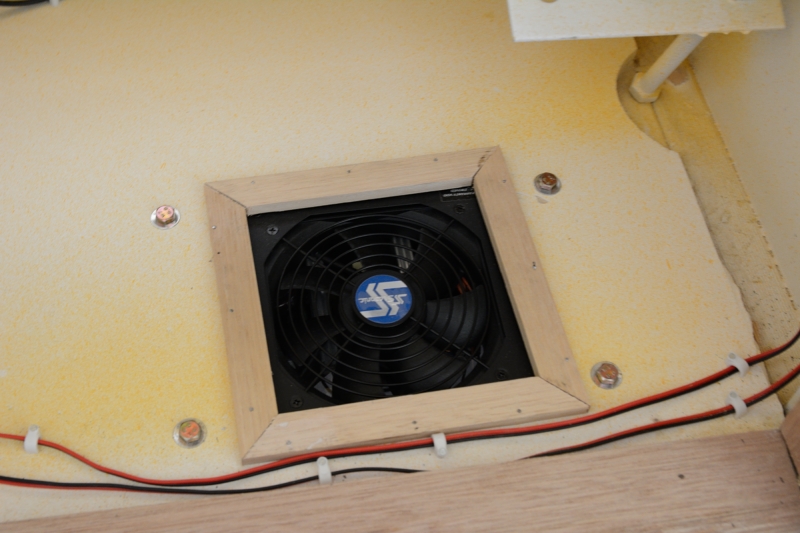
The hardware for my arcade cabinet is basically a personal computer (PC) and is consequently powered by a conventional power supply unit (PSU). While i have a couple vents to ensure adequate air circulation within the cabinet, i decided to use the fan on the PSU to enhance air circulation within the cabinet by cutting out a hole in the middle shelf and bolting the PSU to the underneath of the shelf. This helps to ensure that air passes between the top and bottom halves of the cabinet. It also helps to keep the cables on the PSU up and out of the way.
Edging
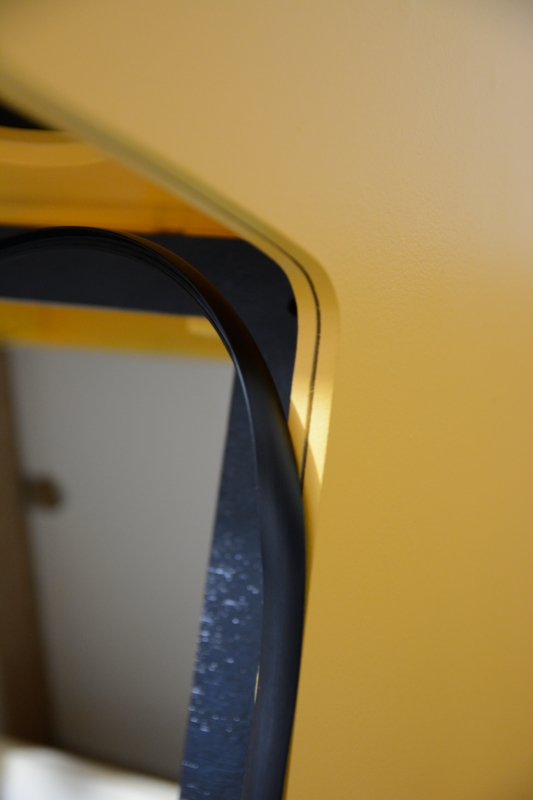
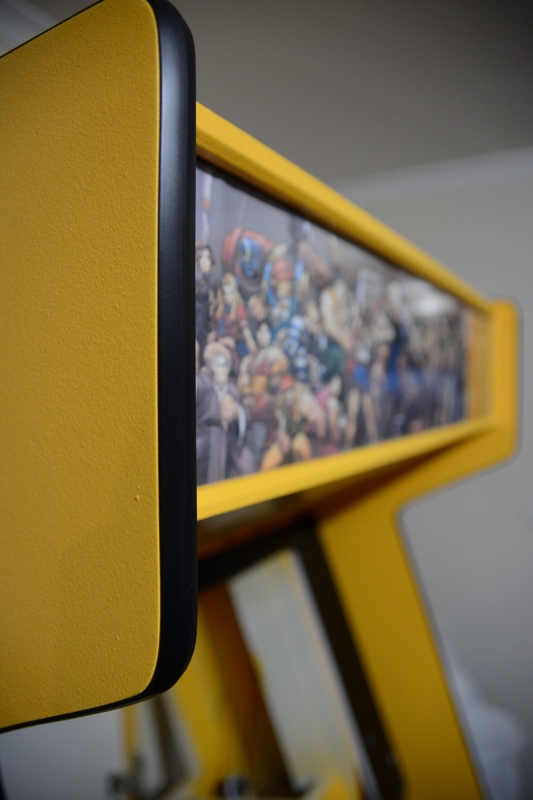
For the edging i decided to use conventional black t-moulding. One of the first things i did when cutting out the sides of the arcade cabinet was to cut the slots for the t-moulding using a router since it may be dangerous to do so once nails and screws are inserted into the side panels. Given such long-term planning and the overall impact on the look of the cabinet it was great to be able to finally install the moulding.
Although i had some existing black t-moulding it was too short for my needs while it was also slightly too wide for the side panels. I consequently ordered some thinner t-moulding from T-moulding.com. It was almost the perfect width and installed easily with some hammering using a rubber hammer. I really like the contrasting look that the black edging has with the yellow sides.
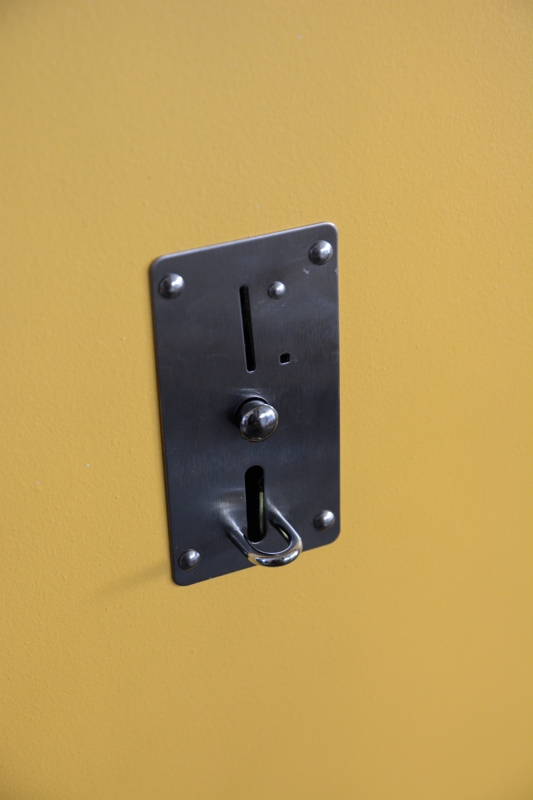
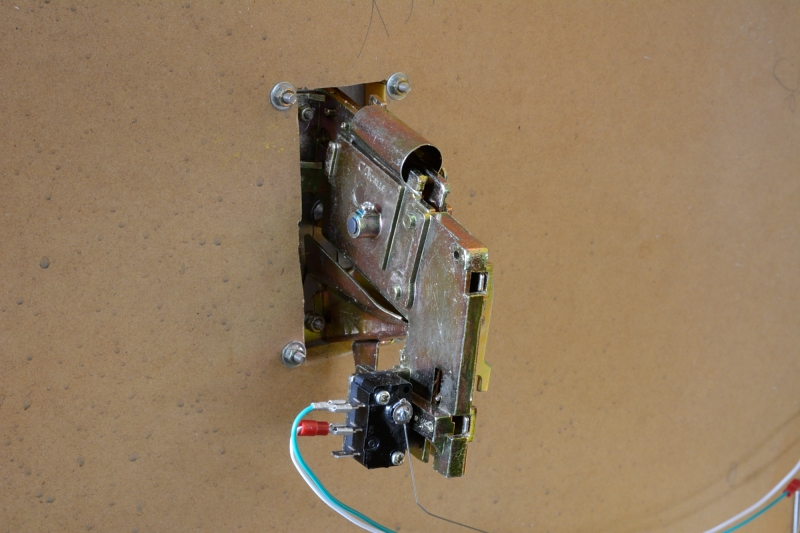
Coin mechanism
In order to give the cabinet a more authentic feel, i decided to add a coin mechanism. I used an Australian style CM01 Mechanical "Classic" Coin mech from OzStick. The mechanism is adjustable, allowing you to accommodate different size coins by adjusting the height of the ramp behind the coin slot. I set up the mechanism to accept 20 cent coins. The coin drops down flicking a bent wire which is attached to a microswitch. It took a little bit of adjusting screws to ensure the coins passed through the mechanism without automatically dropping into the return slot.