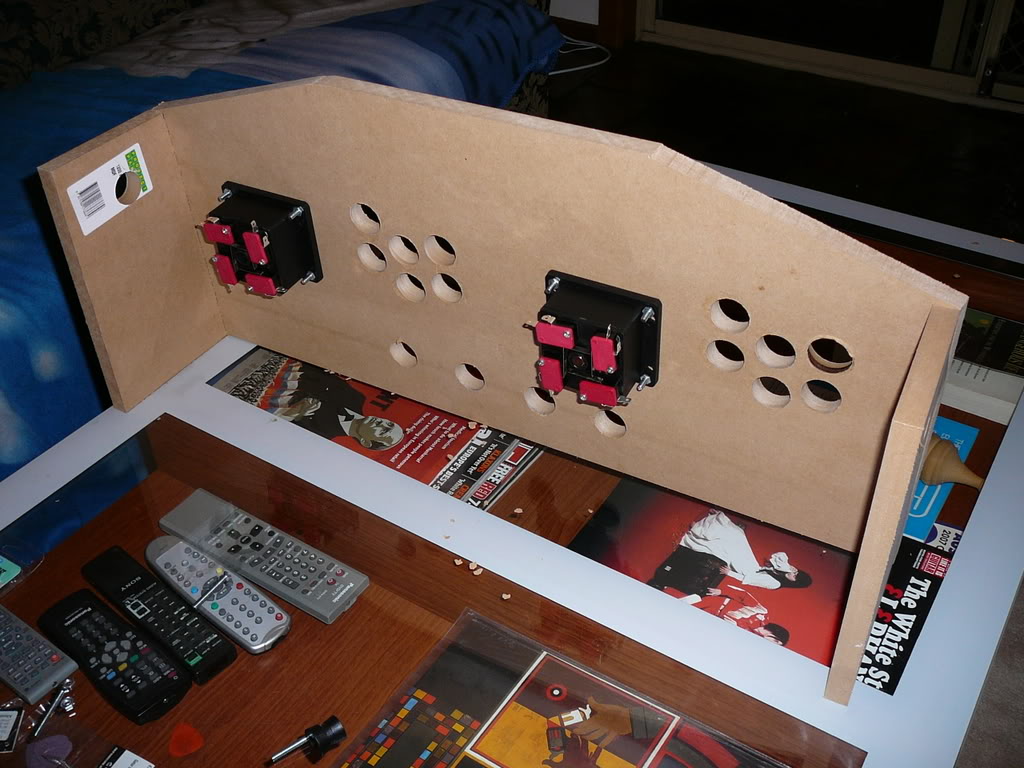
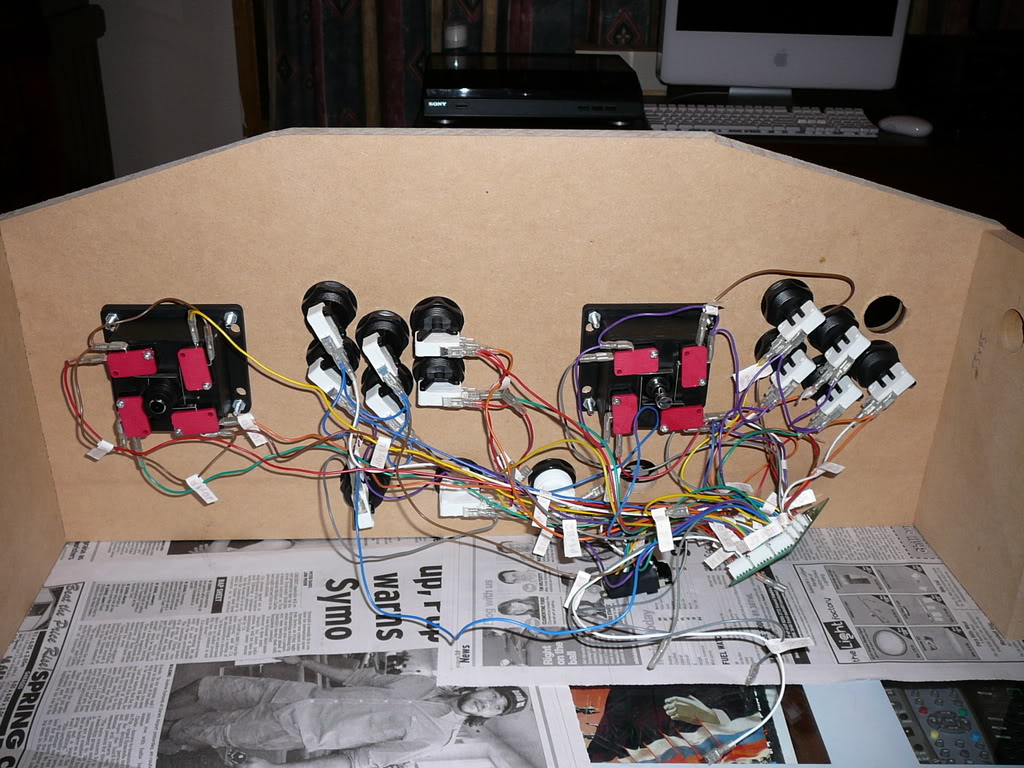
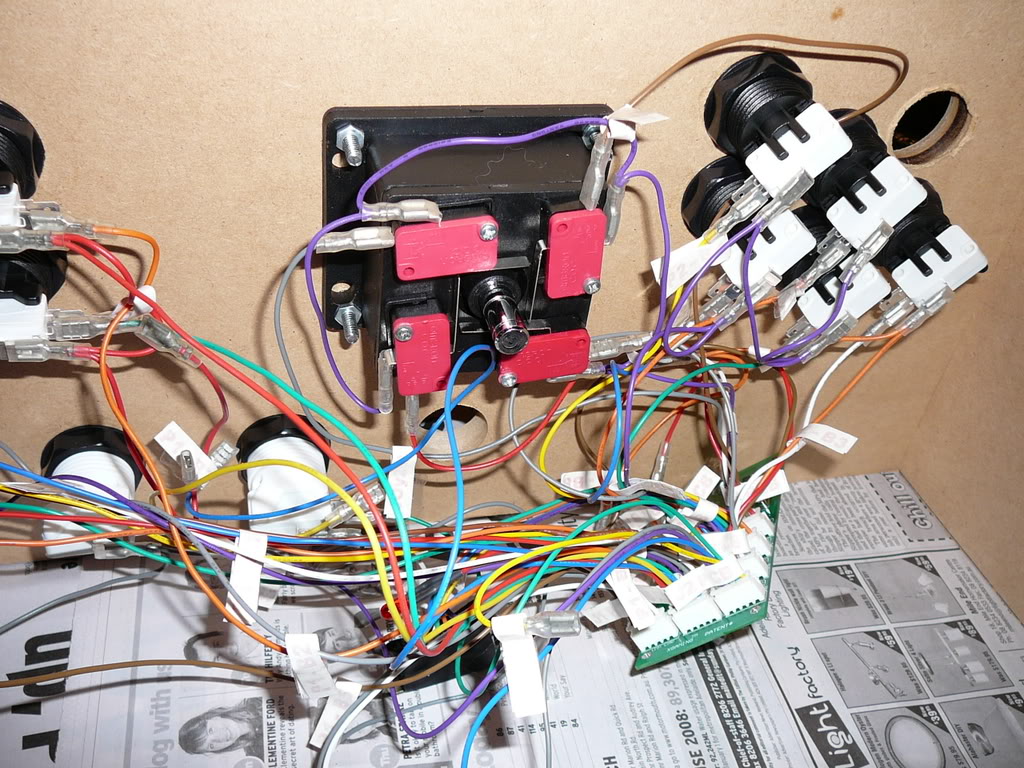
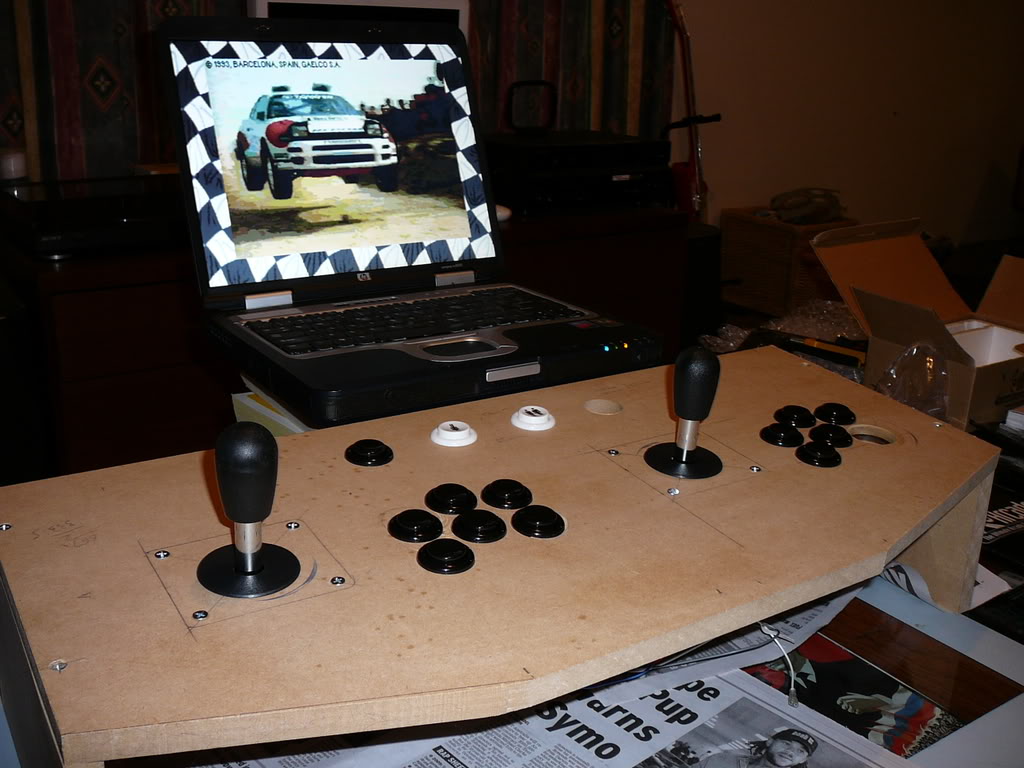
arcade

prototype

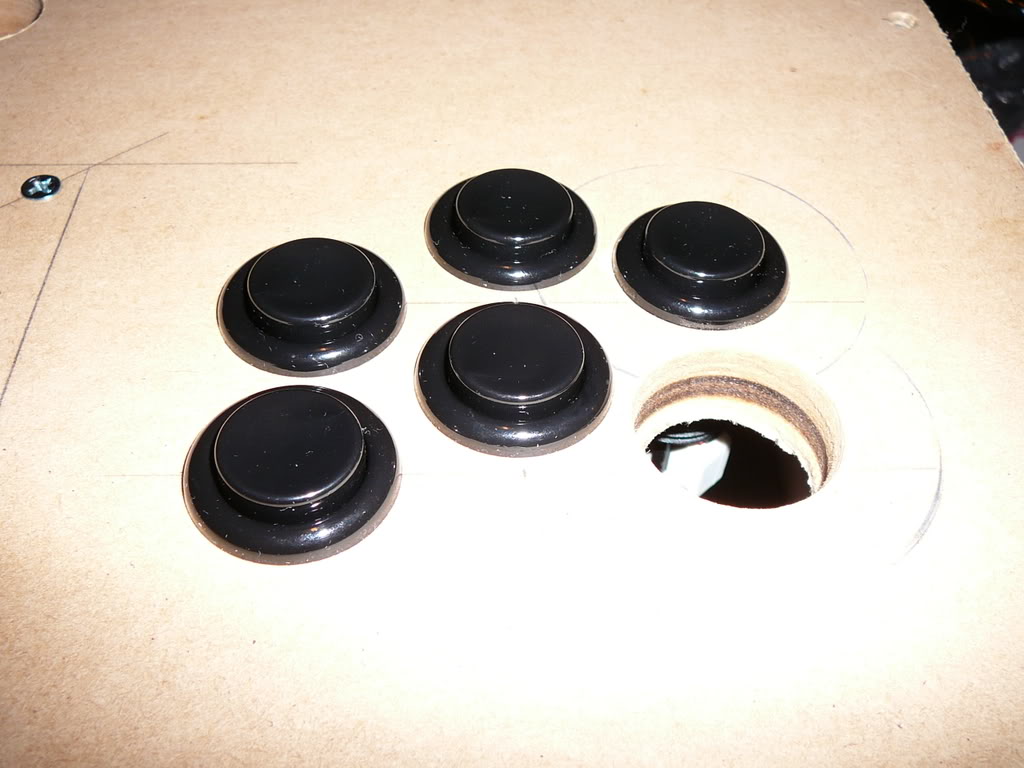
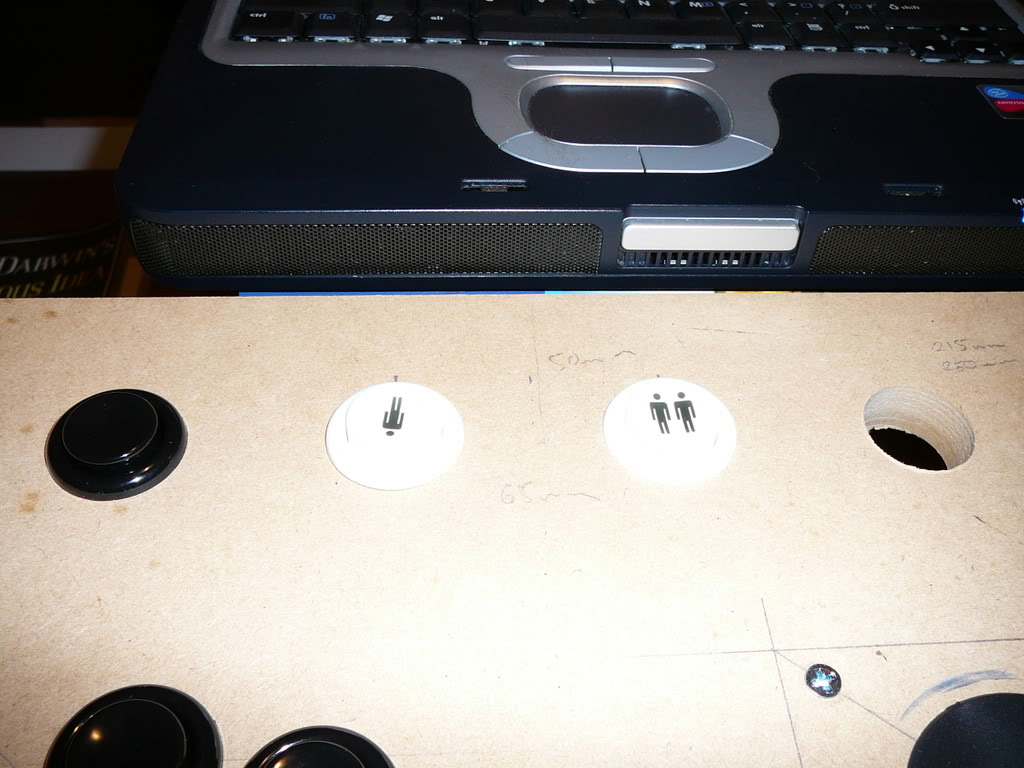
Started making a proto-type control panel over the weekend. Made a couple errors and ran out of time, but learnt a great deal, like which drill bits to use, size etc. Having the right tools is very important, so might end up building it up in the riv given the old man has all the tools.

I definitely think that the JAMMA arcade with the 1080 in 1 game pcb is the best way to go. However, i dont really have the money to pursue this option at the moment as i have to basically replace the wheels on my car (brakes and tyres ), so that will be delayed for a couple months.

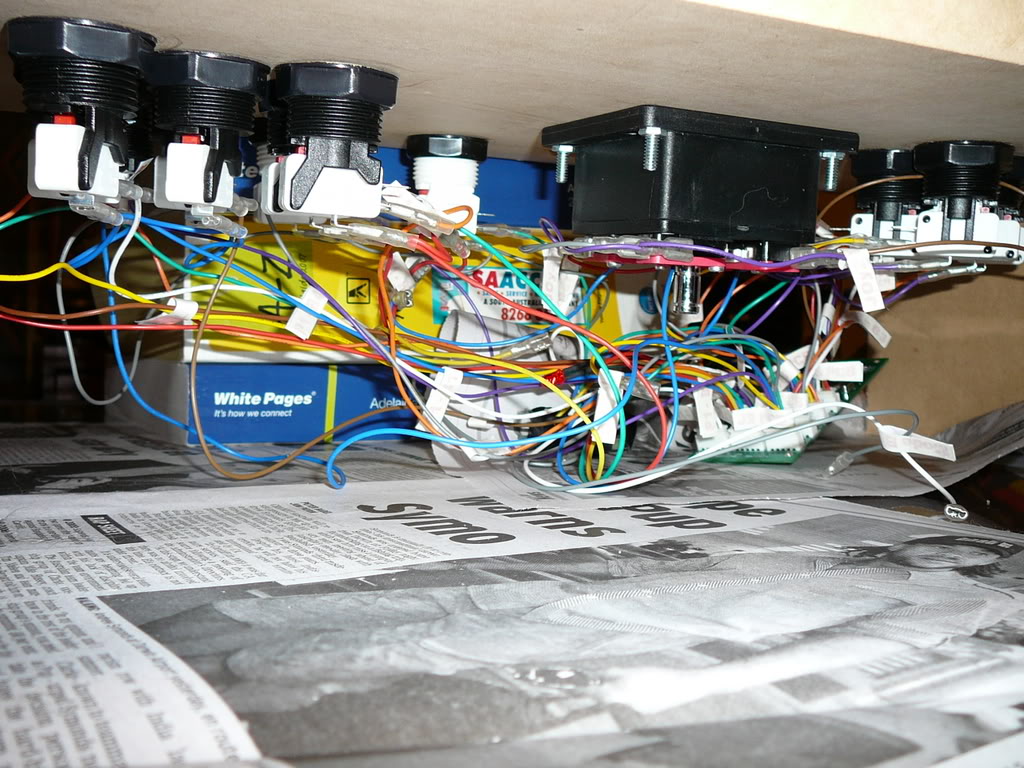
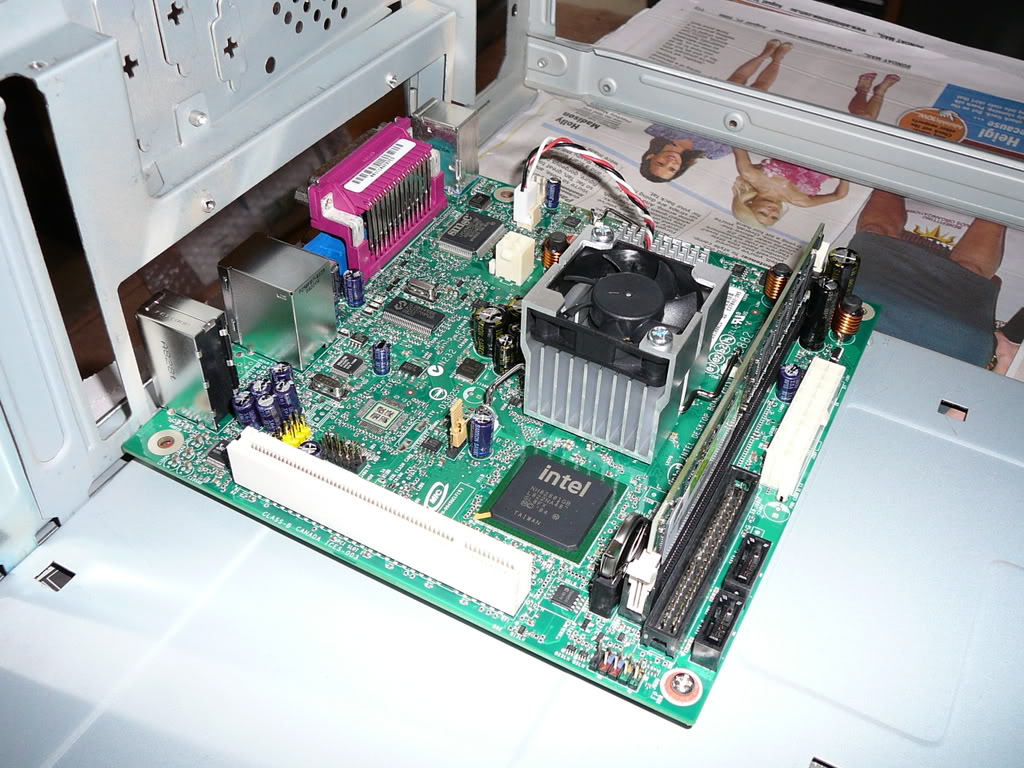
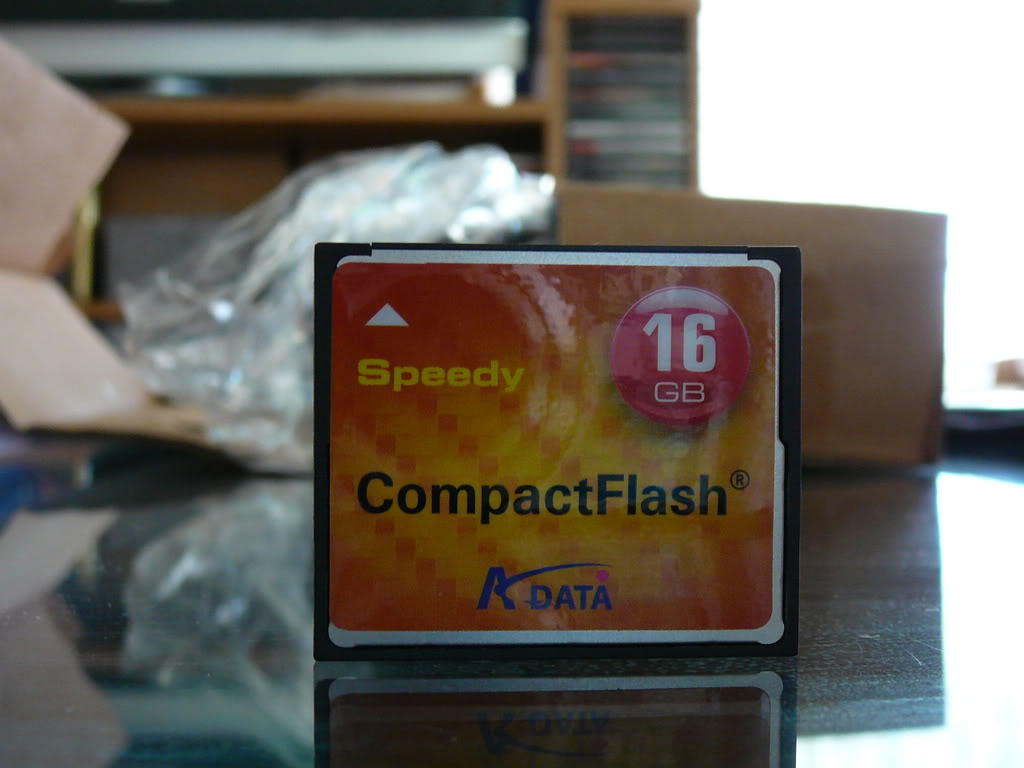
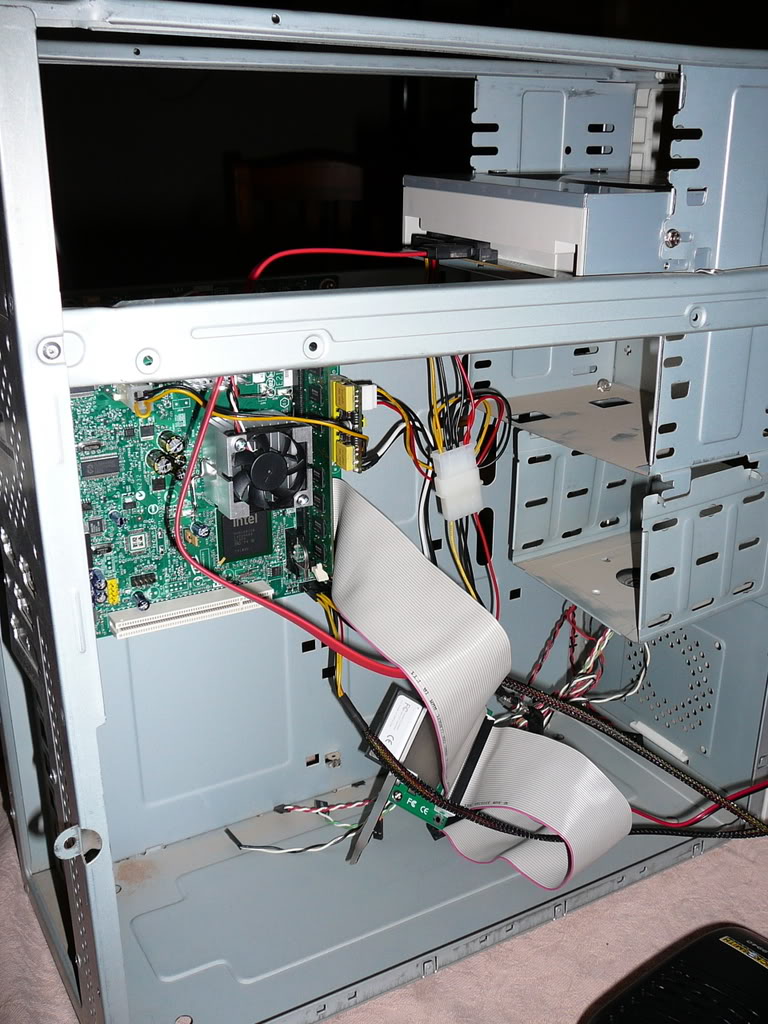
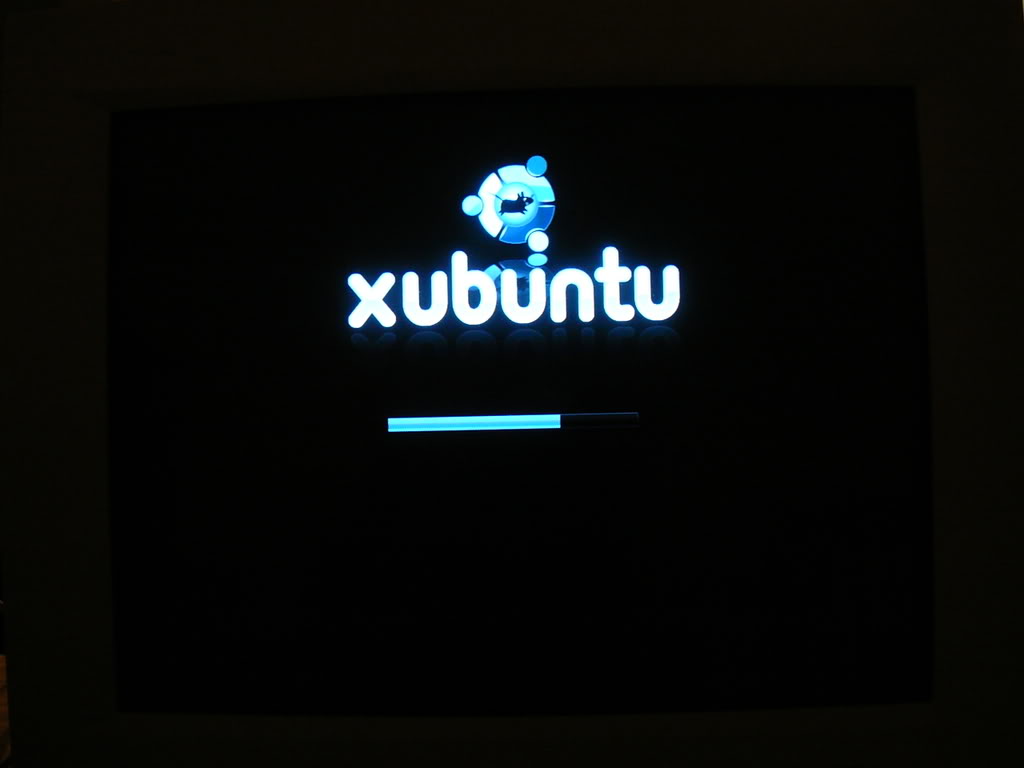
In the meantime i'm continuing to work on a mini MAME system and building my own mini pc system.

control board

Well i put together a rough test control board over the weekend and wired it up during the week. Finally decided to give it a go last night and to my absolute surprise, IT WORKED!

Only thing i had to do was download a small file from the x-arcade site and place it in a directory so i could change the default controls of MAME to X-Arcade.

Definitely feels great to play the old games with a joystick.

My only concern was that the corner movements (i.e. bottom left, top right) did not quite feel super responsive, but that could be because the bottom of the joystick is not fixed properly at the moment. Nonetheless, might be worth trying out the Sanwa joysticks as well since they have a good reputation. They also have a nice retro look to them. I really need to shoot to an arcade to see what the typical joystick style is.

Pictures follow.

Cool thing with the joystick is that i was able to actually pull off the odd Shoryuken/dragon punch in street fighter alpha.

My current thinking is to actually hack the Ikea table you see the control panel sitting on in the first picture. This would involve creating a frame to insert into the table which would hold a thin lcd monitor and my custom pc, and create a detachable control panel which could then be attached as needed. However, the complications at this stage are whether the available space is too thin and whether i can fit all the buttons, pc parts and power supply in the available space without having to alter the existing table (something i want to avoid). An interesting challenge nonetheless.

mame brain

Have been working on building the MAME Brain (i.e. computer) this week.

Put all the parts together and it actually worked - got to the BIOS screen no probs. However, had problems from then on. Unfortunately i could not get the installation of Ubuntu to work via USB so ended up having to get a CD/DVD drive (apparently USB installs can be a bit hit and miss).

Now have had problems with the compact flash hard drive - Ubuntu wont run from it and Windows XP can't format it properly, so don't know if there is an issue with the compact flash card or the adapter. So i will try and get one of my old normal hard drives running on it over the weekend - hopefully that will fix the issue. Will have some more photos then.

the mame cpu

i found the problem with getting Ubuntu to work, which seems to be my IDE cable - i slightly damaged it pulling it out incorrectly. I used an old cable and it works now.

I got it working over the weekend so i can show some more pictures on how im going.

Here are the photos of the various parts that make up my MAME CPU.

I estimate that the total cost of all the parts is about $480.

The first photo is my Intel DG945GCLF mini-ITX form factor motherboard. It features an Intel Atom 230 processor (1.6 GHz) with Intel 945GC Express Chipset with Intel Graphics Media Accelerator 950. The small form factor, slow CPU and lack of a custom graphics card means it is really only designed for internet centric use and applications - you wont be running modern games on this. However, it should be fine for running old MAME games I've loaded it up with 2 gig of RAM which might be overkill, but overkill is better than underkill.